打开模态窗口和通知
使用 Lightning 基础组件打开通用模态窗口和通知模态框(Alert/Confirm/Prompt)。模态组件通过扩展类来使用——不直接嵌套在模板中。另有 Toast 通知和 Email/Quick Action 集成。
模态窗口 —— LightningModal
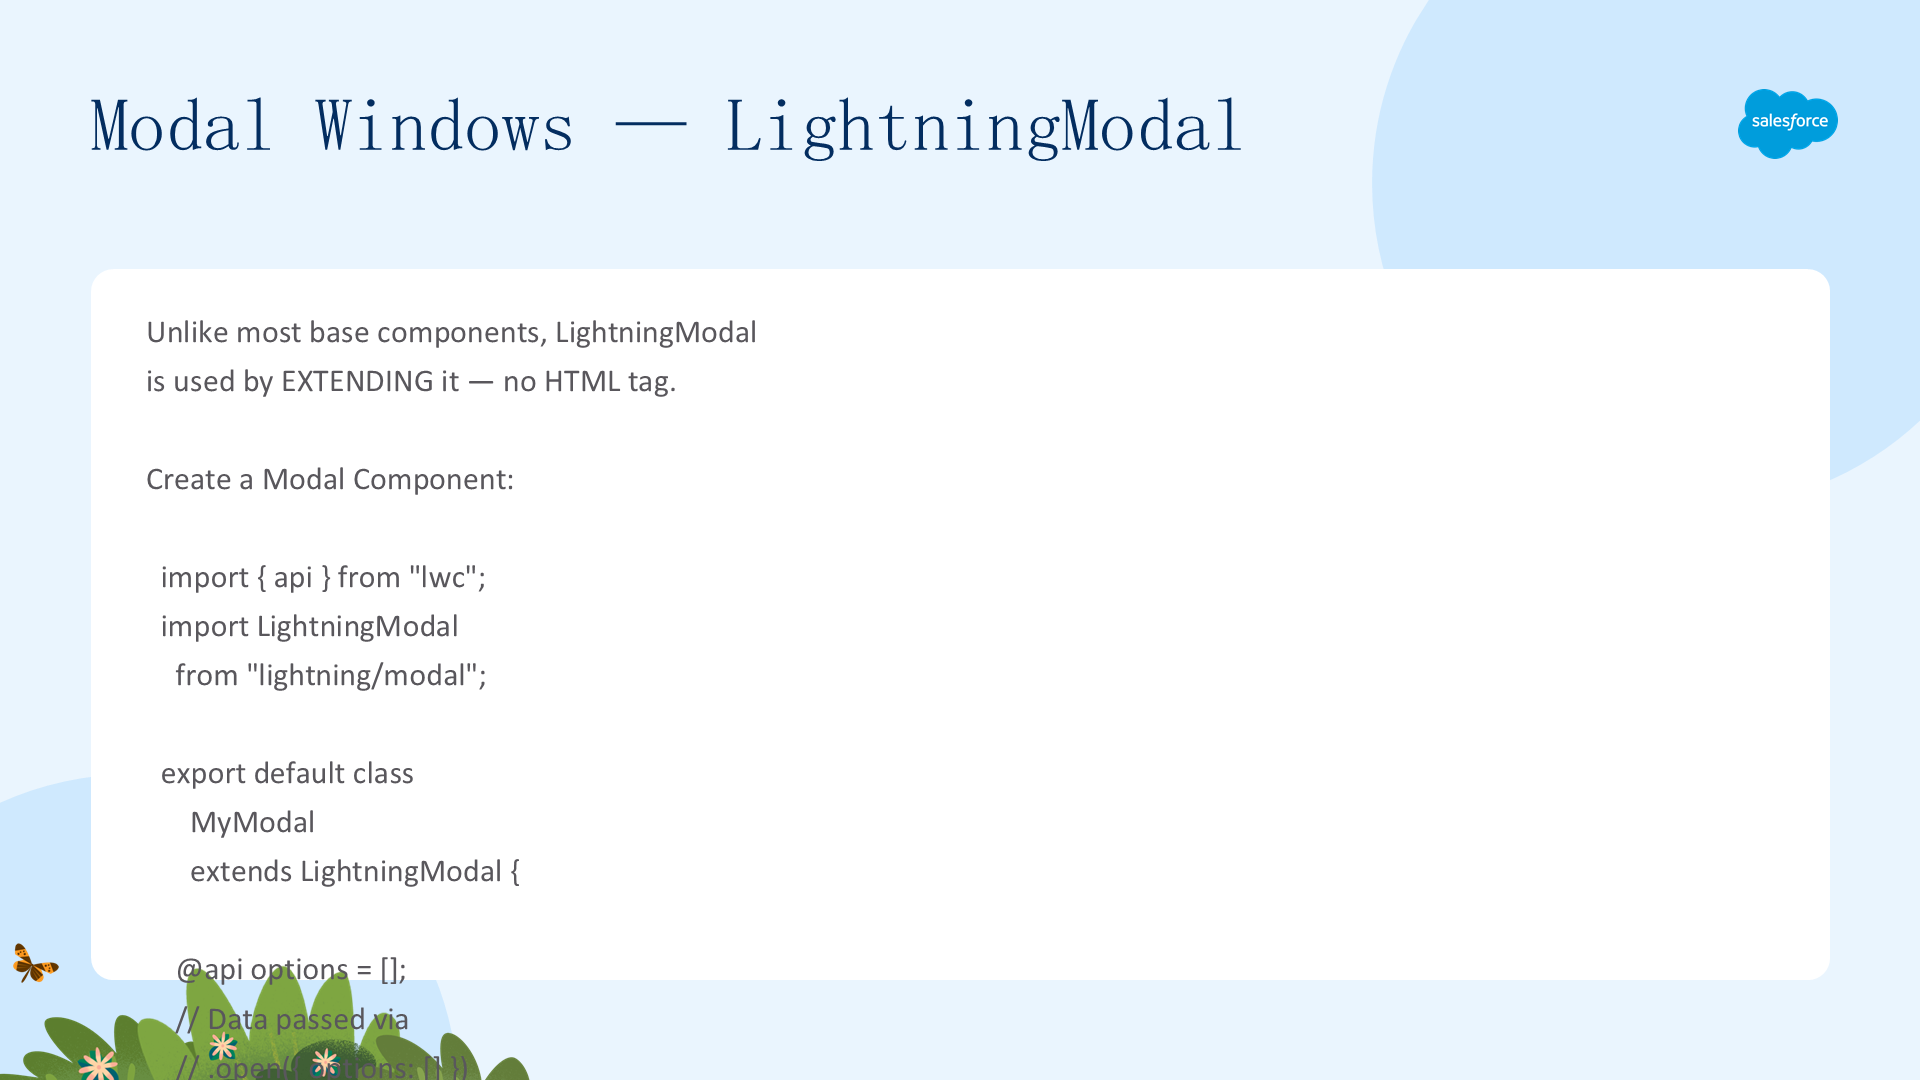
不是在模板中加 <lightning-modal> 标签——而是创建组件继承 LightningModal(不继承 LightningElement)。使用三个辅助组件构建 UI:lightning-modal-header(可选标题)、lightning-modal-body(必需——主内容)、lightning-modal-footer(可选页脚)。
// myModal.js——继承 LightningModal,不继承 LightningElement
import { api } from "lwc";
import LightningModal from "lightning/modal";
export default class MyModal extends LightningModal {
  @api options = [];  // 通过 .open({ options: [...] }) 传入数据
  handleOptionClick(e) {
    this.close(e.target.dataset.id);  // this.close() 关闭模态框并返回值
  }
}

// myApp.js——父组件打开模态框
import MyModal from "c/myModal";
async handleOpenClick() {
  this.result = await MyModal.open({
    options: [{ id:1, label:"Option 1" }, { id:2, label:"Option 2" }],
  });  // MyModal.open() 返回 Promise——resolve 为 this.close() 传入的值
}关键模式:① 子组件继承 LightningModal → 父组件调用 ModalClass.open({...}) 打开(返回 Promise)② this.close(value) 关闭模态框并传递返回值 ③ 通过 @api 属性接收父组件传入的数据。
完整 myModal 模板示例——header + body + 动态按钮列表:
<lightning-modal-header label="My Modal Heading"></lightning-modal-header>
<lightning-modal-body>
  <template for:each={options} for:item="option">
    <lightning-button onclick={handleOptionClick} data-id={option.id}
        key={option.id} label={option.label}></lightning-button>
  </template>
</lightning-modal-body>
<!-- 可选: 页脚内容... -->
从模态框导航需注意——扩展 LightningModal 的组件不能直接使用 NavigationMixin。需在子组件中定义 PageReference→自定义事件传给父→父组件用 NavigationMixin 导航。参考 lwc-recipes miscModal + myModal。
通知模态框 —— Alert、Confirm 与 Prompt
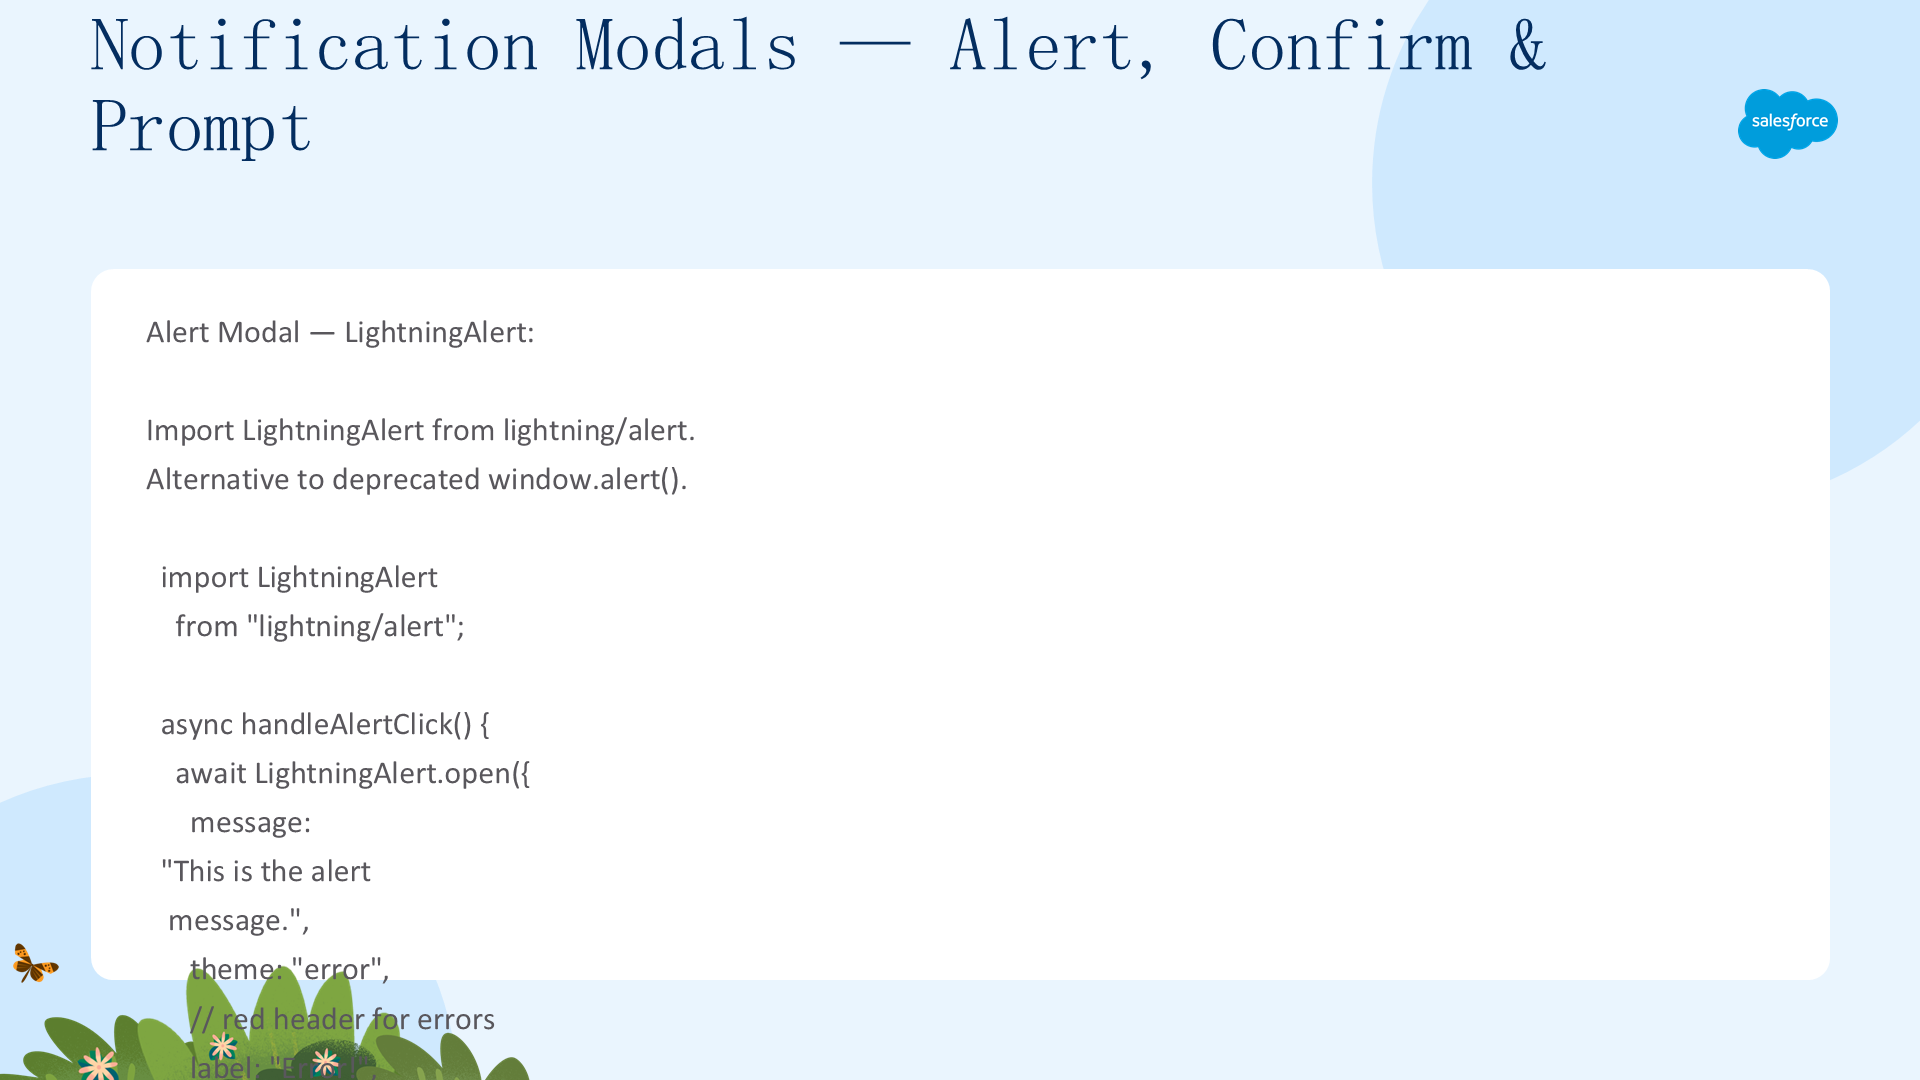
三种通知模态框——替代不支持的 window.alert()/confirm()/prompt()(跨域 iframe 中 Chrome/Safari 不支持)。与原生不同:不阻塞执行,返回 Promise——用 async/await 或 .then() 处理关闭后的代码。
Alert(错误警告——红色标题):LightningAlert.open({ message, theme:"error", label:"Error!" })。用户点击 OK → Promise resolve。
Confirm(确认——无标题 variant:"headerless"):LightningConfirm.open({ message, variant:"headerless", label:"aria-label" })。用户点击 OK → resolve(true);Cancel → resolve(false)。
Prompt(输入——灰色条纹标题):LightningPrompt.open({ message, theme:"default", label:"Please Respond!", defaultValue:"initial" })。用户输入文字+OK → resolve(输入值);Cancel → resolve(null)。
参考 lwc-recipes miscNotificationModules。
Toast 通知与 Toast 容器
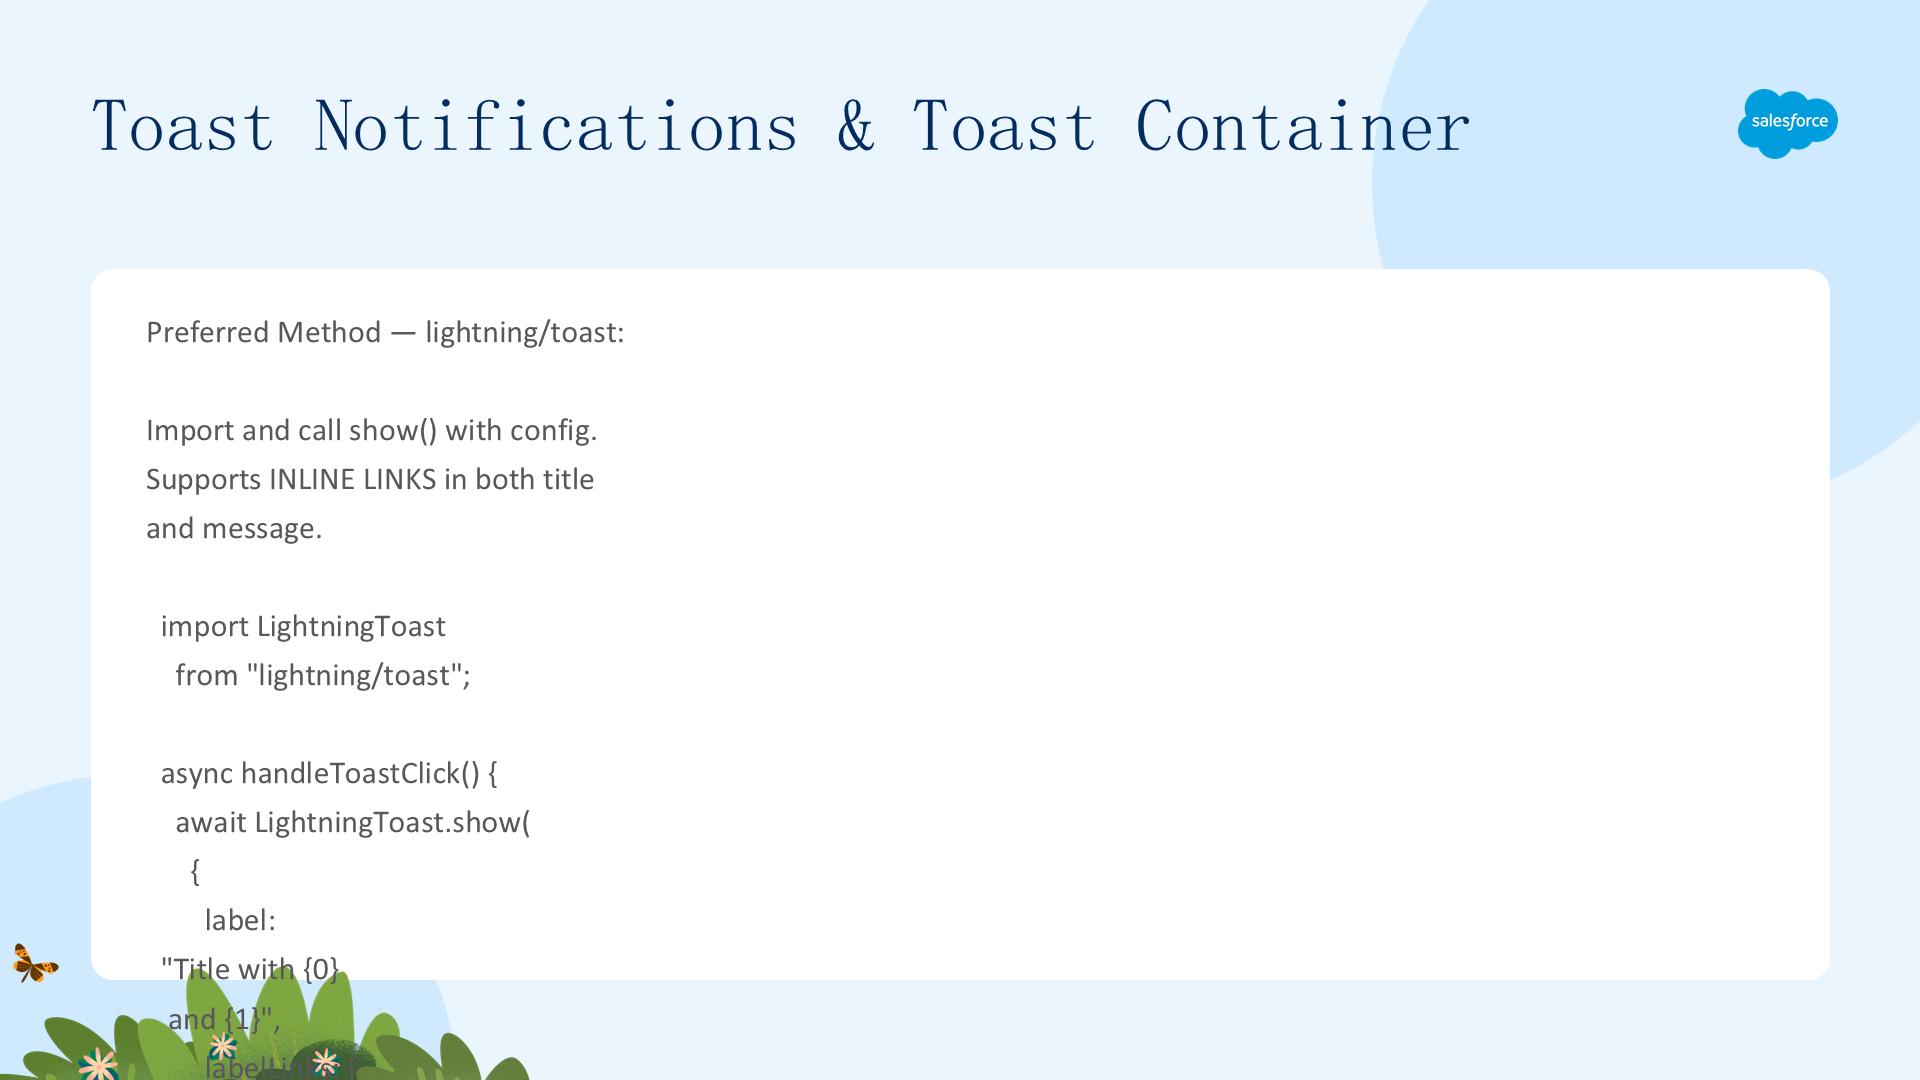
推荐使用 lightning/toast(LightningToast.show({...}, this))——支持标题和消息中内联链接({0}/{linkName} 占位符)。旧版 lightning/platformShowToastEvent(派发 ShowToastEvent)不支持 LWR 站点/独立应用且不支持标题内联链接。
lightning/toast 内联链接示例:
await LightningToast.show({
  label: "Sample title with {0} and {1}",
  labelLinks: [
    { url:"https://...", label:"SLDS link" },
    { url:"https://...", label:"toast guideline" }
  ],
  message: "Sample message with {salesforceLink} and {slackLink}",
  messageLinks: {
    salesforceLink: { url:"http://www.salesforce.com", label:"Salesforce link" },
    slackLink: { url:"https://slack.com", label:"Slack link" }
  },
  mode: "sticky", variant: "info"
}, this);  // 第二个参数 this 是组件引用
lightning/platformShowToastEvent 对比:不支持 LWR 站点/独立应用、不支持标题内联链接、不支持登录页。但同样支持四种 variant 和三种 mode。Toast 变体:error/warning/success/info。模式:dismissable(可关闭)/sticky(保持直到点击)/pester(持续显示直到关闭)。
Toast 容器(管理页面 Toast):
import ToastContainer from "lightning/toastContainer";
connectedCallback() {
  const tc = ToastContainer.instance();  // 单例——每页仅一个实例
  tc.maxToasts = 5;           // 最多显示数(默认3)
  tc.toastPosition = "top-right";  // 位置(默认top-center)
}
容器管理两种模块创建的 Toast。达到 maxToasts → 新 Toast 排队等待关闭后再显示。
Outlook/Gmail 集成 + Quick Actions 概述
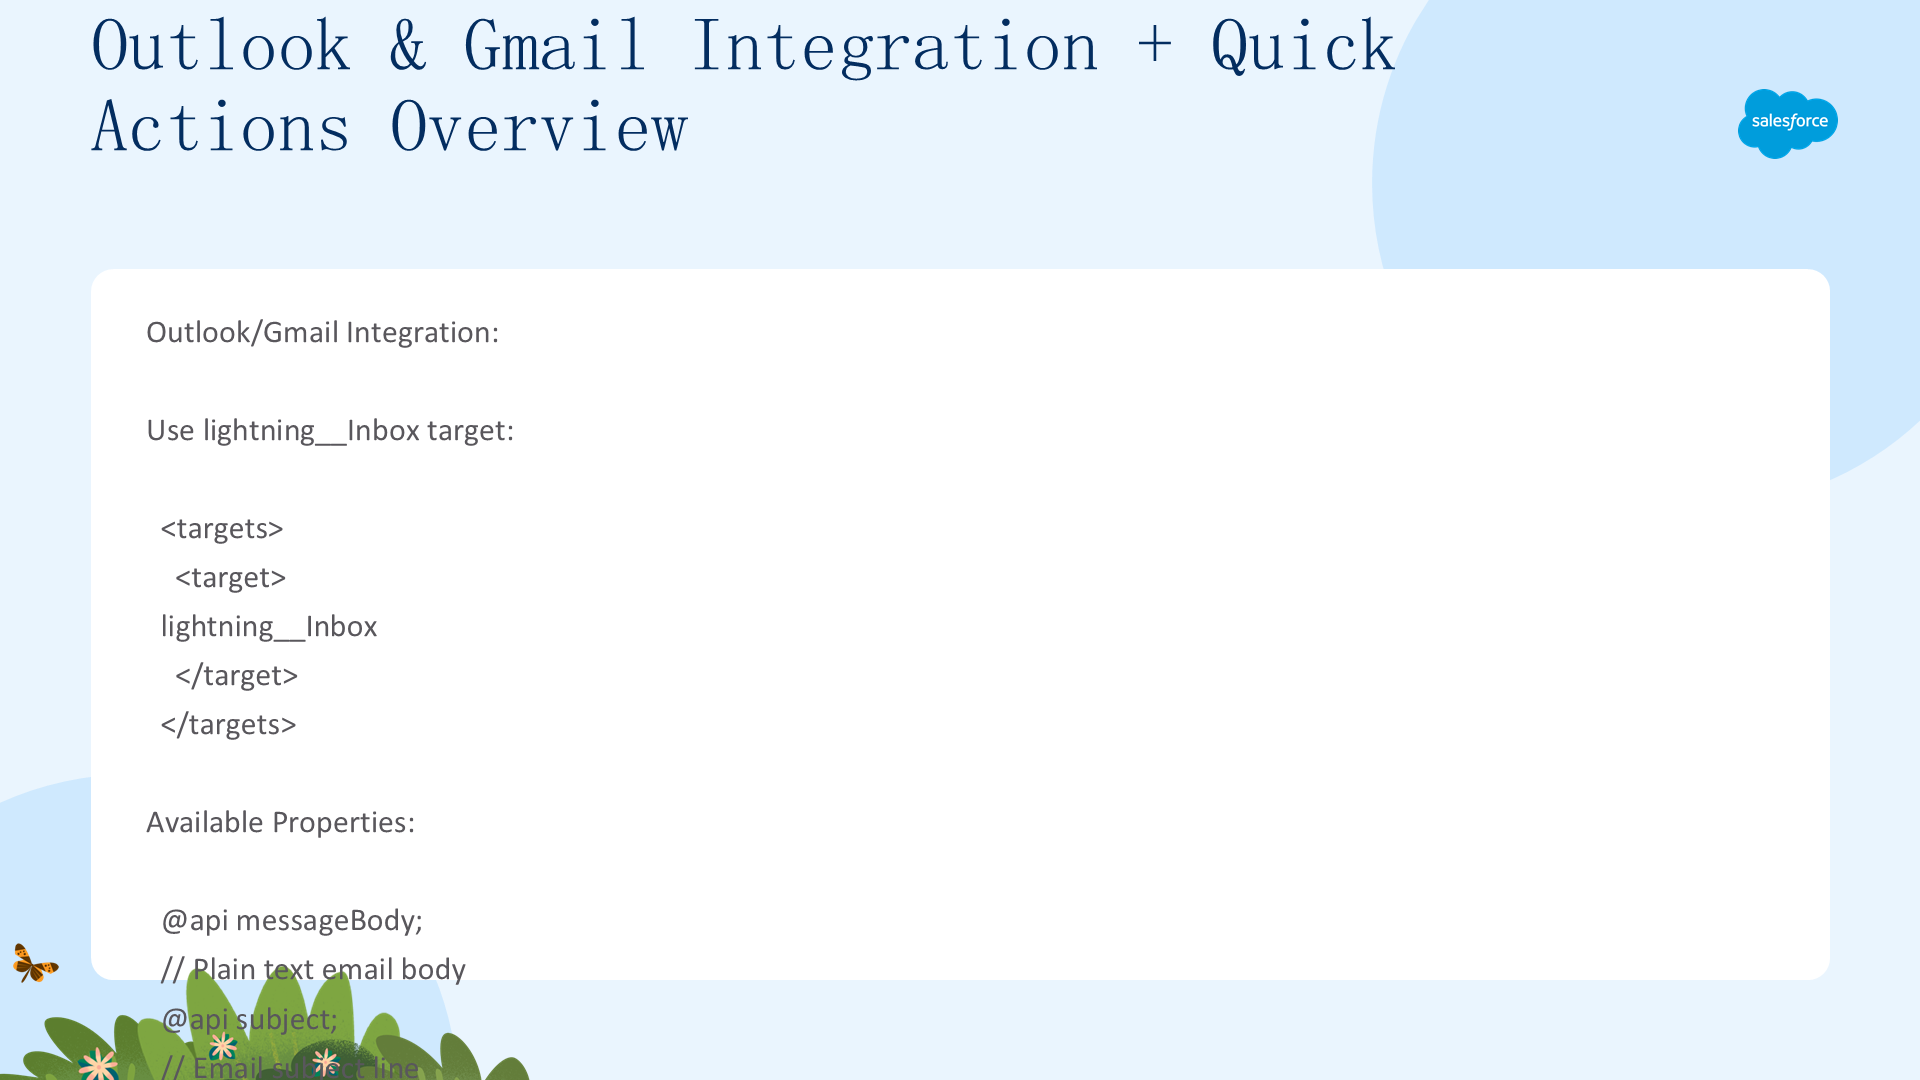
邮件应用窗格:添加 lightning__Inbox target。自动提供属性:people(from/to/cc——email 源 或 requiredAttendees/organizer——event 源)、subject、messageBody、dates、location、emails、mode、source('email'/'event')。属性默认自动可用——无需在配置文件中声明(除非要设默认值)。确保组件宽度自适应(width-aware)。
Quick Actions 概述:仅限记录页面(不支持全局操作)。lightning__RecordAction target + actionType(ScreenAction/Action)。类型定义后不可更改。不支持移动端和 Experience Builder。Setup 中创建对象特定操作→添加到页面布局。
LWC Quick Action 不通过 connectedCallback() 传递 recordId——必须用 @api setter:@api set recordId(value) { this._recordId = value; }。
Screen Quick Actions
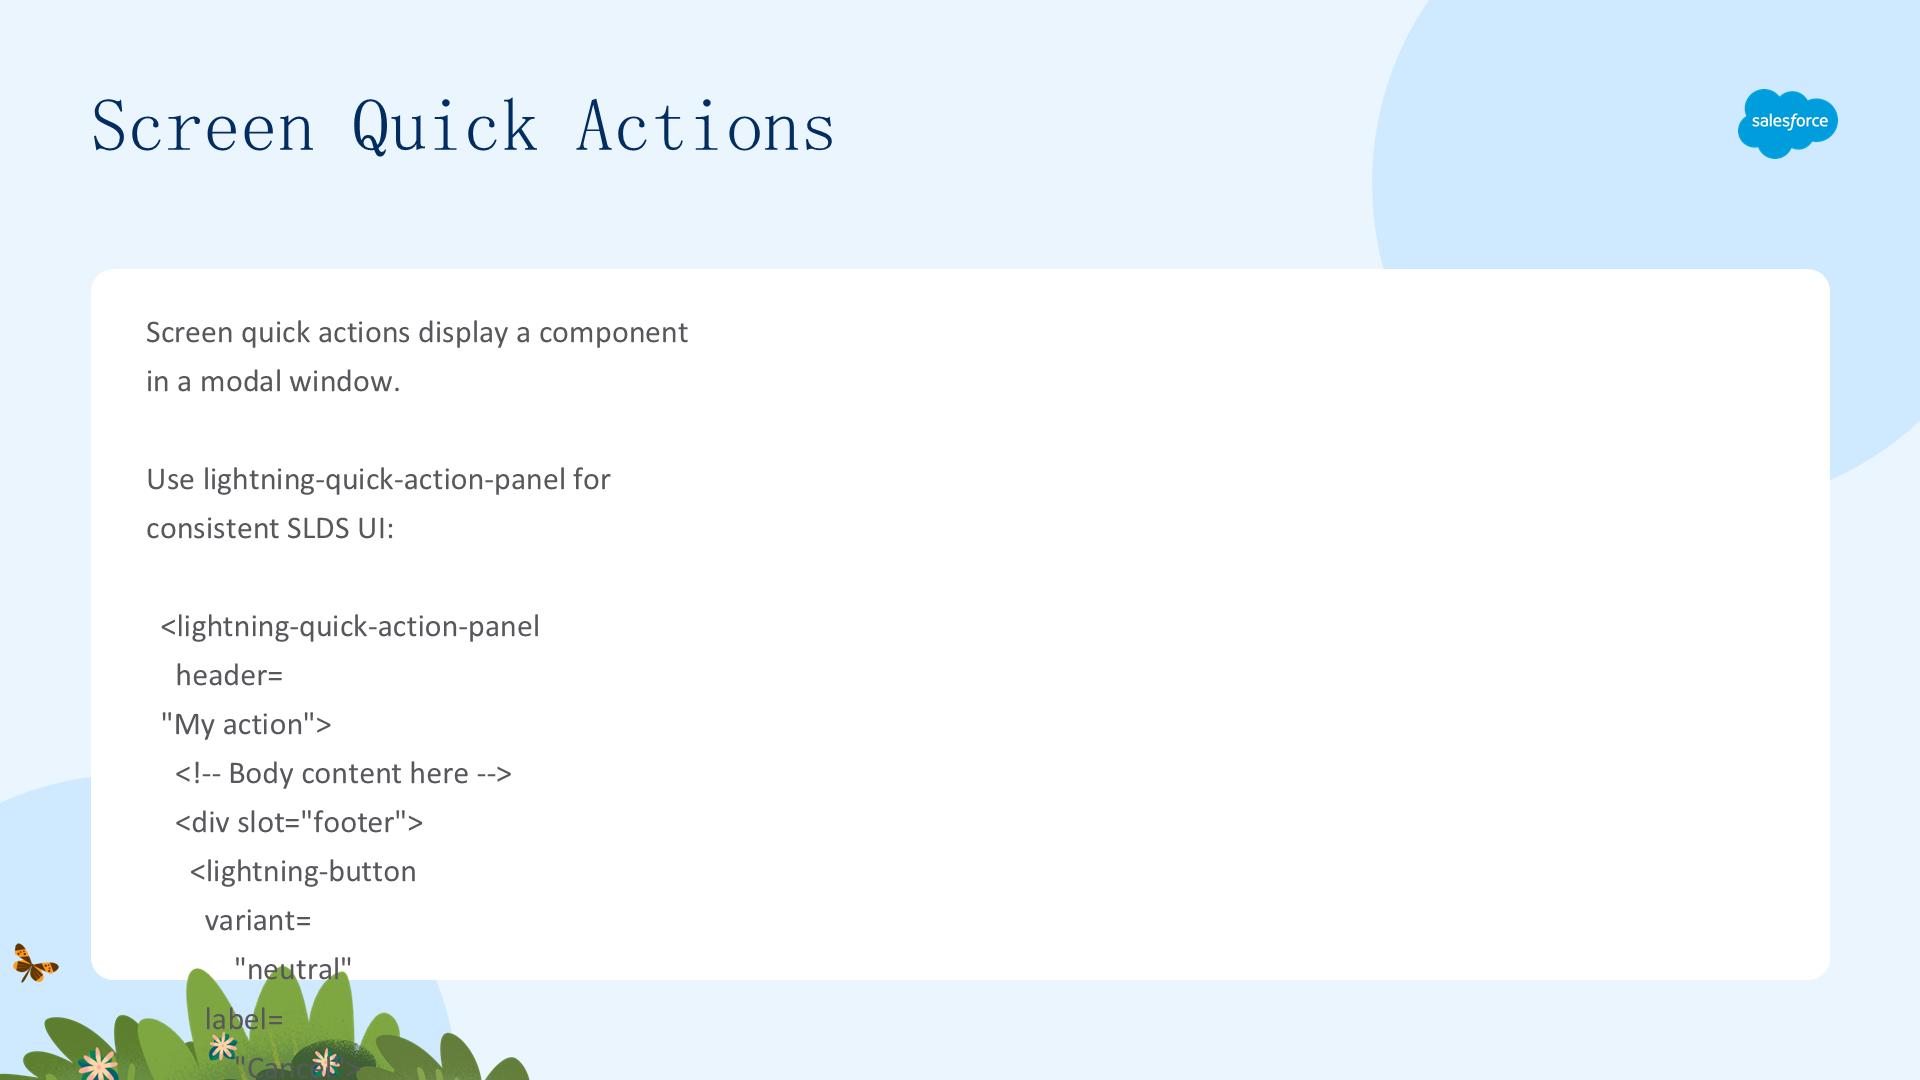
Screen Action 在模态窗口中显示组件。关闭窗口:派发 CloseActionScreenEvent(从 lightning/actions 导入)。注意点击 X 只关闭模态框——不执行额外逻辑(Cancel 逻辑被绕过)。
三种实现模式:① lightning-quick-action-panel 包装——提供一致的 SLDS header/body/footer(footer slot 放按钮)。② lightning-record-edit-form + lightning-input-field——按钮在表单内(不用 footer slot),onsuccess 中派发 CloseActionScreenEvent + ShowToastEvent。③ 自定义表单 + lightning-input + footer slot 按钮——用 getRecord 获取初始值,updateRecord 保存,Save 按钮可设为 disabled(如 LastName 为空时)。
三种模式完整对比:
| 模式 | 组件 | 按钮位置 | 数据 | 适用场景 |
|---|---|---|---|---|
| ① Panel包装 | lightning-quick-action-panel | footer slot | 自定义 | 简单内容展示 |
| ② 记录表单 | lightning-record-edit-form + input-field | 表单内 | 自动(LDS) | 标准记录编辑 |
| ③ 自定义表单 | lightning-input + getRecord | footer slot | getRecord获取+updateRecord保存 | 需要自定义验证和控件 |
模式③完整流程:① @wire(getRecord) 获取字段初始值(getFieldValue 提取)② 用户编辑字段(如 LastName onchange 验证——空值时 setCustomValidity/reportValidity + 禁用 Save 按钮)③ 点击 Save → 构建 updateRecord(recordInput) → 成功后 CloseActionScreenEvent 关闭窗口 + ShowToastEvent 提示成功。
获取页面信息:@api recordId + @api objectApiName(记录上下文自动填充)+ @wire(CurrentPageReference)(导航服务页面引用)。注意:LWC Quick Action 不通过 connectedCallback 传递 recordId——必须用 @api setter 接收。
Headless Quick Actions 与 Email Quick Actions
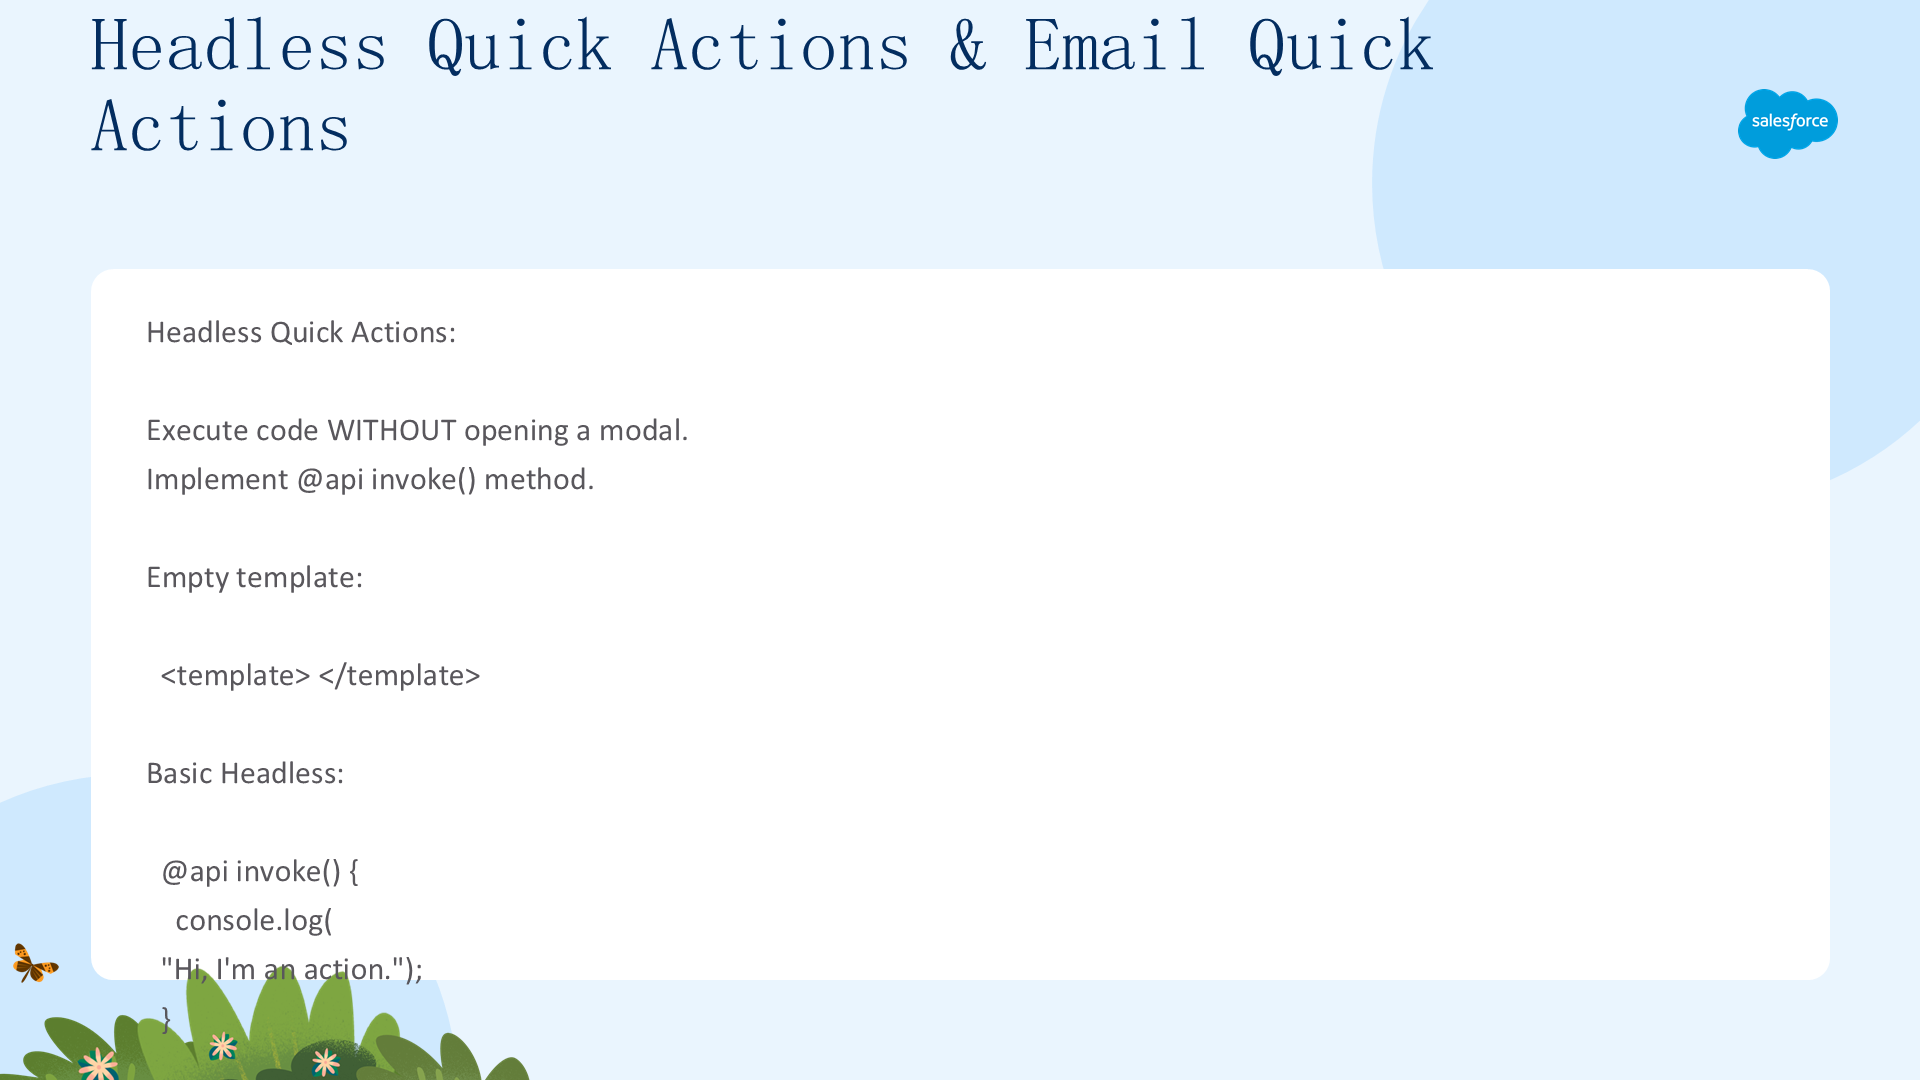
Headless Action(不打开模态框):空模板 + @api invoke() 方法。返回类型 void——即使返回 Promise 也被忽略。用 boolean 标志防止并行重复执行。常用于导航(NavigationMixin.Navigate)或派发事件(ShowToastEvent 顺序 Toast)。
Email Quick Action:用 standard__quickAction type + apiName:"Global.SendEmail" + state.recordId + encodeDefaultFieldValues({...})。支持字段:ValidatedFromAddress/ToAddress/CcAddress/BccAddress/Subject/HTMLBody/RelatedToId。字段不要设为 Read-Only。完整示例——用户搜索联系人(lightning-record-picker + AccountId filter)→ getRecord 获取 Email → 打开预填邮件编辑器。
感谢阅读本指南。如需继续学习,请参阅下一章:使用 Agentforce 设置。