一、准备 Agentforce 和 Slack 环境
欢迎来到 Quick Start: Connect Your Agentforce Org with Slack。作为 Salesforce 和 Slack 管理员,您最近在 Salesforce 中部署了一个 产品专家 Agent(Product Management Agent),用户反馈它极大提升了生产力。业务领导希望更进一步:能否将这个 Agent 激活到 Slack 中,让更多团队成员在工作流中受益?答案是可以!本项目将带您完成完整的集成流程——从准备环境到建立安全连接。
📝 提示:在执行以下步骤时,请保持 Agentforce 和 Slack 环境同时打开。有些步骤需要在一端发起请求、在另一端立即批准。在真实场景中,这可能是 Salesforce 和 Slack 管理员之间的协作;在本项目中,您将同时扮演这两个角色。
准备 Agentforce Org
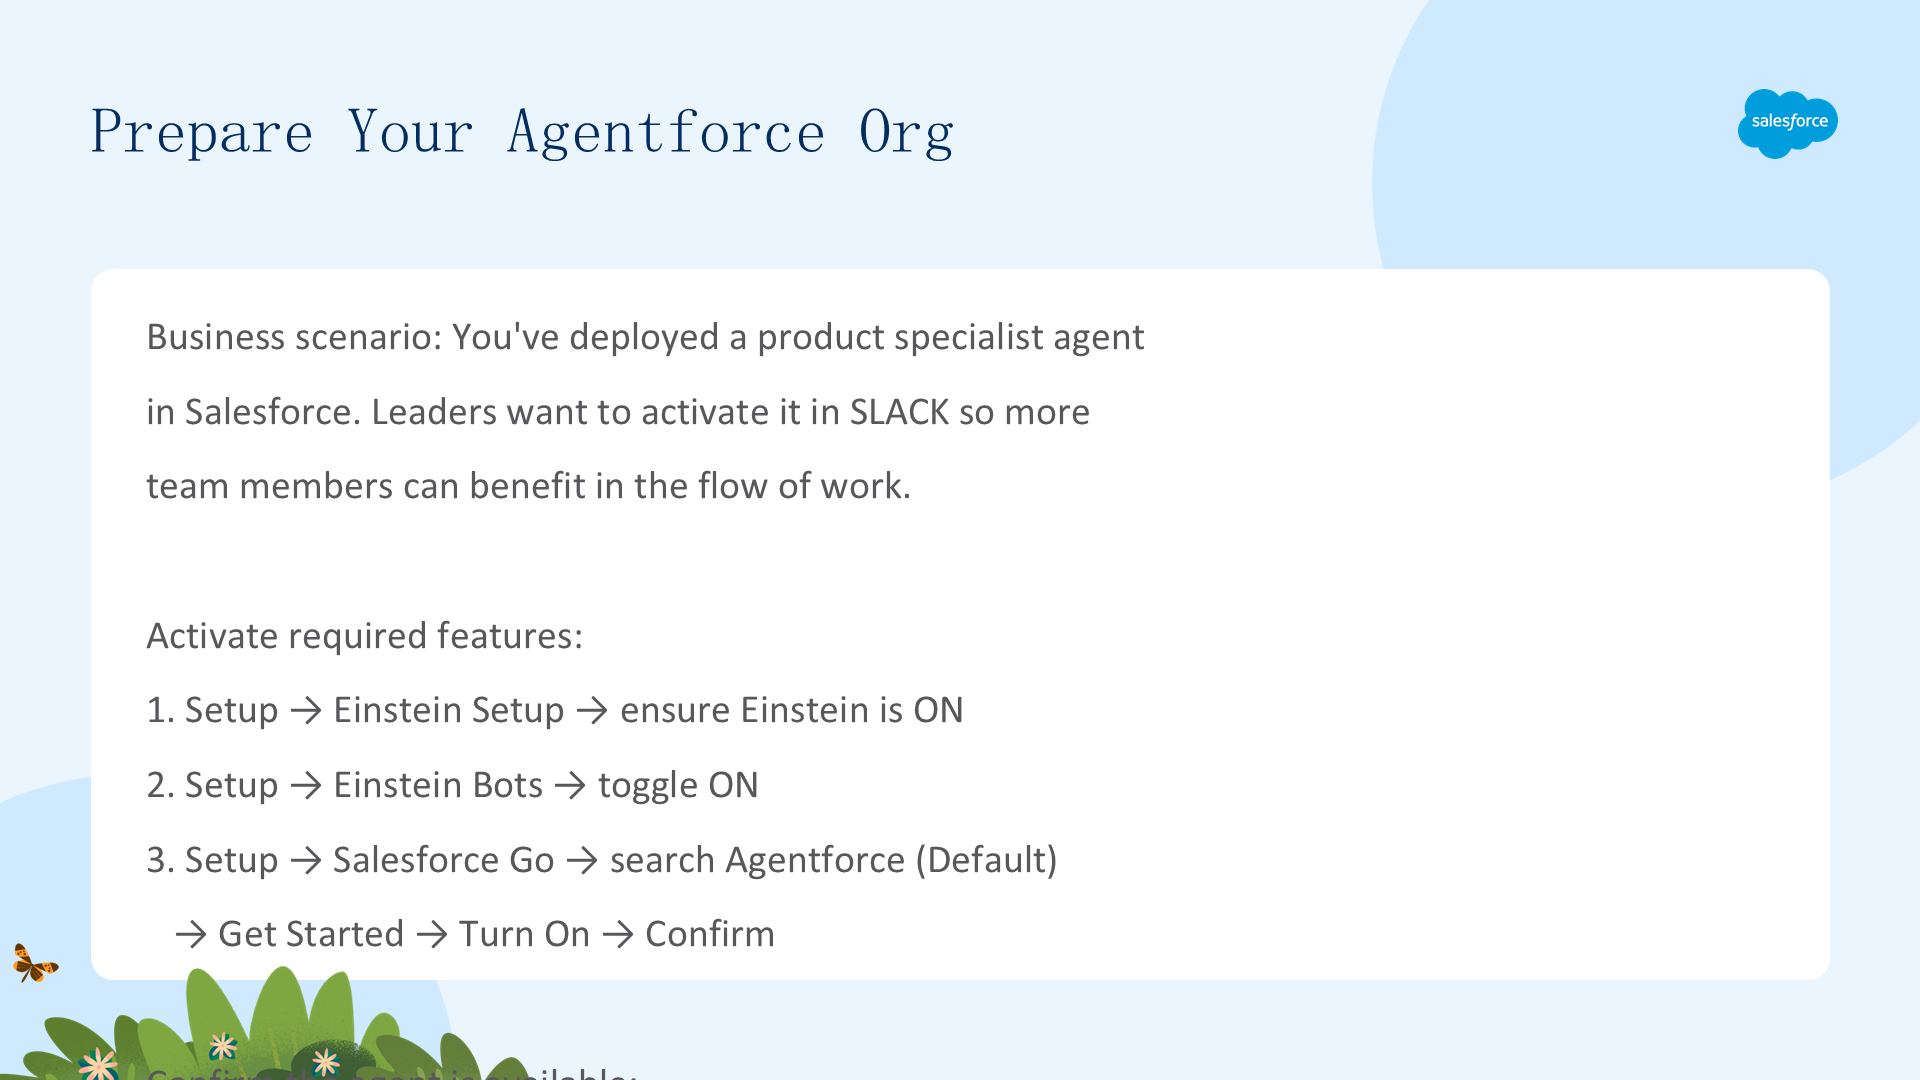
首先需要注册一个包含产品专家 Agent 的特殊 Developer Edition org,然后激活必要的功能。
🔹 注册 Developer Edition Org
- 注册免费的 Developer Edition org with the product specialist agent
- 填写表单(邮箱需有效,用户名需唯一且类似邮箱格式)→ 点击 Sign me up
- 收到激活邮件后点击 Verify Account,设置密码和安全问题
- 务必保存用户名、密码和登录 URL 到安全位置——后续 Agentforce Configuration for Slack Deployment 徽章还会用到
🔹 激活 Einstein、Einstein Bots 和 Agentforce
- 点击齿轮图标 → Setup → Quick Find 搜索 Einstein Setup → 确保 Einstein 为 On
- Quick Find 搜索 Einstein Bots → 设为 On(如有欢迎弹窗可点击 Let's go 关闭)
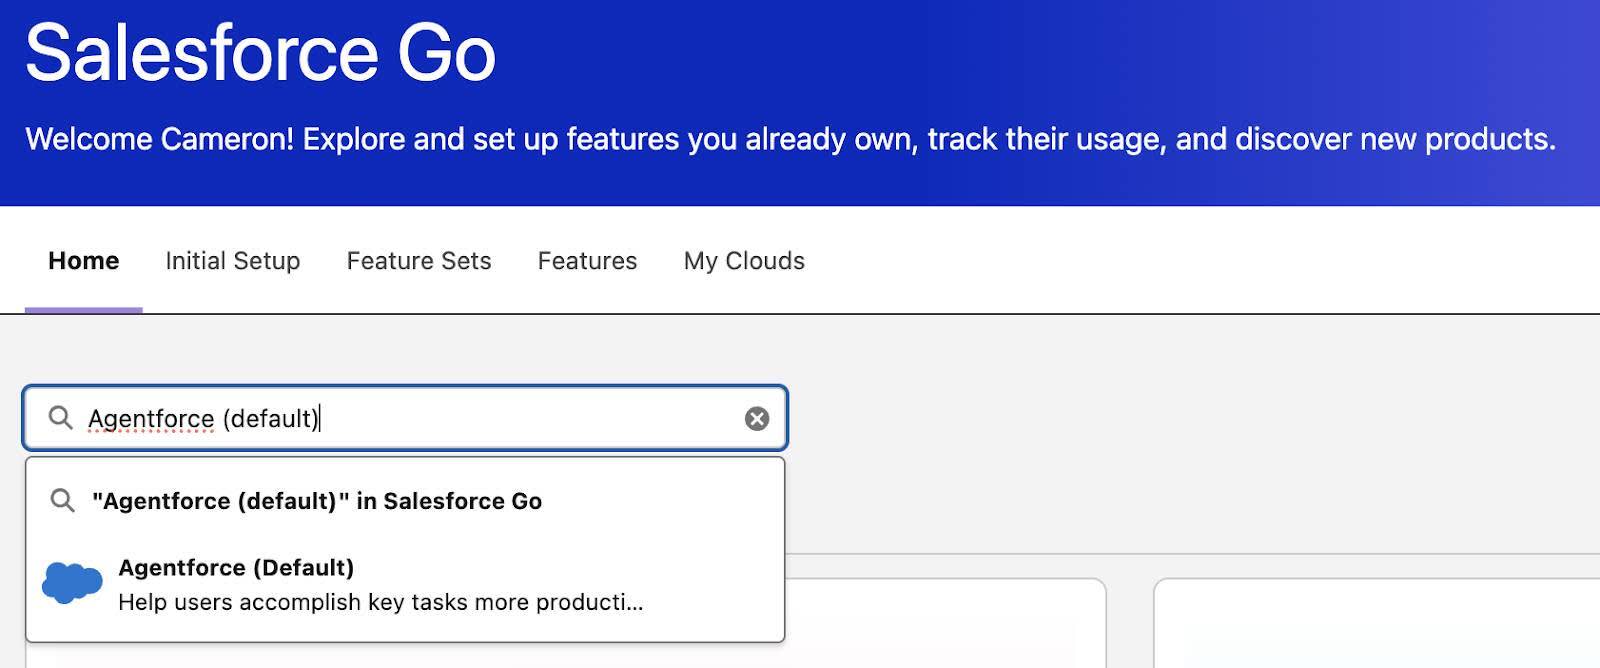
- 搜索并选择 Agentforce (Default) → 点击 Get Started → Turn On → Confirm
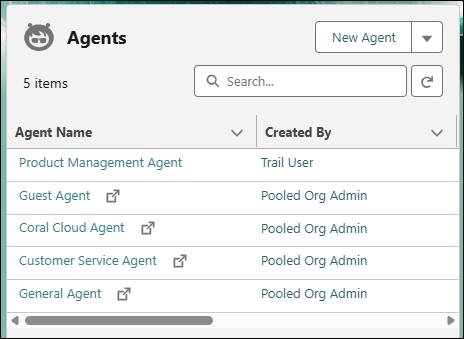
🔹 确认 Product Management Agent 可用
- 打开 App Launcher → 搜索并选择 Agentforce Studio
- 确认 Product Management Agent 出现在列表中
🔹 获取 My Domain URL
- Setup → Quick Find 搜索 My Domain
- 复制 Current My Domain URL(格式:
yourdomain-dev-ed.develop.my.salesforce.com) - 稍后在 Slack 中发起连接认证时需要用到此 URL
设置 Slack Playground 并请求连接
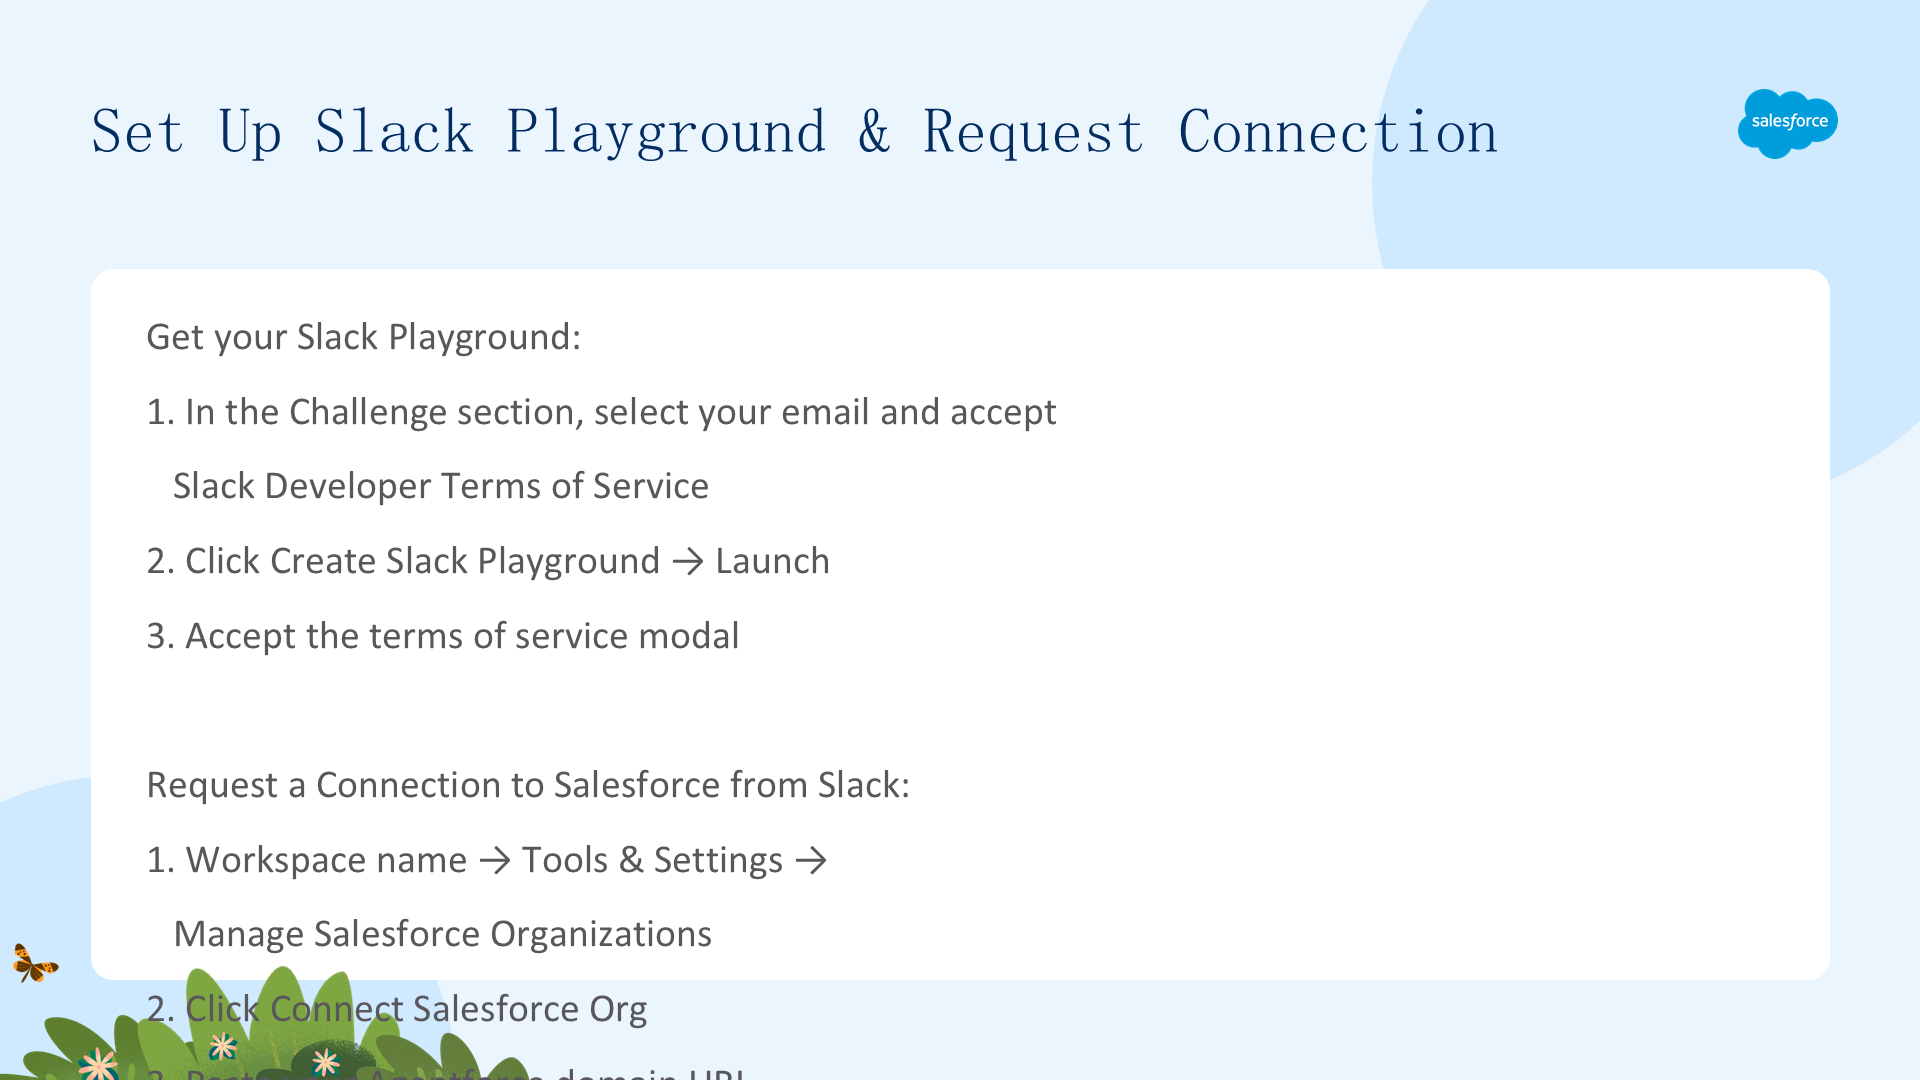
🔹 获取 Slack Playground
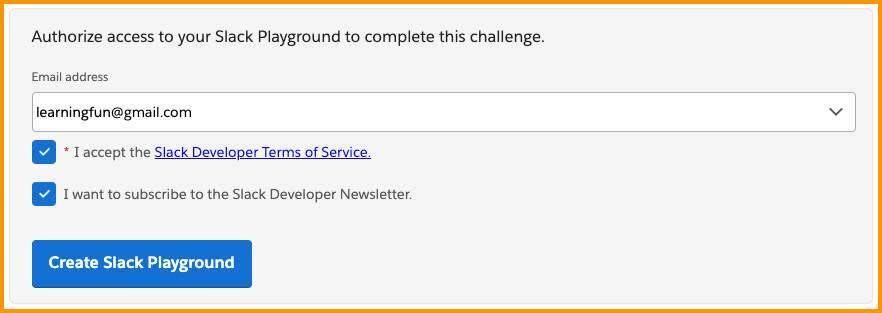
- 滚动到本页面底部的 Challenge 区域(Verify Step)
- 确认邮箱地址,勾选 "I accept the Slack Developer Terms of Service"
- 点击 Create Slack Playground → 创建完成后点击 Launch 在新标签页打开
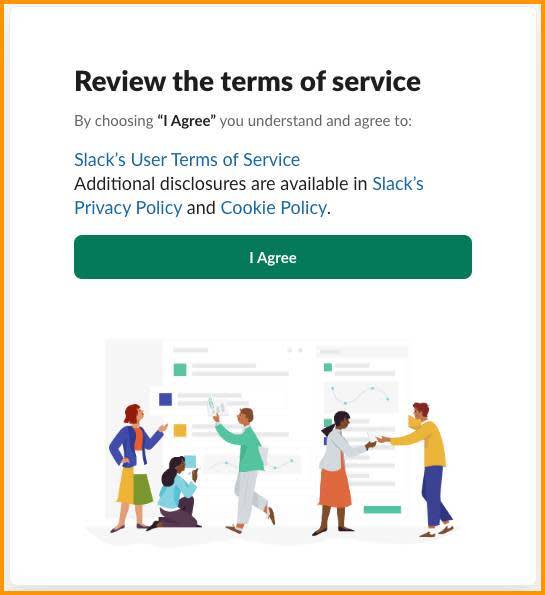
- 首次打开时会出现服务条款弹窗 → 点击 I Agree
🔹 从 Slack 请求 Salesforce 连接
- 在 Slack Playground 中,点击工作区名称 → Tools & settings → Manage Salesforce Organizations
- 点击 Connect Salesforce Org
- 粘贴之前保存的 My Domain URL
- 取消勾选 "Map user accounts automatically"(本徽章手动配置用户映射)
- 点击 Request Connection → 看到请求已发送给 Salesforce 管理员的确认
- 点击 Okay
您可以在 Slack 中连接最多 25 个 Salesforce Org。现在集成正在进行中——接下来,从 Salesforce 端批准。

二、批准并完成连接
现在返回 Salesforce 环境。在 Slack 中发起连接请求后,Salesforce 管理员(也就是您)需要在 Salesforce 中批准它。
批准、激活与最终完成
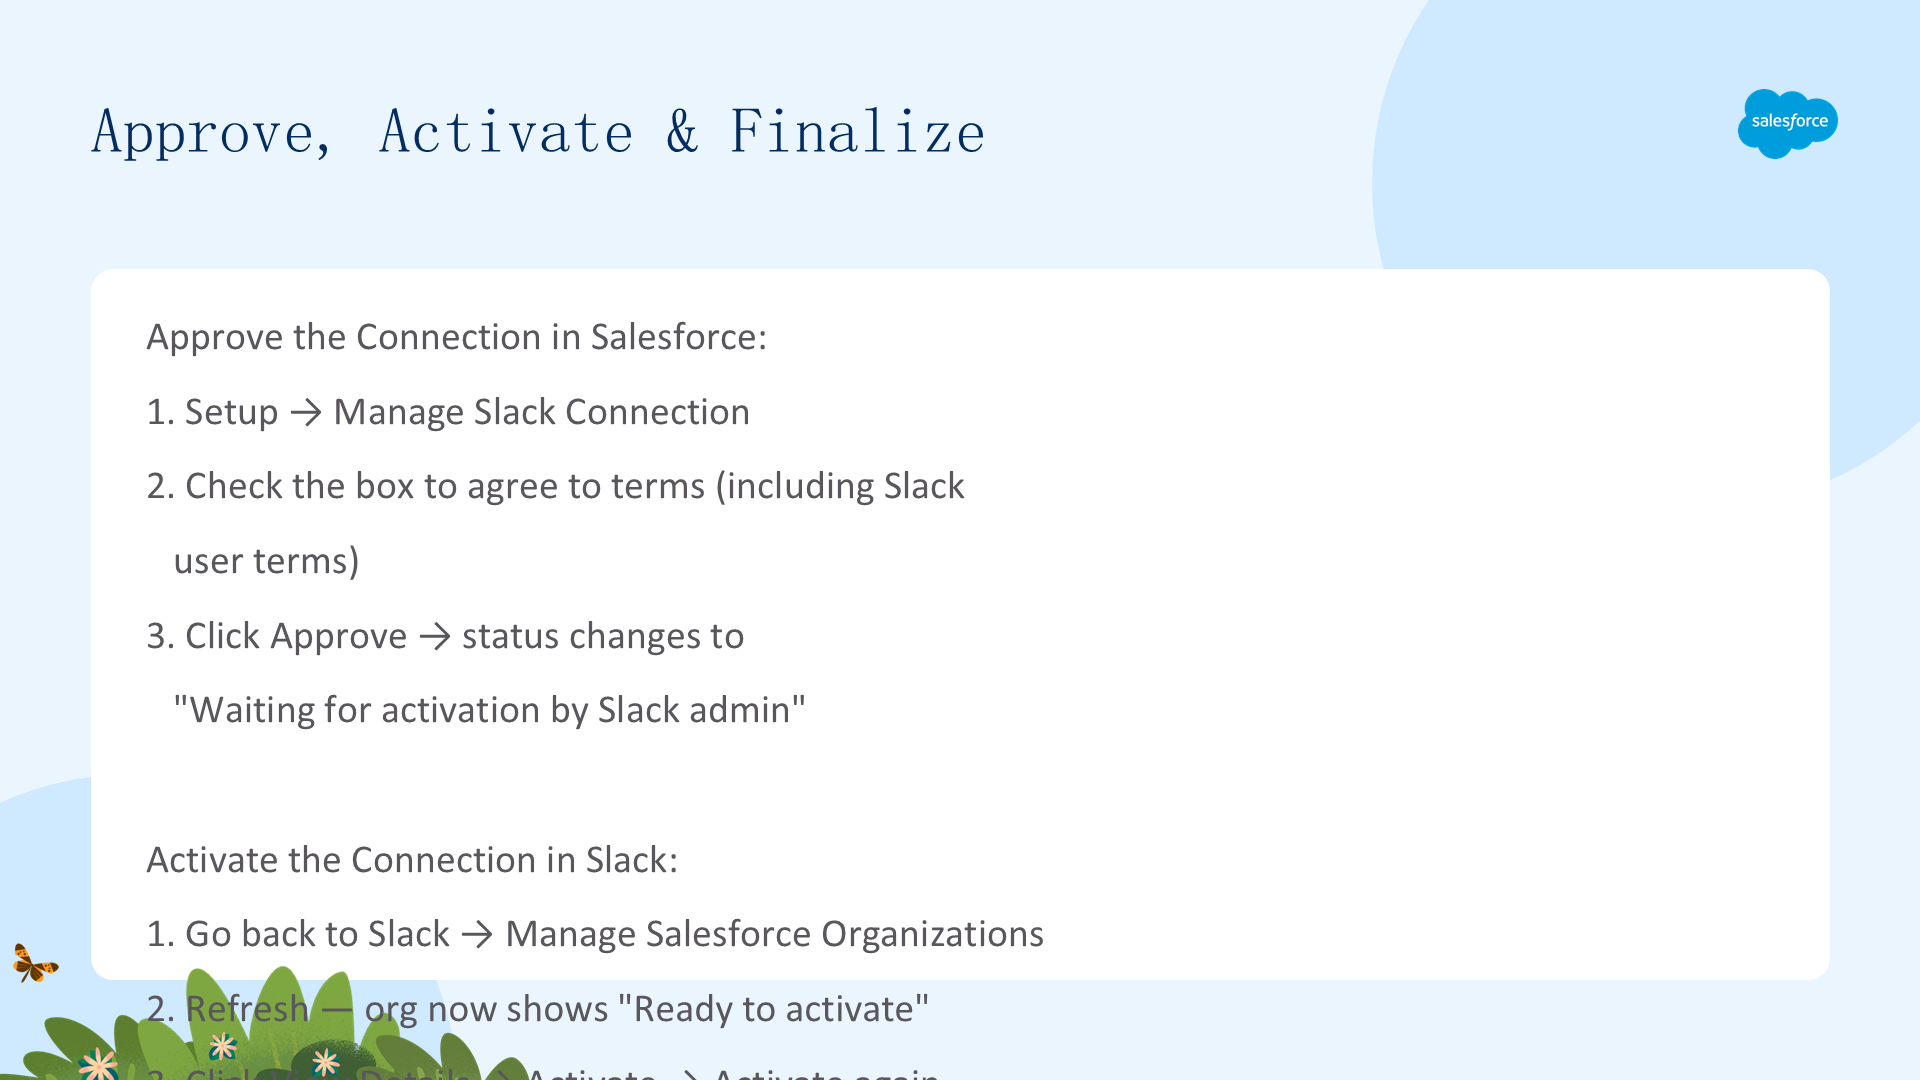
🔹 在 Salesforce 中批准连接
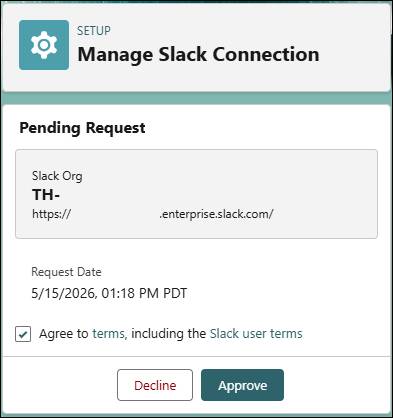
- Setup → Quick Find 搜索 Manage Slack Connection
- 您会看到来自 Slack Playground 的待批准请求
- 勾选同意条款(包括 Slack 用户条款)的复选框
- 点击 Approve → 状态变为 "Waiting for activation by Slack admin"
🔹 在 Slack 中激活连接
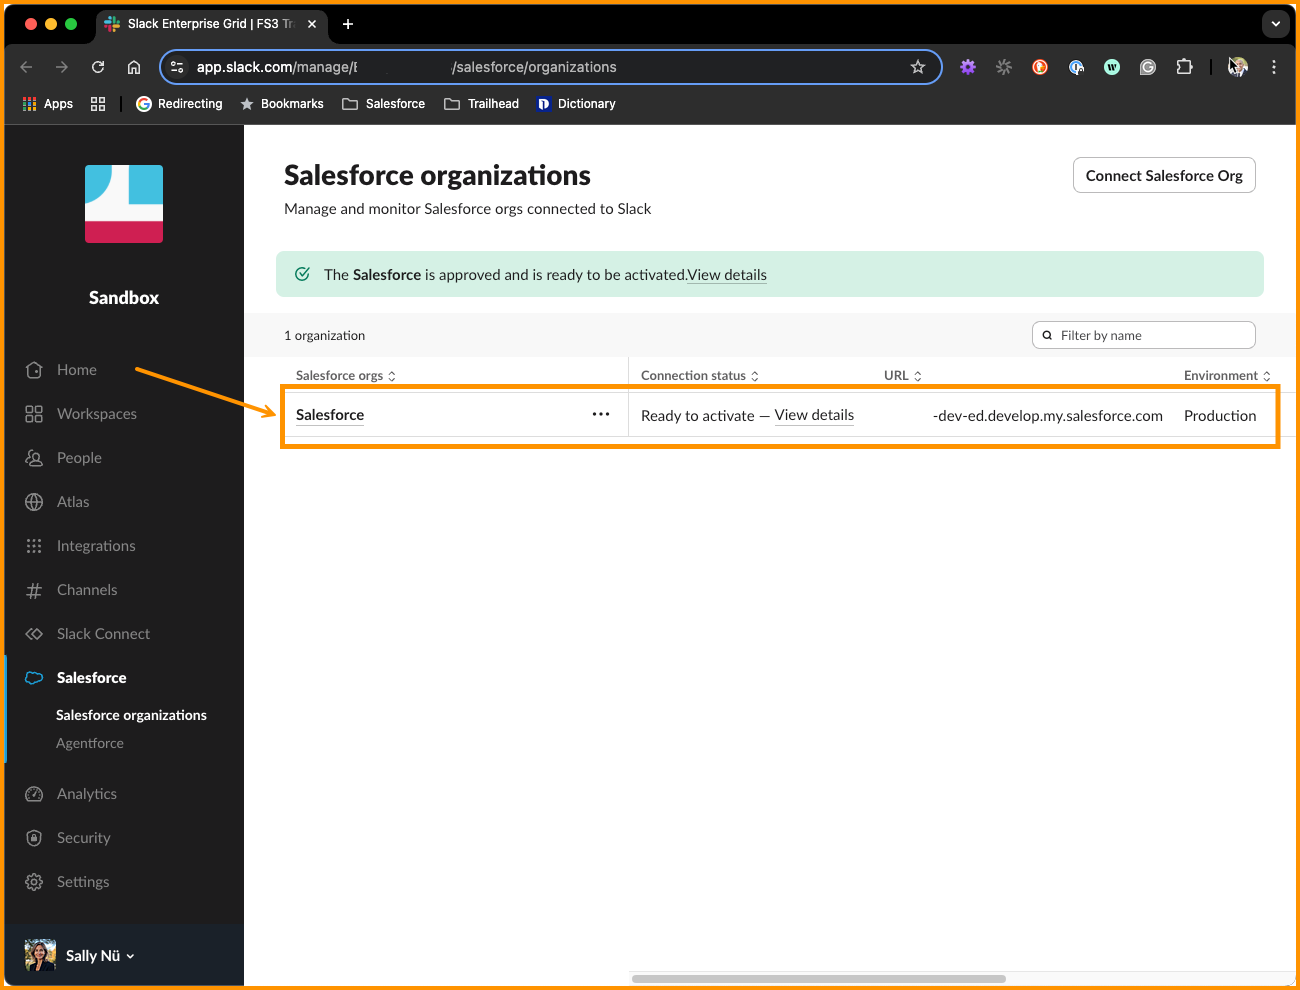
- 返回 Slack → Manage Salesforce Organizations(如果保持标签页打开,刷新即可)
- Org 现在显示连接状态为 "Ready to activate"
- 点击 View Details → Activate → 在弹窗中再次点击 Activate
🔹 添加 Slack 用户
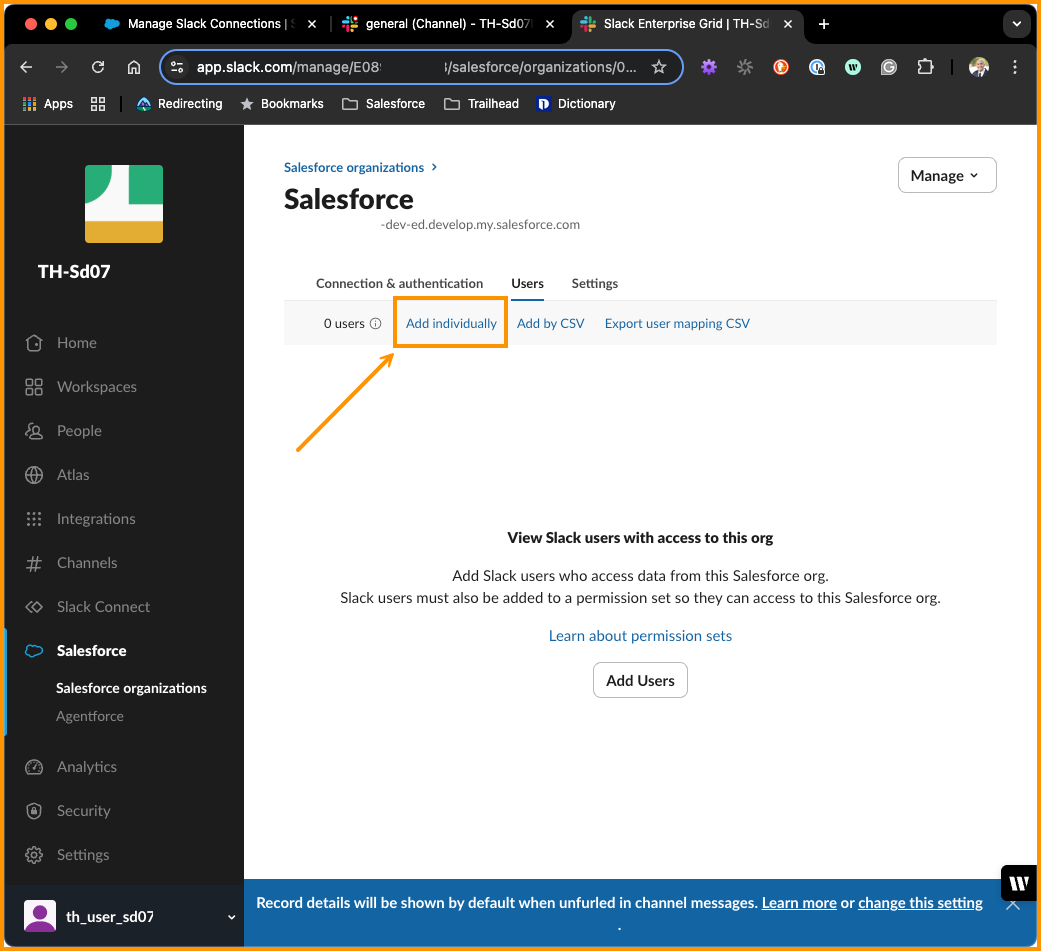
- 保持在管理页面 → Users 选项卡
- 点击 Add individually
- 搜索您的 Slack 用户名(带有 "(you)" 后缀)
- 点击 Grant Access to 1 Person
🔹 从 Slack 登录 Salesforce(OAuth)
- 返回 Slack 工作区 → 刷新页面
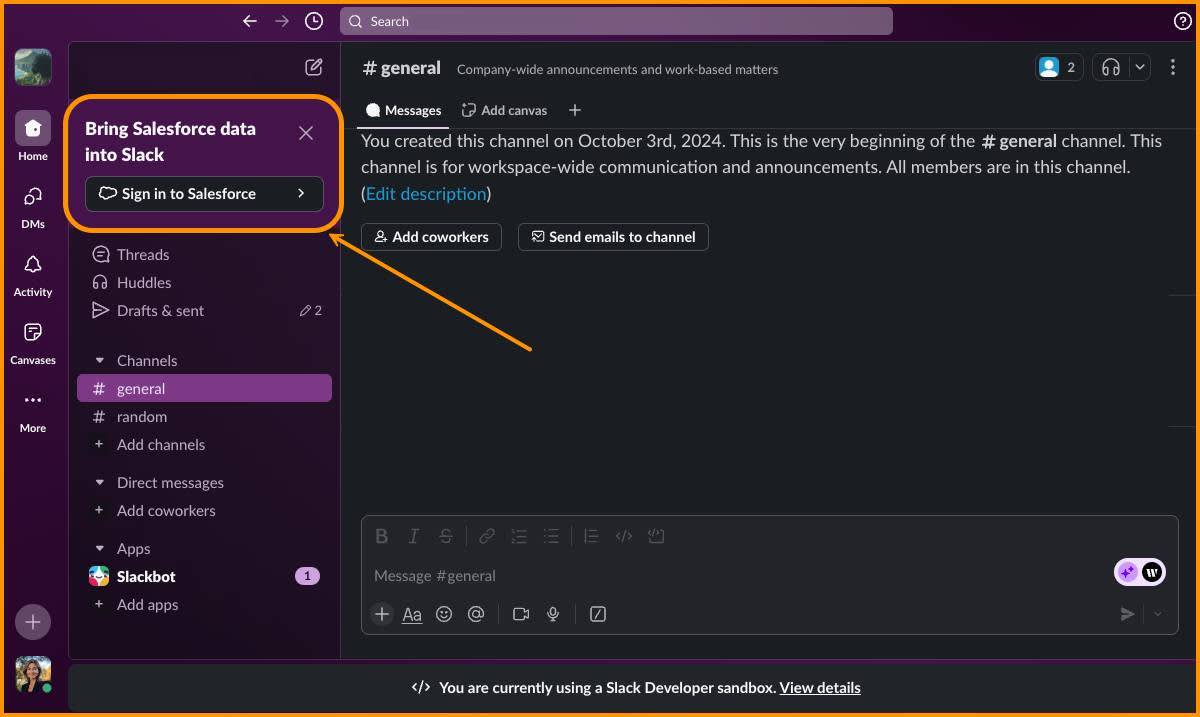
- 导航栏出现弹窗 "Bring Salesforce data into Slack" → 点击 Sign in to Salesforce
- 点击 Continue → Continue to Salesforce
- 输入您的管理员登录凭据 → Login → Allow
- 看到成功连接消息后关闭 OAuth 窗口
📝 提示:如果不小心关闭了弹窗,可以通过工作区名称 → Preferences → Salesforce 找到替代的登录页面。
🎉 完成!您的 Agentforce 和 Slack Org 现已连接,Product Management Agent 已准备好部署到 Slack 对话中。
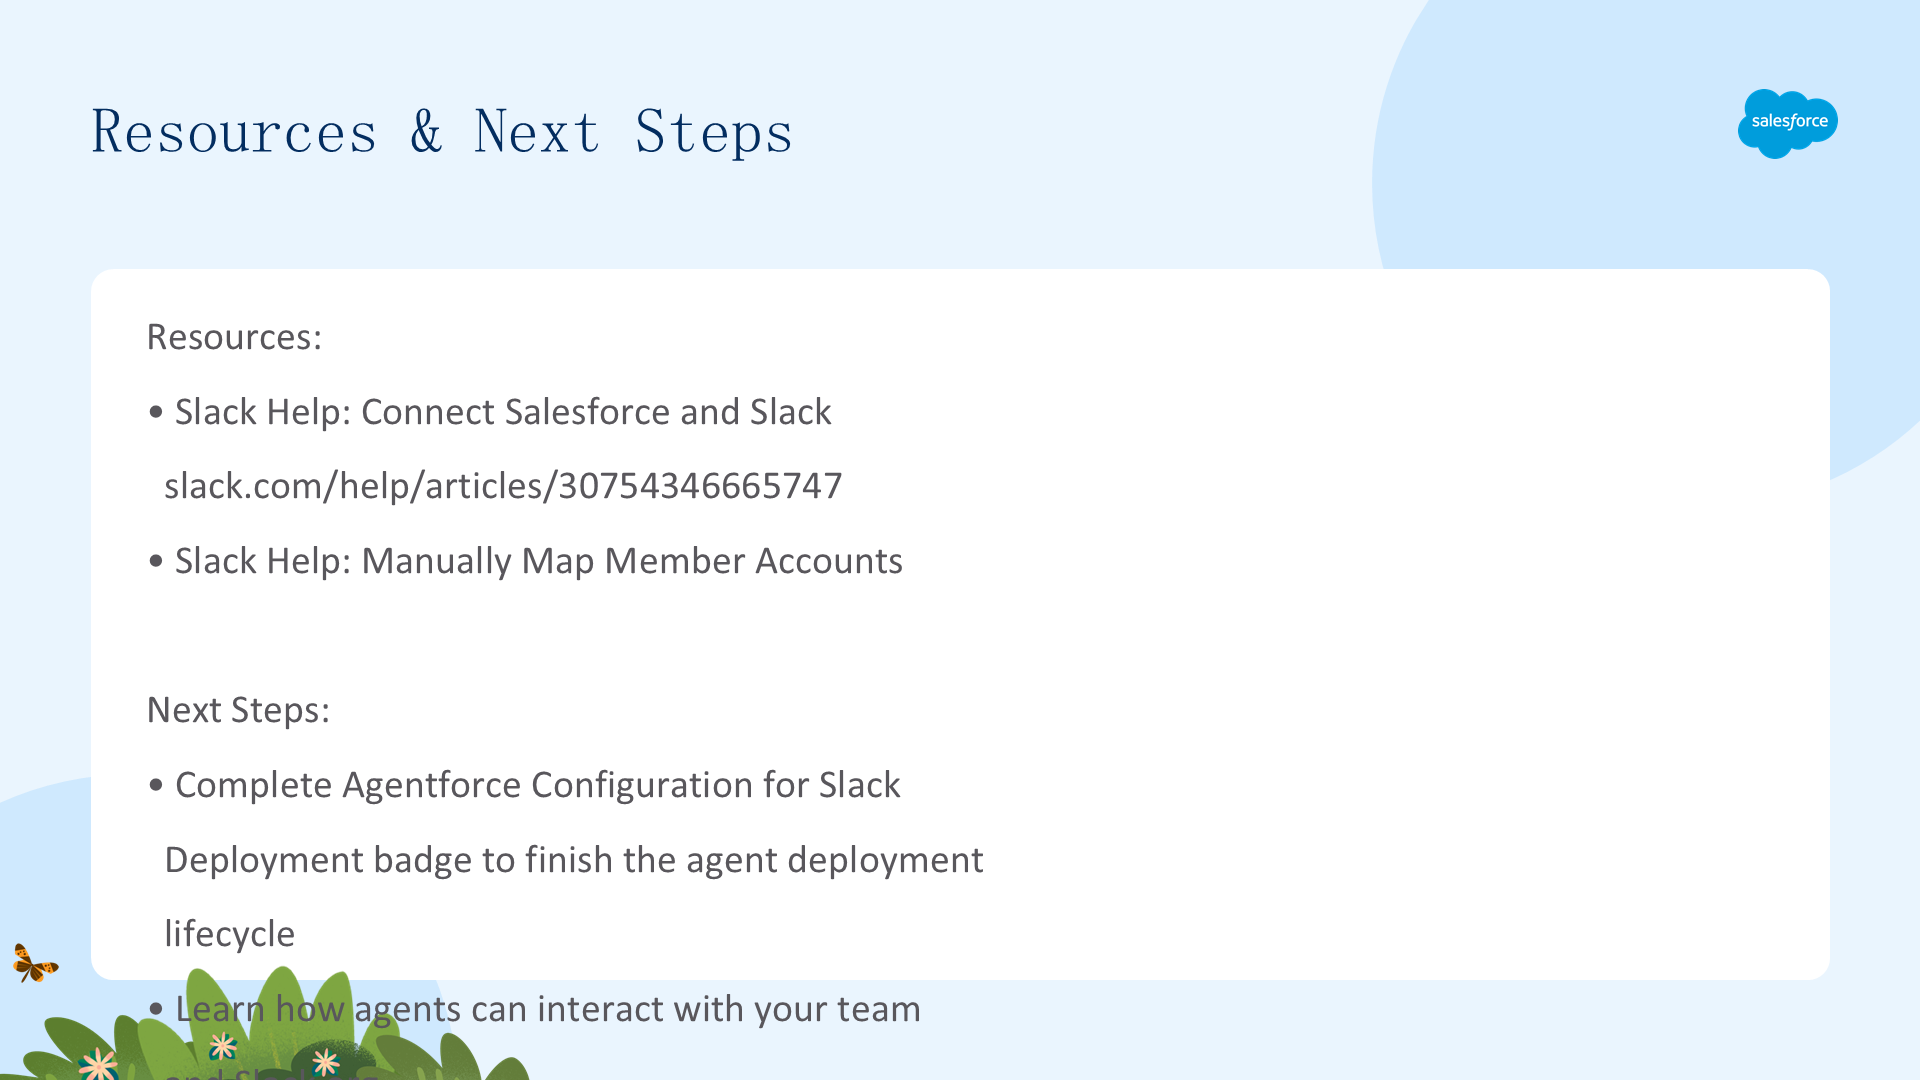
资源与下一步
本项目的核心流程回顾:
- 准备 Agentforce Org:注册 Developer Edition → 激活 Einstein + Bots + Agentforce → 确认 Product Management Agent → 获取 My Domain URL
- Slack 端发起连接:创建 Slack Playground → 粘贴 Domain URL → 取消自动映射 → 请求连接
- Salesforce 端批准:Manage Slack Connection → 同意条款 → Approve
- Slack 端激活:View Details → Activate → 添加用户 → OAuth 登录
下一步:完成 Agentforce Configuration for Slack Deployment 徽章,将 Agent 部署到 Slack 频道和私信中,完成 Agent 部署的完整生命周期。了解 Agent 如何与团队和 Slack Org 交互,将 AI 助手直接带入团队每天协作的工作流中。
集成需要时间和努力,您做得很好!现在您可以轻松安全地将 Agent 带入工作流。
文章来源:Trailhead - Quick Start: Connect Your Agentforce Org with Slack