一、准备创建 Apex 操作(Get Ready to Create an Apex Action)
Flow 和 Prompt 能覆盖很多场景,但 LLM 也能读取并处理代码——你的 agent 因此能借助 Apex 的力量。本单元先做好准备:从 Coral Cloud 的天气场景出发,注册特殊 Developer Edition org,启用 Agentforce Studio,再深入理解一个现有 Apex 类如何通过 @InvocableMethod 与 @InvocableVariable 注解变成 agent 操作,以及 agent 所需的权限。
完成本单元后,你将能够:
- 让你的 org 做好构建操作(Actions)的准备;
- 验证你的 Apex 已准备好用于操作。
场景:晴空万里(Forecast: Sunny Skies Ahead)
任何度过度假的人都知道,关注天气对充分利用旅行计划至关重要。在 Coral Cloud Resorts,客人预期会阳光明媚、温暖宜人——直到天气突变。为了让客人无论天气如何都能充分享受住宿,Coral Cloud 团队想为其 AI agent 添加获取天气信息的能力。
为此,他们需要创建一个操作,从 Apex 类中通过外部 API 拉取天气数据。org 里已经有一个 WeatherService Apex 类,任务就是让它能被 agent 使用。
注册包含 Agentforce 的 Developer Edition Org
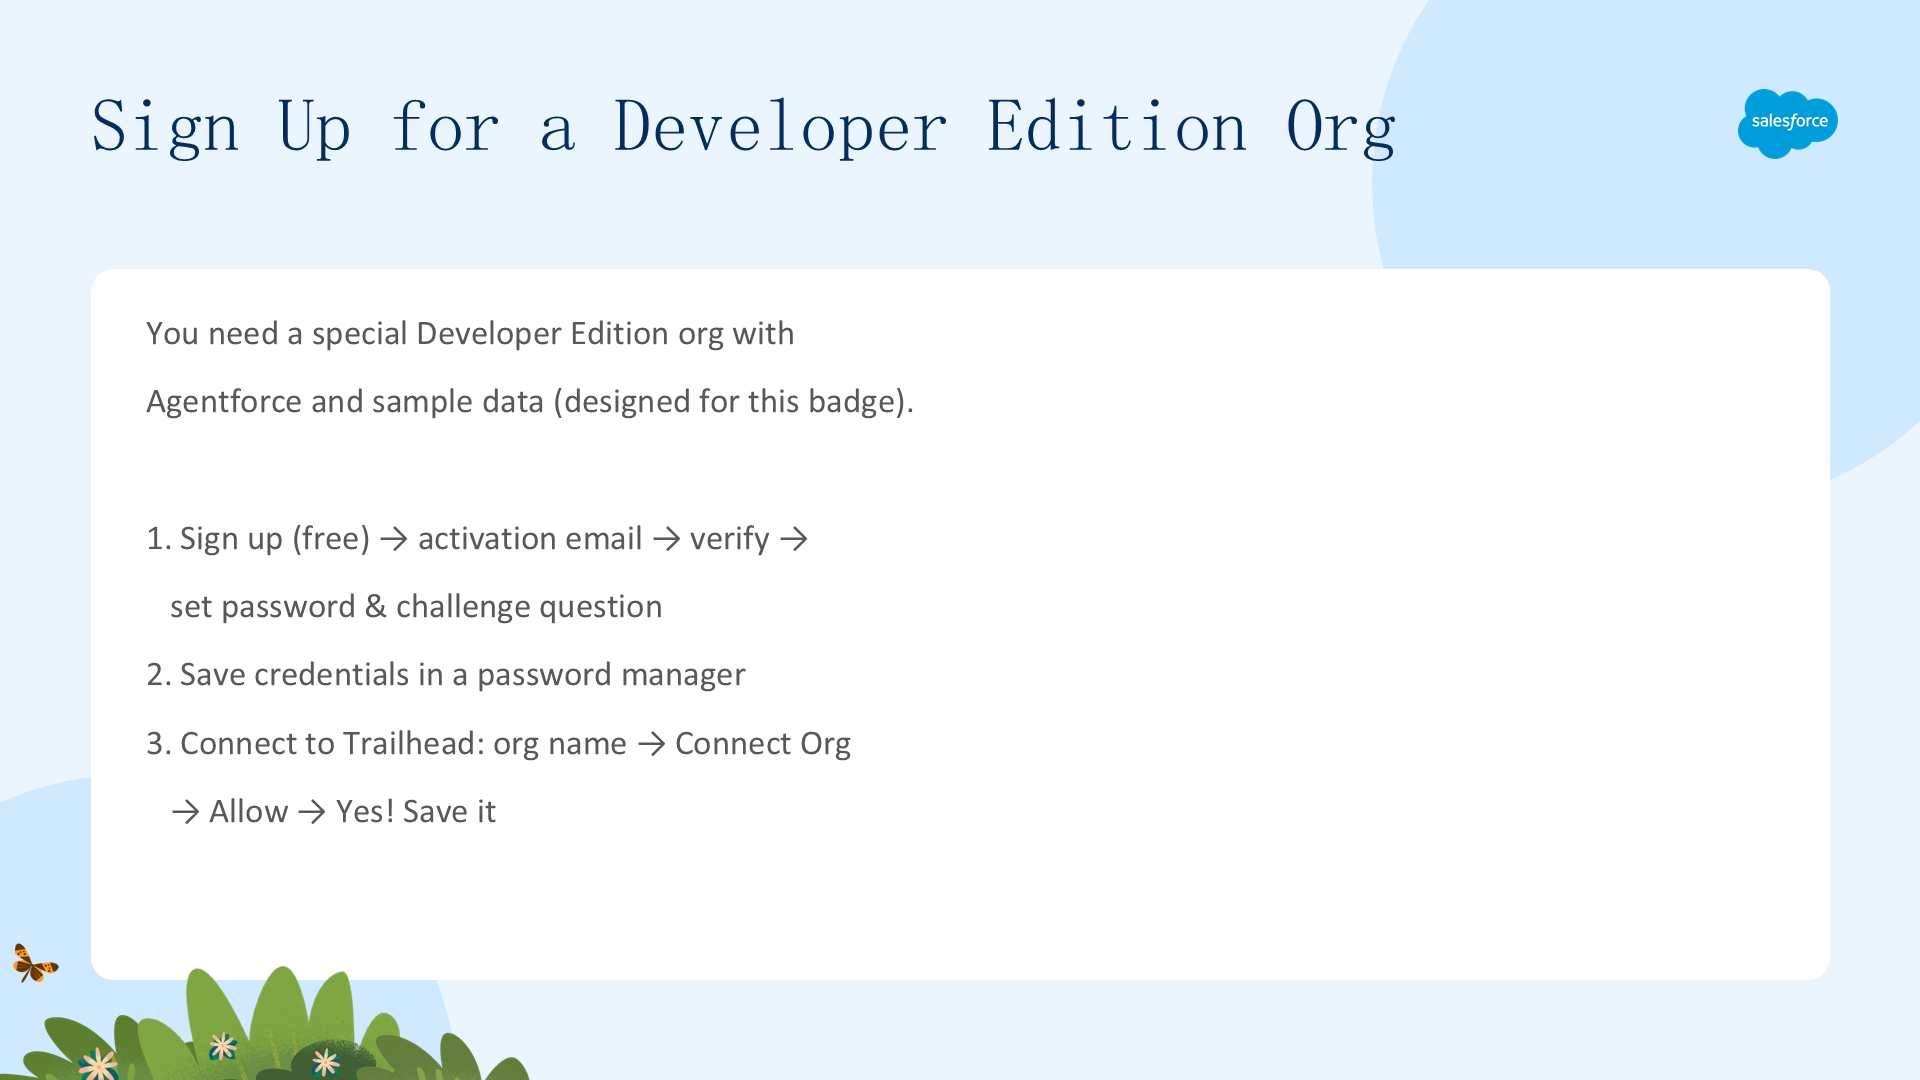
本模块需要一个包含 Agentforce 和示例数据的特殊 Developer Edition org(专为本 badge 的挑战设计)。
- 注册免费的 带 Agentforce 的 Developer Edition org。
- 邮箱填有效地址;用户名填一个形如邮箱且唯一的字符串(无需真实邮箱,如 yourname@example.com)。
- 填完表单点击 Sign me up,出现确认消息。
- 收到激活邮件后(可能需几分钟),打开并点击 Verify Account。
- 设置密码和密保问题完成注册。建议把用户名、密码和登录 URL 存在密码管理器等安全处。
然后把新 org 连接到 Trailhead:在页面底部 Challenge 区域点击 org 名称,点击 Connect Org,输入凭据,点击 Allow,再点击 Yes! Save it。
让 Org 为 Agent 做好准备
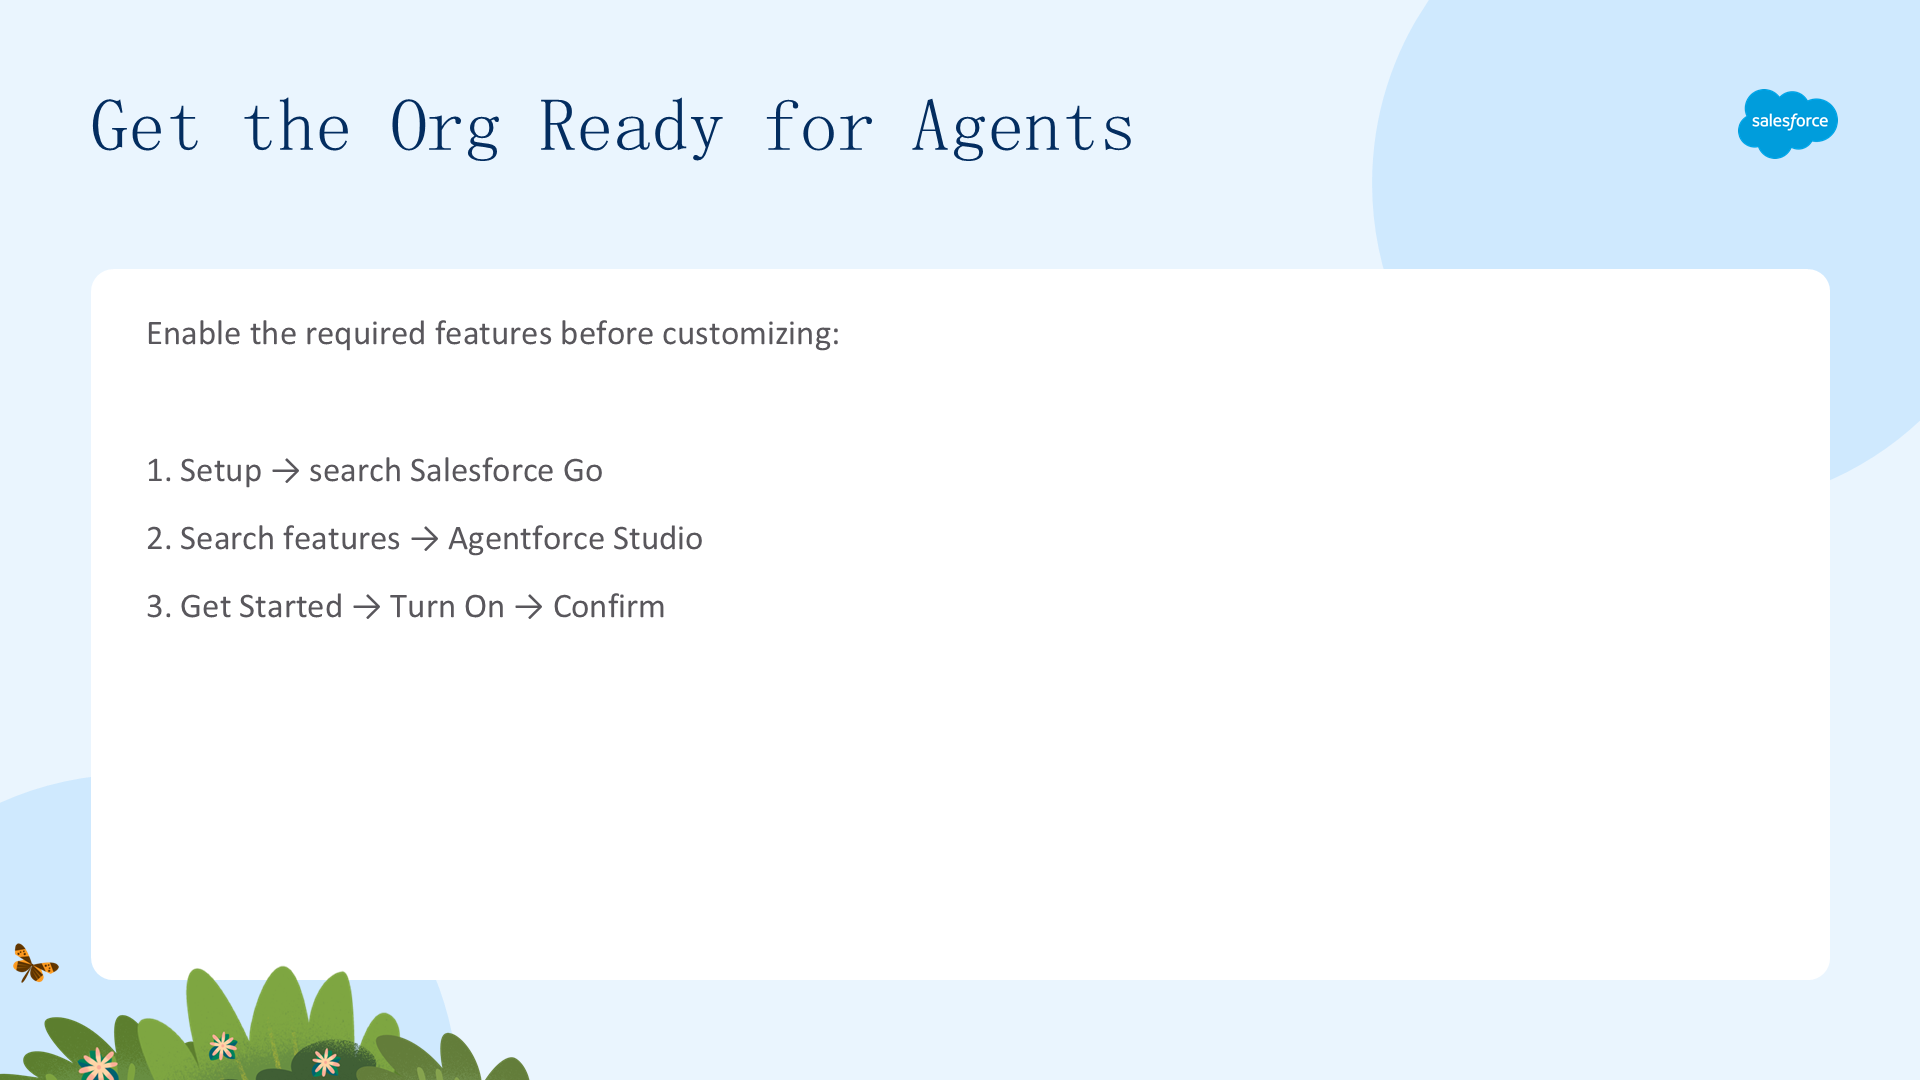
在开始定制 agent 之前,先启用所有必需的 org 功能。
- 点击 Setup 齿轮并选择 Setup。
- 在 Quick Find 中搜索并选择 Salesforce Go。
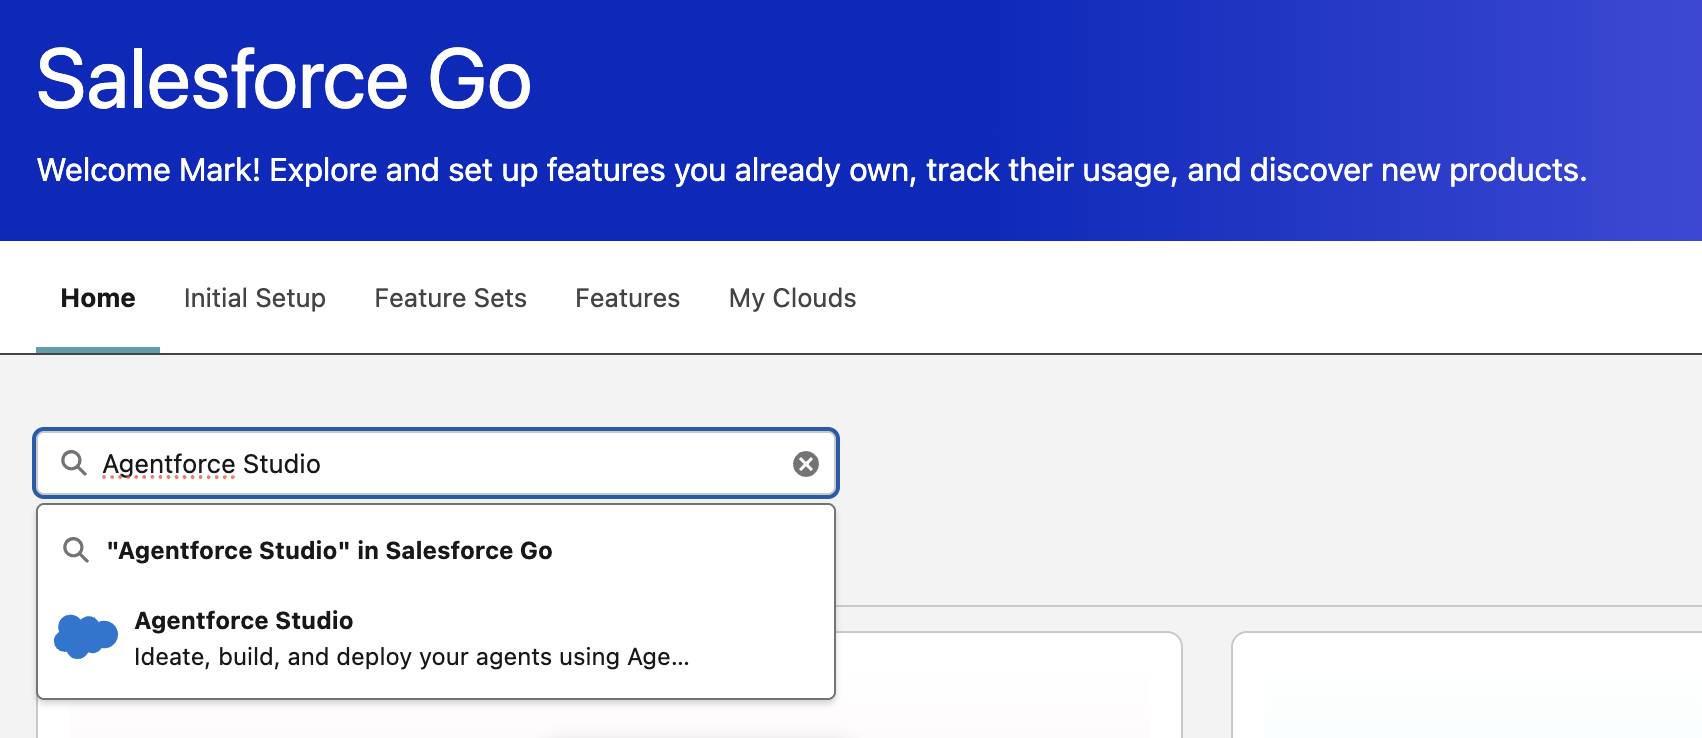
- 在 Search features 文本框中输入并选择 Agentforce Studio。
- 点击 Get Started,再点击 Turn On,最后点击 Confirm。
启用 Agentforce Studio 后,就可以开始构建 agent 定制了。
用现有功能构建(上):WeatherService
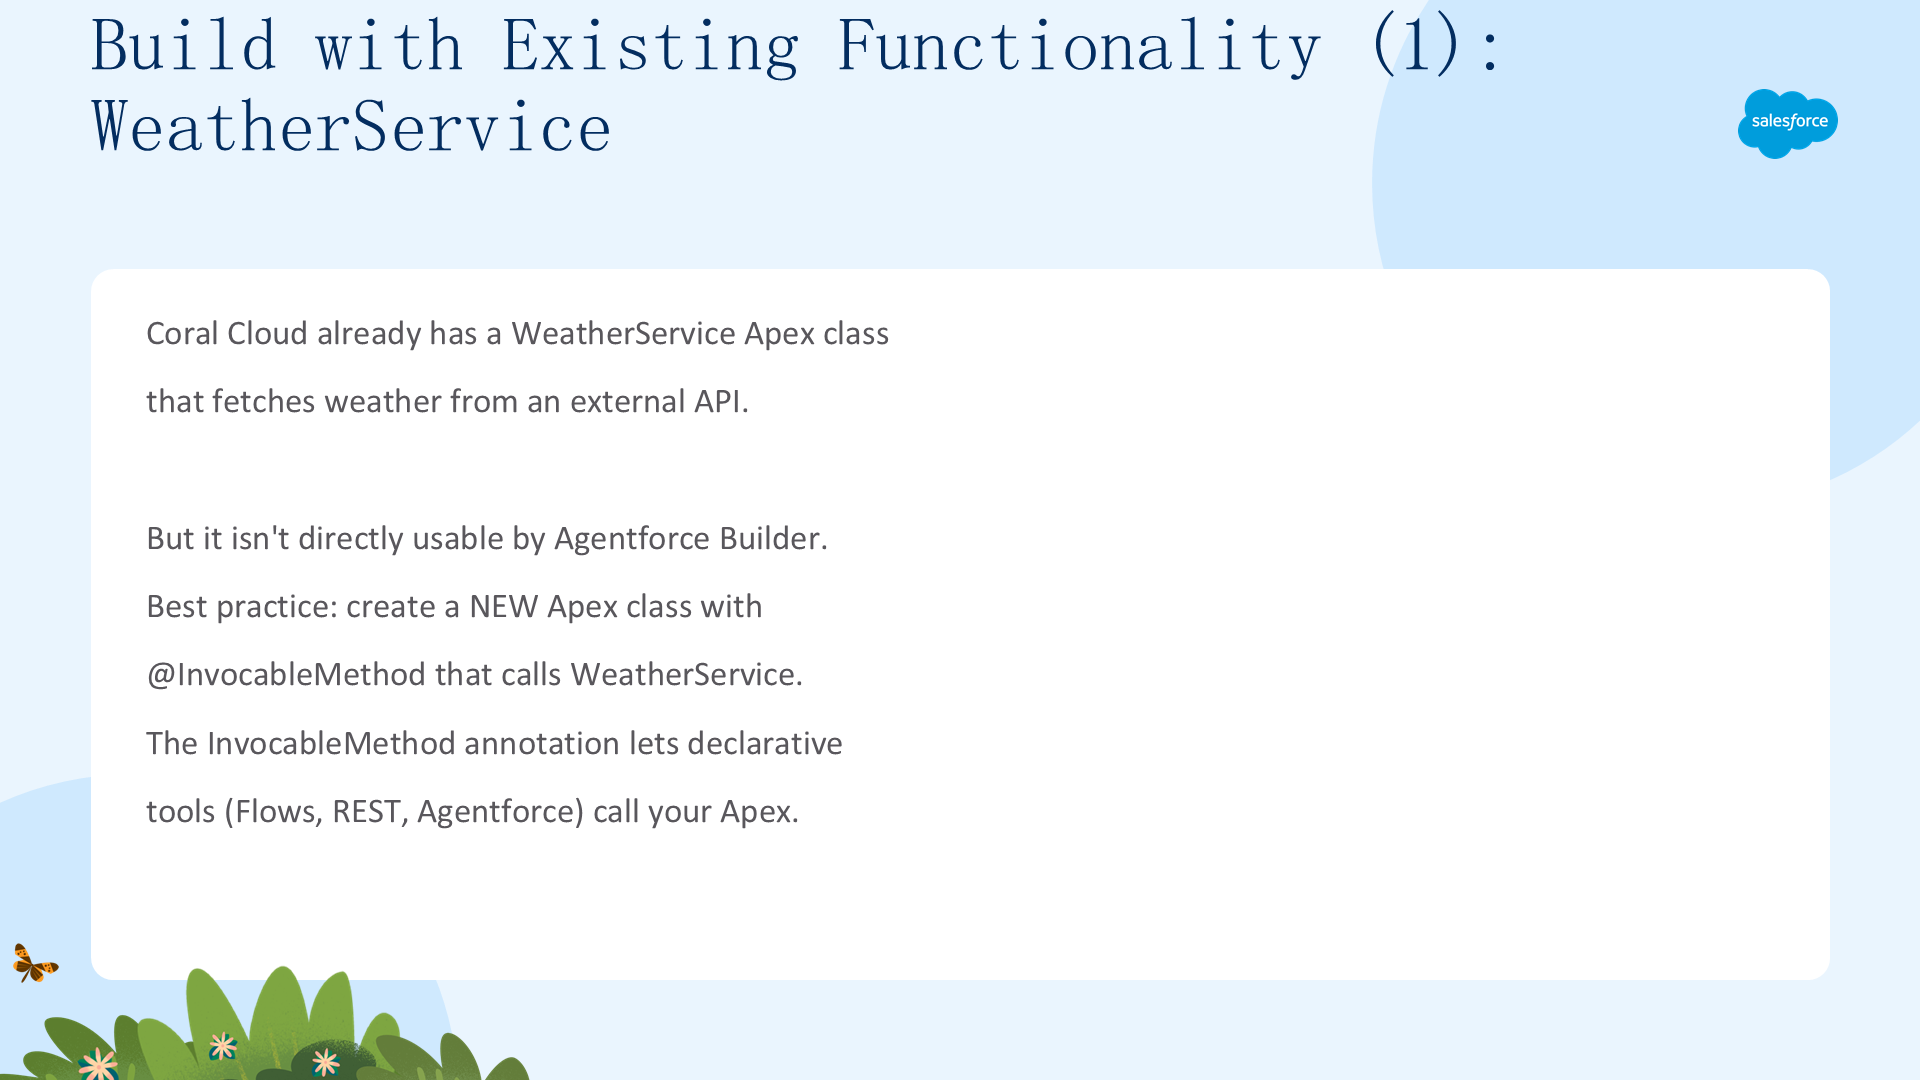
在 Salesforce 上构建 AI agent 的一大好处,就是可以复用 org 中已有的功能。Coral Cloud 已经有一个 WeatherService Apex 类,通过 HTTP 请求从外部天气服务获取指定日期的天气。
public with sharing class WeatherService {
    /**
     * Gets the weather at Coral Cloud Resorts for the provided date
     */
    public static Weather getResortWeather(Datetime dateToCheck) {
        Integer currentYear = Date.today().year();
        Integer yearDelta = currentYear - dateToCheck.year();
        dateToCheck = dateToCheck.addYears(yearDelta);
        String isoDate = dateToCheck.format('yyyy-MM-dd');
        String dateString = dateToCheck.format('MMMM d');
        // Prepare API request
        HttpRequest req = new HttpRequest();
        req.setEndpoint(
            'callout:Weather_Endpoint/weather?lat=37.789782764570425&lon=-122.39723702244089&date=' +
            isoDate
        );
        req.setMethod('GET');
        // Make callout
        Http http = new Http();
        HttpResponse res = http.send(req);
        if (res.getStatusCode() != 200) {
            throw new CalloutException('Bad response: ' + res);
        }
        // The response contains a list of temperatures for different times of the day
        // We parse the response and find the min and max temperatures
        String body = res.getBody();
        WeatherApiResponse weatherResponse = (WeatherApiResponse) JSON.deserialize(
            body,
            WeatherAPIResponse.class
        );
        List<Decimal> temperatures = new List<Decimal>();
        for (TemperatureWrapper item : weatherResponse.weather) {
            if (item.temperature != null) {
                temperatures.add(item.temperature);
            }
        }
        temperatures.sort();
        // Prepare temperatures and description
        Decimal minTempC = temperatures[0];
        Decimal maxTempC = temperatures[temperatures.size() - 1];
        Decimal minTempF = toFahrenheit(minTempC);
        Decimal maxTempF = toFahrenheit(maxTempC);
        String description =
            'On ' +
            dateString +
            ', temperature should be between ' +
            minTempC +
            '°C (' +
            minTempF +
            '°F) and ' +
            maxTempC +
            '°C (' +
            maxTempF +
            '°F) at Coral Cloud Resorts.';
        // Return weather info
        Weather weather = new Weather();
        weather.minTemperatureC = minTempC;
        weather.minTemperatureF = minTempF;
        weather.maxTemperatureC = maxTempC;
        weather.maxTemperatureF = maxTempF;
        weather.description = description;
        return weather;
    }
    private static Decimal toFahrenheit(Decimal celsius) {
        return (celsius * 9 / 5 + 32).setScale(1);
    }
    private class WeatherApiResponse {
        public List<TemperatureWrapper> weather;
    }
    private class TemperatureWrapper {
        public Decimal temperature;
    }
    public class Weather {
        public Decimal minTemperatureC;
        public Decimal minTemperatureF;
        public Decimal maxTemperatureC;
        public Decimal maxTemperatureF;
        public String description;
    }
}
但这个类并不能直接供 Agentforce Builder 使用。你可以更新它使其变为 invocable 方法,但最佳实践是创建一个新的 Apex 类,给它加上 @InvocableMethod 注解,并让它调用原有的 WeatherService。正是这个注解,让声明式工具(Flow、通过 REST 的外部应用、以及 Agentforce)能够调用你的自定义 Apex 代码。
用现有功能构建(下):Invocable 注解
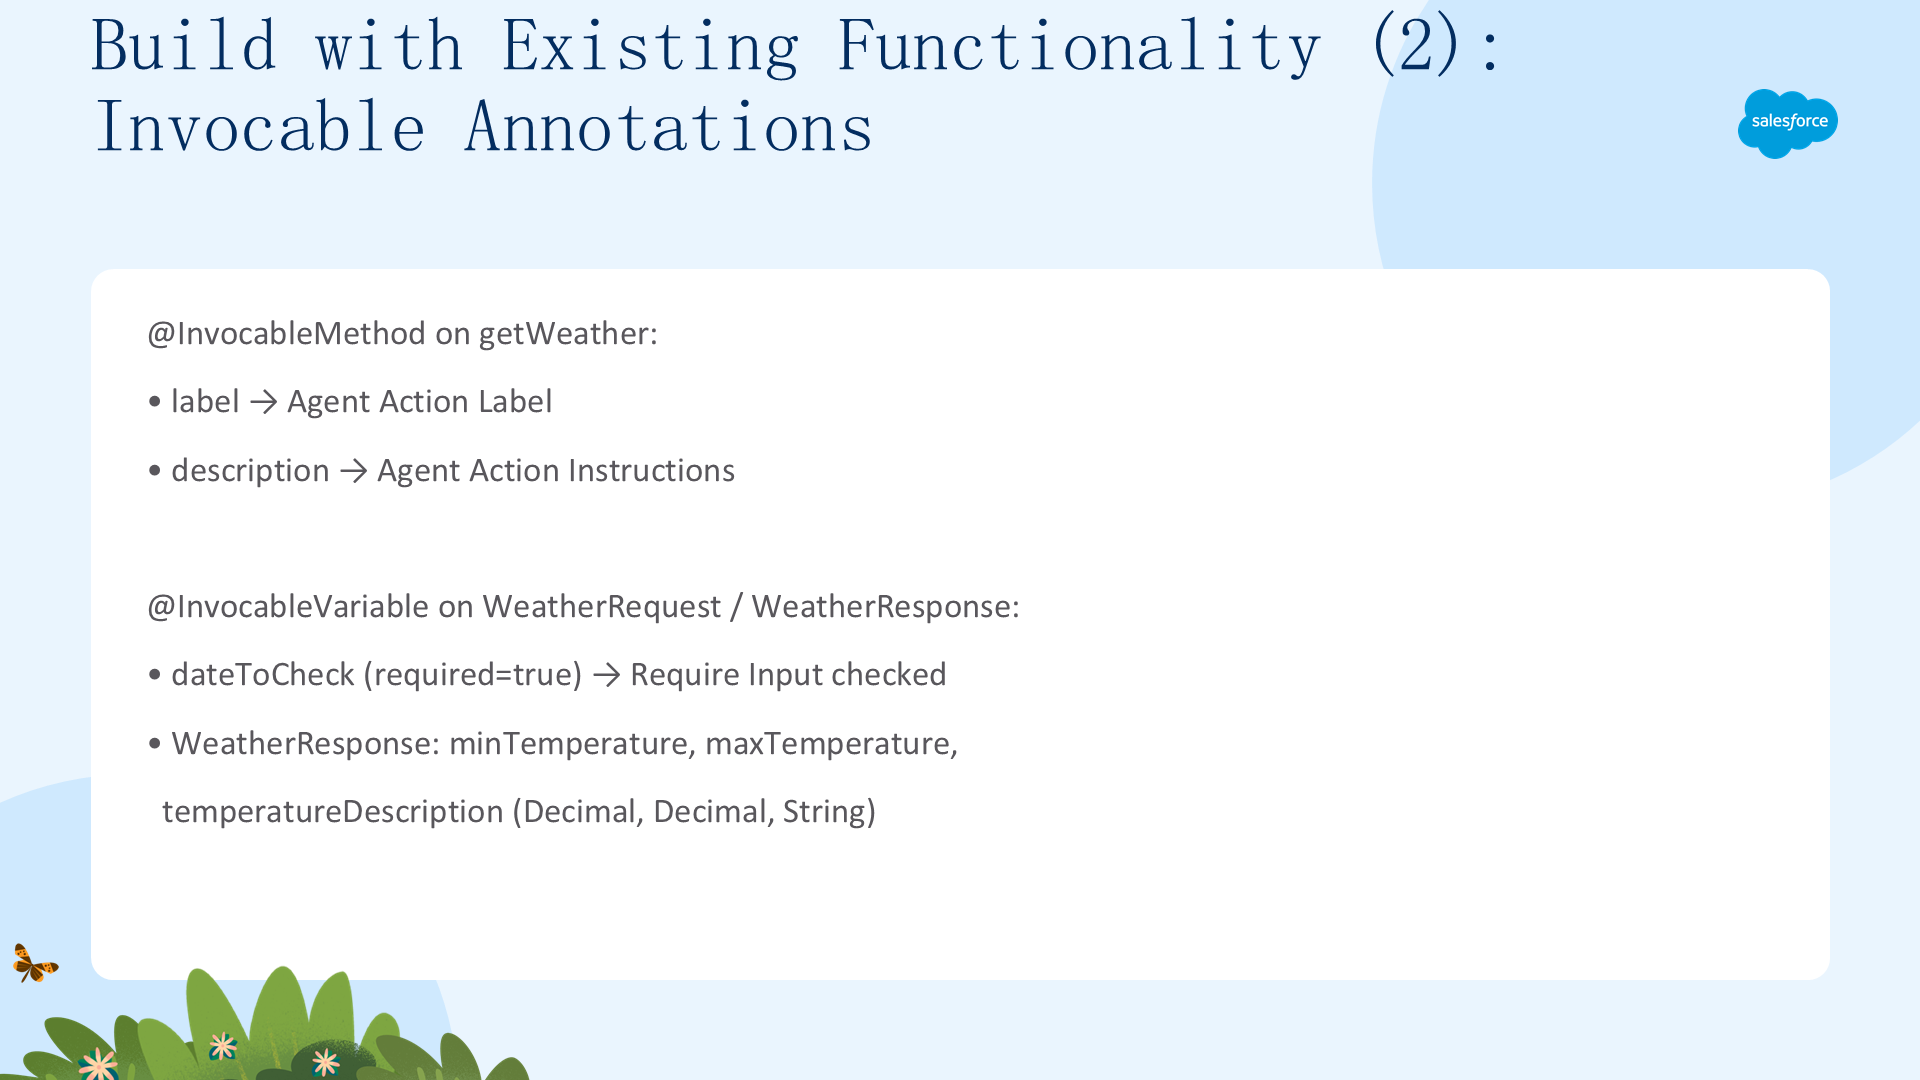
好消息是,Coral Cloud 团队已经写好了这个新类——CheckWeather,它调用原有的 WeatherService。下面看看这个类的实现:
public with sharing class CheckWeather {
    @InvocableMethod(
        label='Check Weather'
        description='Check weather at Coral Cloud Resorts at a specific date'
    )
    public static List<WeatherResponse> getWeather(
        List<WeatherRequest> requests
    ) {
        // Retrieve the date for which we want to check the weather
        Datetime dateToCheck = (Datetime) requests[0].dateToCheck;
        WeatherService.Weather weather = WeatherService.getResortWeather(
            dateToCheck
        );
        // Create the response for Copilot
        WeatherResponse response = new WeatherResponse();
        response.minTemperature = weather.minTemperatureC;
        response.maxTemperature = weather.maxTemperatureC;
        response.temperatureDescription =
            'Temperatures will be between ' +
            weather.minTemperatureC +
            '°C (' +
            weather.minTemperatureF +
            '°F) and ' +
            weather.maxTemperatureC +
            '°C (' +
            weather.maxTemperatureF +
            '°F) at Coral Cloud.';
        return new List<WeatherResponse>{ response };
    }
    public class WeatherRequest {
        @InvocableVariable(
            required=true
            description='Date for which we want to check the temperature. The variable needs to be an Apex Date type with format yyyy-MM-dd.'
        )
        public Date dateToCheck;
    }
    public class WeatherResponse {
        @InvocableVariable(
            description='Minimum temperature in Celsius at Coral Cloud Resorts location for the provided date'
        )
        public Decimal minTemperature;
        @InvocableVariable(
            description='Maximum temperature in Celsius at Coral Cloud Resorts location for the provided date'
        )
        public Decimal maxTemperature;
        @InvocableVariable(
            description='Description of temperatures at Coral Cloud Resorts location for the provided date'
        )
        public String temperatureDescription;
    }
}
注解完成了大部分工作。在 getWeather 方法上,@InvocableMethod 携带两个参数:
- label → 显示为 Agent Action Label(操作标签);
- description → 显示为 Agent Action Instructions(操作指令)——这很关键,因为 agent 正是靠读这段描述来理解方法。
还有两个 public 类 WeatherRequest 和 WeatherResponse,用 @InvocableVariable 注解作为操作的输入和输出:
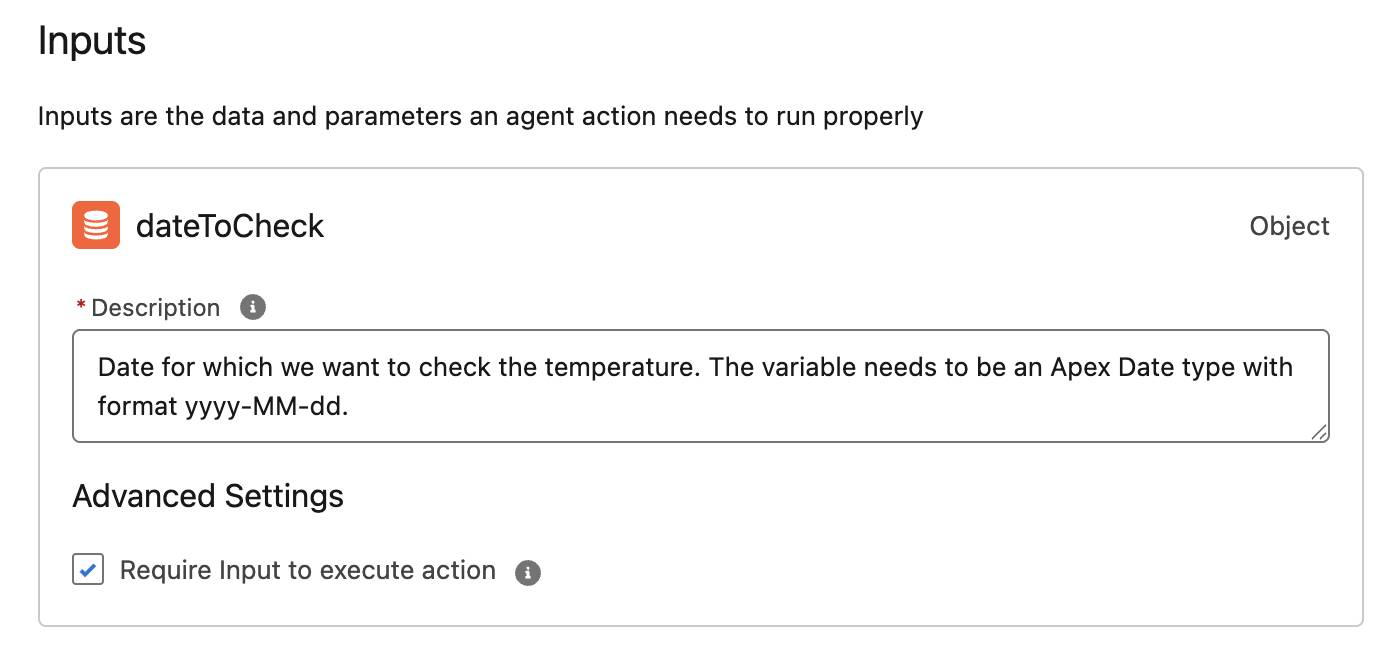
- WeatherRequest:dateToCheck 的 required 参数设为 true,使「Require Input」配置默认勾选;其 description 显示为 Input Instructions;变量类型 Date 决定 Input Data Type。
- WeatherResponse:minTemperature、maxTemperature、temperatureDescription 三个变量,各自 description 显示在 Outputs Instructions 中;类型 Decimal、Decimal、String 显示为 Output Rendering(String 会设为 Text)。
设置权限
与任何 Apex 功能一样,操作需要对 Apex 文件有正确的访问权限。在本 badge 的自定义 Dev org 中,这一步已完成——一个权限集(permission set)已赋予 AI agent 对包含 invocable 方法的 Apex 类的访问权。
如果没有这个权限,即使你创建了操作并添加到 agent,agent 在构建计划时也无法考虑这个类。缺乏正确的权限是 Apex 操作在 Agentforce 中不按预期工作的主要原因之一,所以务必确认访问权限。
二、创建 Apex Agent 操作(Create an Apex Agent Action)
现在 Apex 已就绪,把它添加到一个操作中。你将在 Agentforce Studio 中创建 Check Weather 操作,引用 Apex invocable 方法,看到 Apex 参数如何自动填充操作的输入与输出,然后提交、激活,并在 Preview 标签页中通过询问天气来测试它。到最后,你已把 org 中现有的 Apex 功能交付给 AI agent 使用。
构建 Apex Agent 操作(上):创建操作
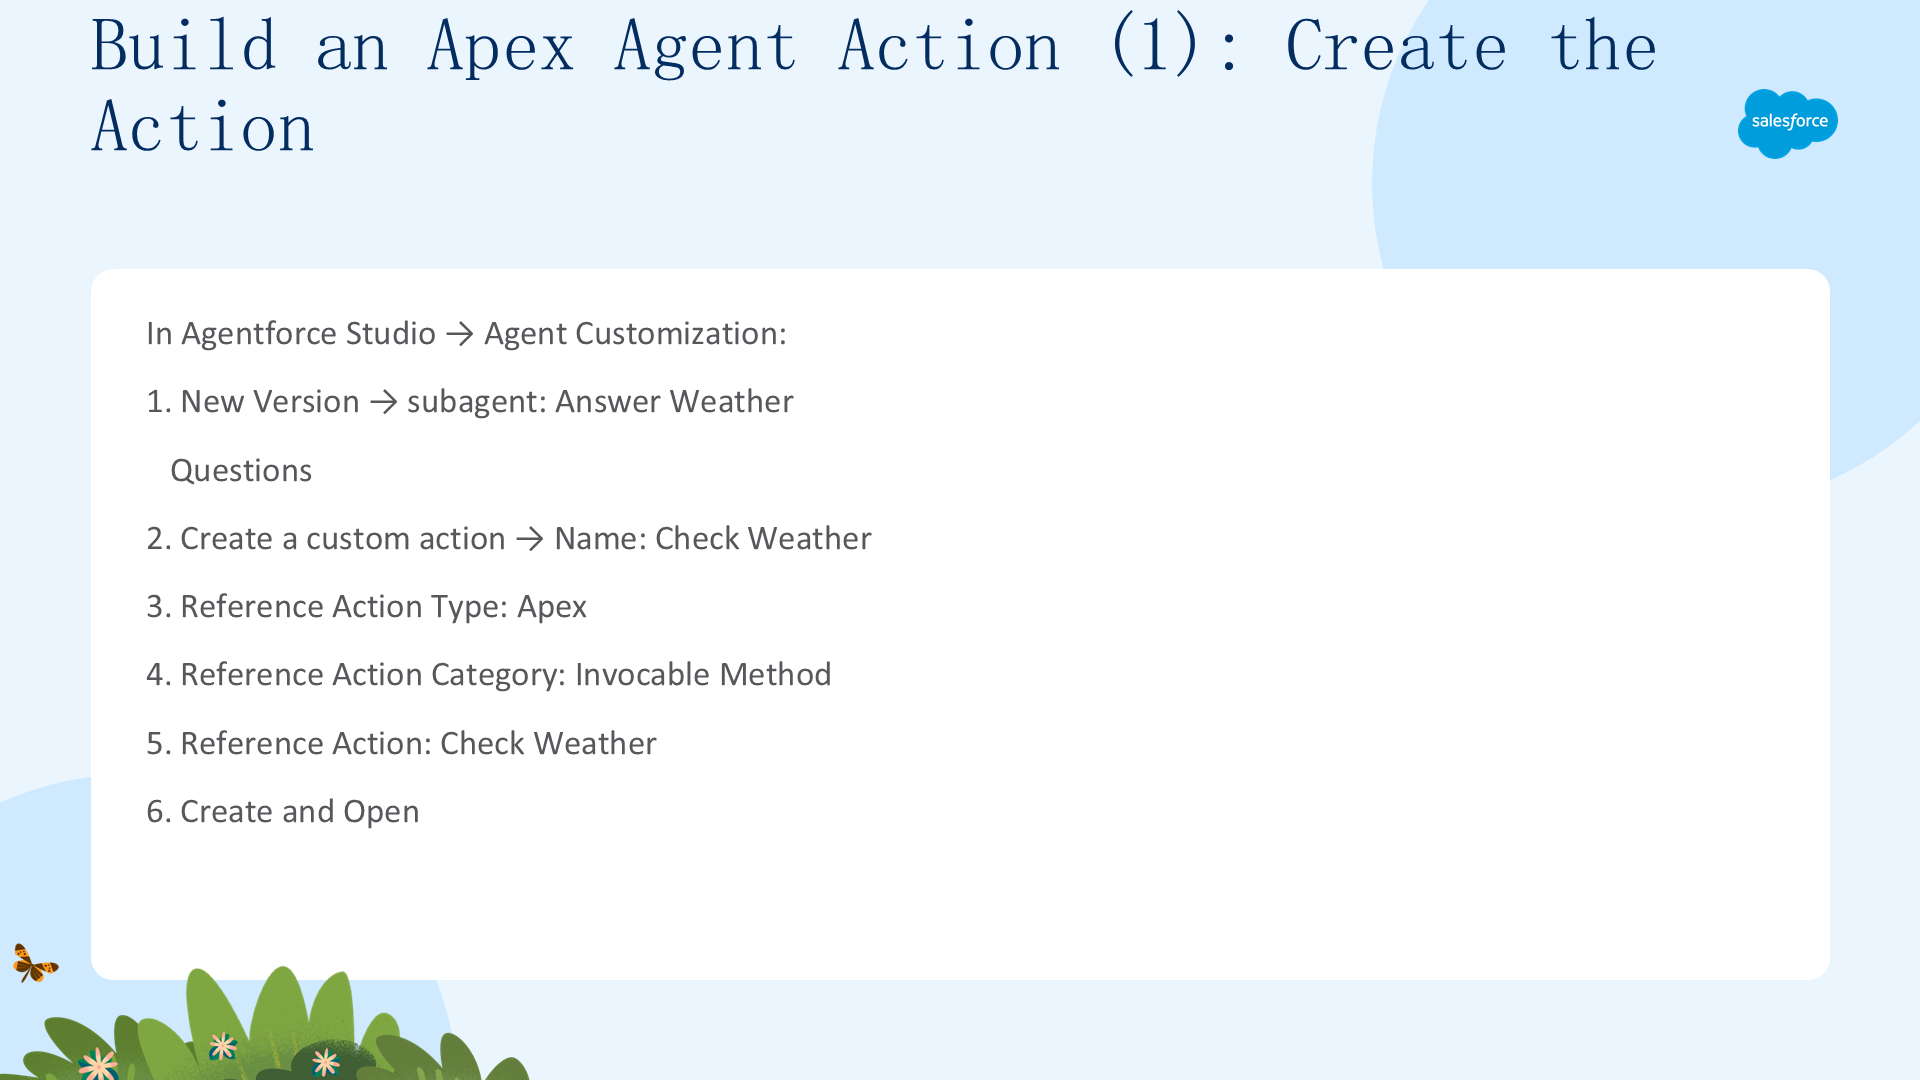
在 Agentforce Studio 中,进入 Agent Customization:
- 从 App Launcher 搜索并选择 Agentforce Studio。
- 点击 Agent Customization,再点击 New Version。
- 在 Subagents 下选择 Answer Weather Questions。
- 在 Actions Available For Reasoning 下,点击 Select action 并选择 Create a custom action。
- Action Name 填
Check Weather,Description 填This action will return the local weather information.。 - Reference Action Type 选 Apex,Reference Action Category 选 Invocable Method,Reference Action 选 Check Weather。
- 点击 Create and Open。
你会看到 Apex 参数自动移植到了操作中。
构建 Apex Agent 操作(下):输入与输出
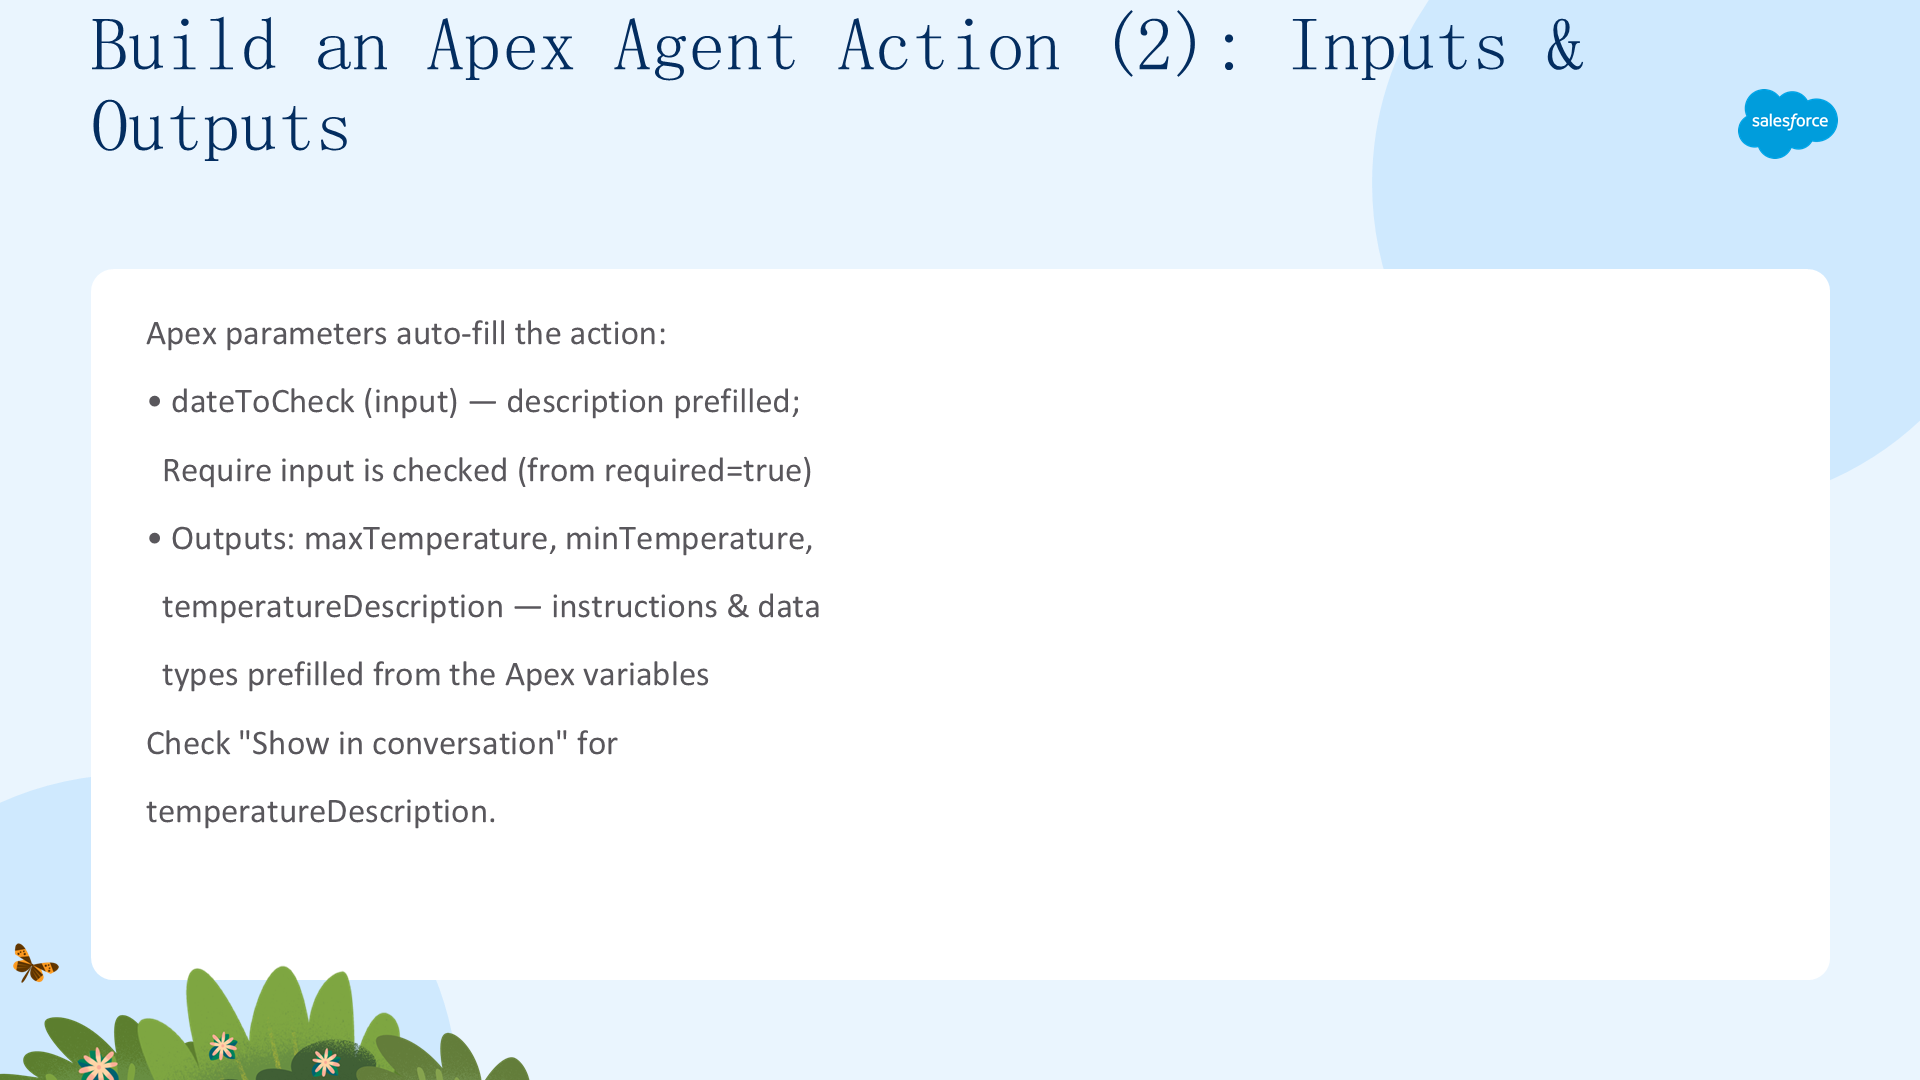
输入与输出直接来自 Apex。在 Inputs 区域,dateToCheck 已用 Apex invocable variable 的 description 参数预填了描述,而且「Require input to execute action」默认勾选(因为代码里 required 设为 true)。
在 Outputs 区域,三个输出——maxTemperature、minTemperature、temperatureDescription——各自的 Instructions 和 Data Type 都由对应的 @InvocableVariable 注解预填。
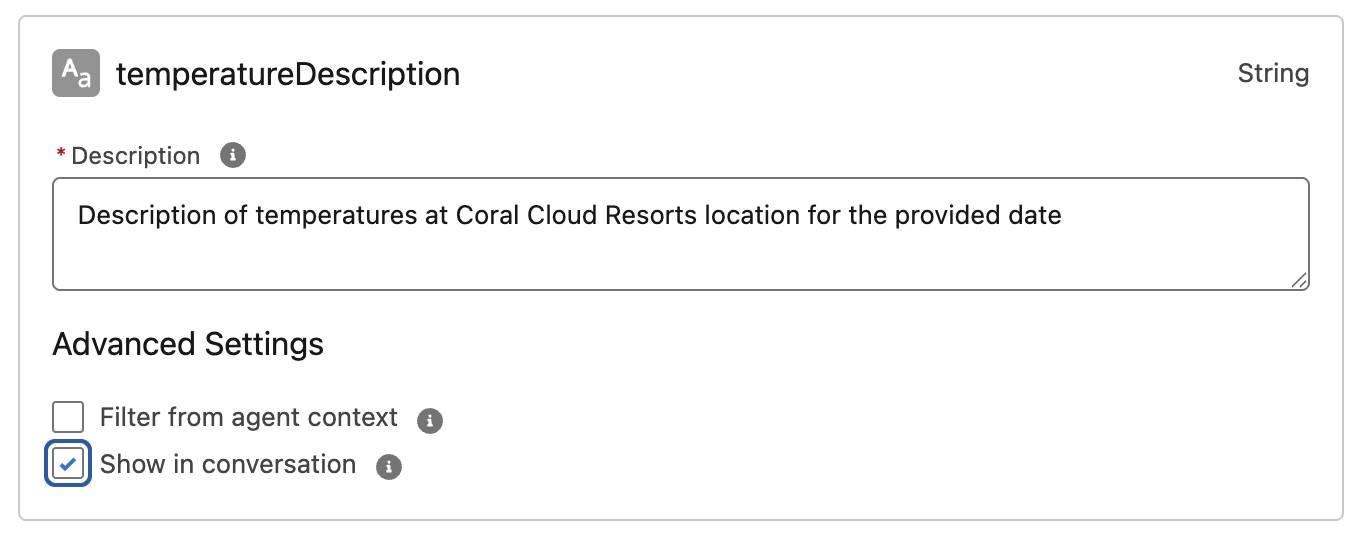
对于第三个输出 temperatureDescription,勾选 Show in conversation,让 agent 能把天气摘要呈现给用户。
提交与激活
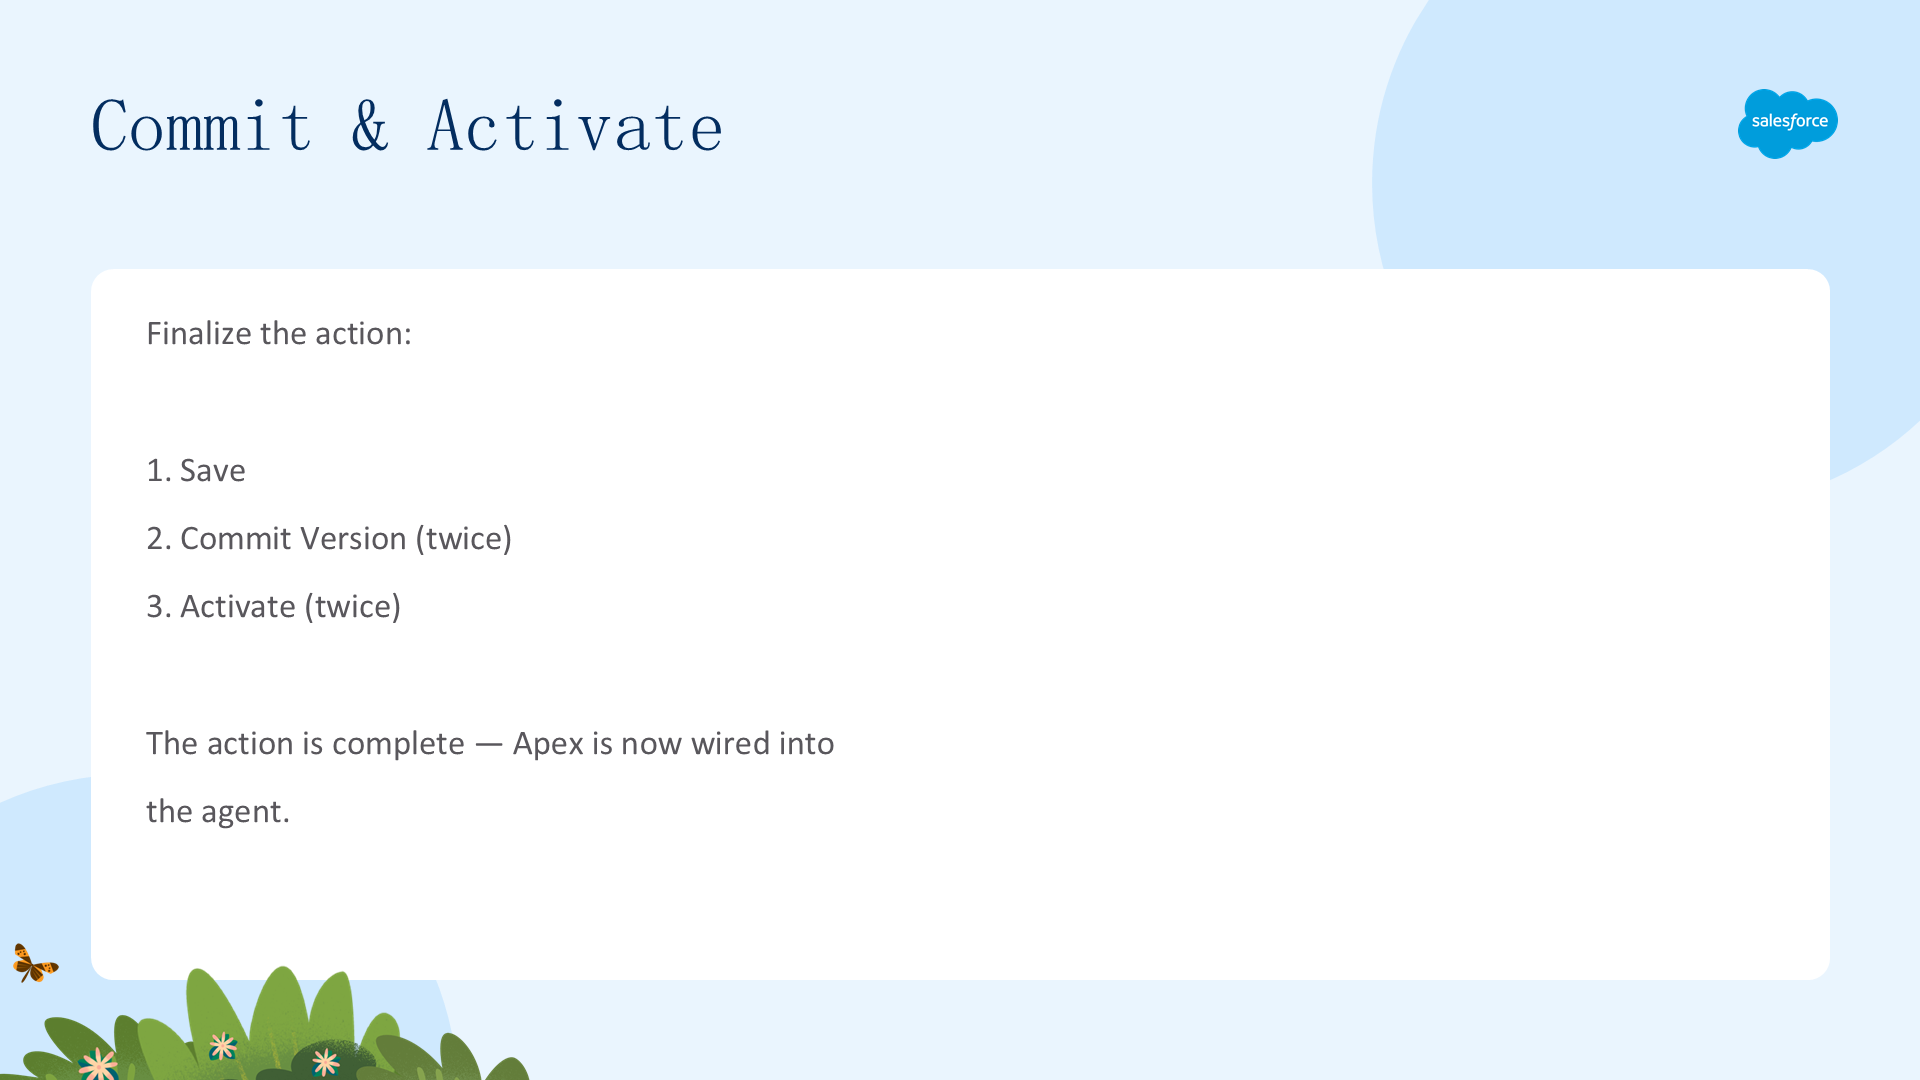
完成操作:
- 点击 Save。
- 点击 Commit Version(再点一次确认)。
- 点击 Activate(再点一次确认)。
操作保存、提交并激活后,Apex invocable 方法就完全接入了 agent,可以测试了。你已把现有的 Apex 变成了 agent 的一项能力。
查查天气(Let's Check the Weather)
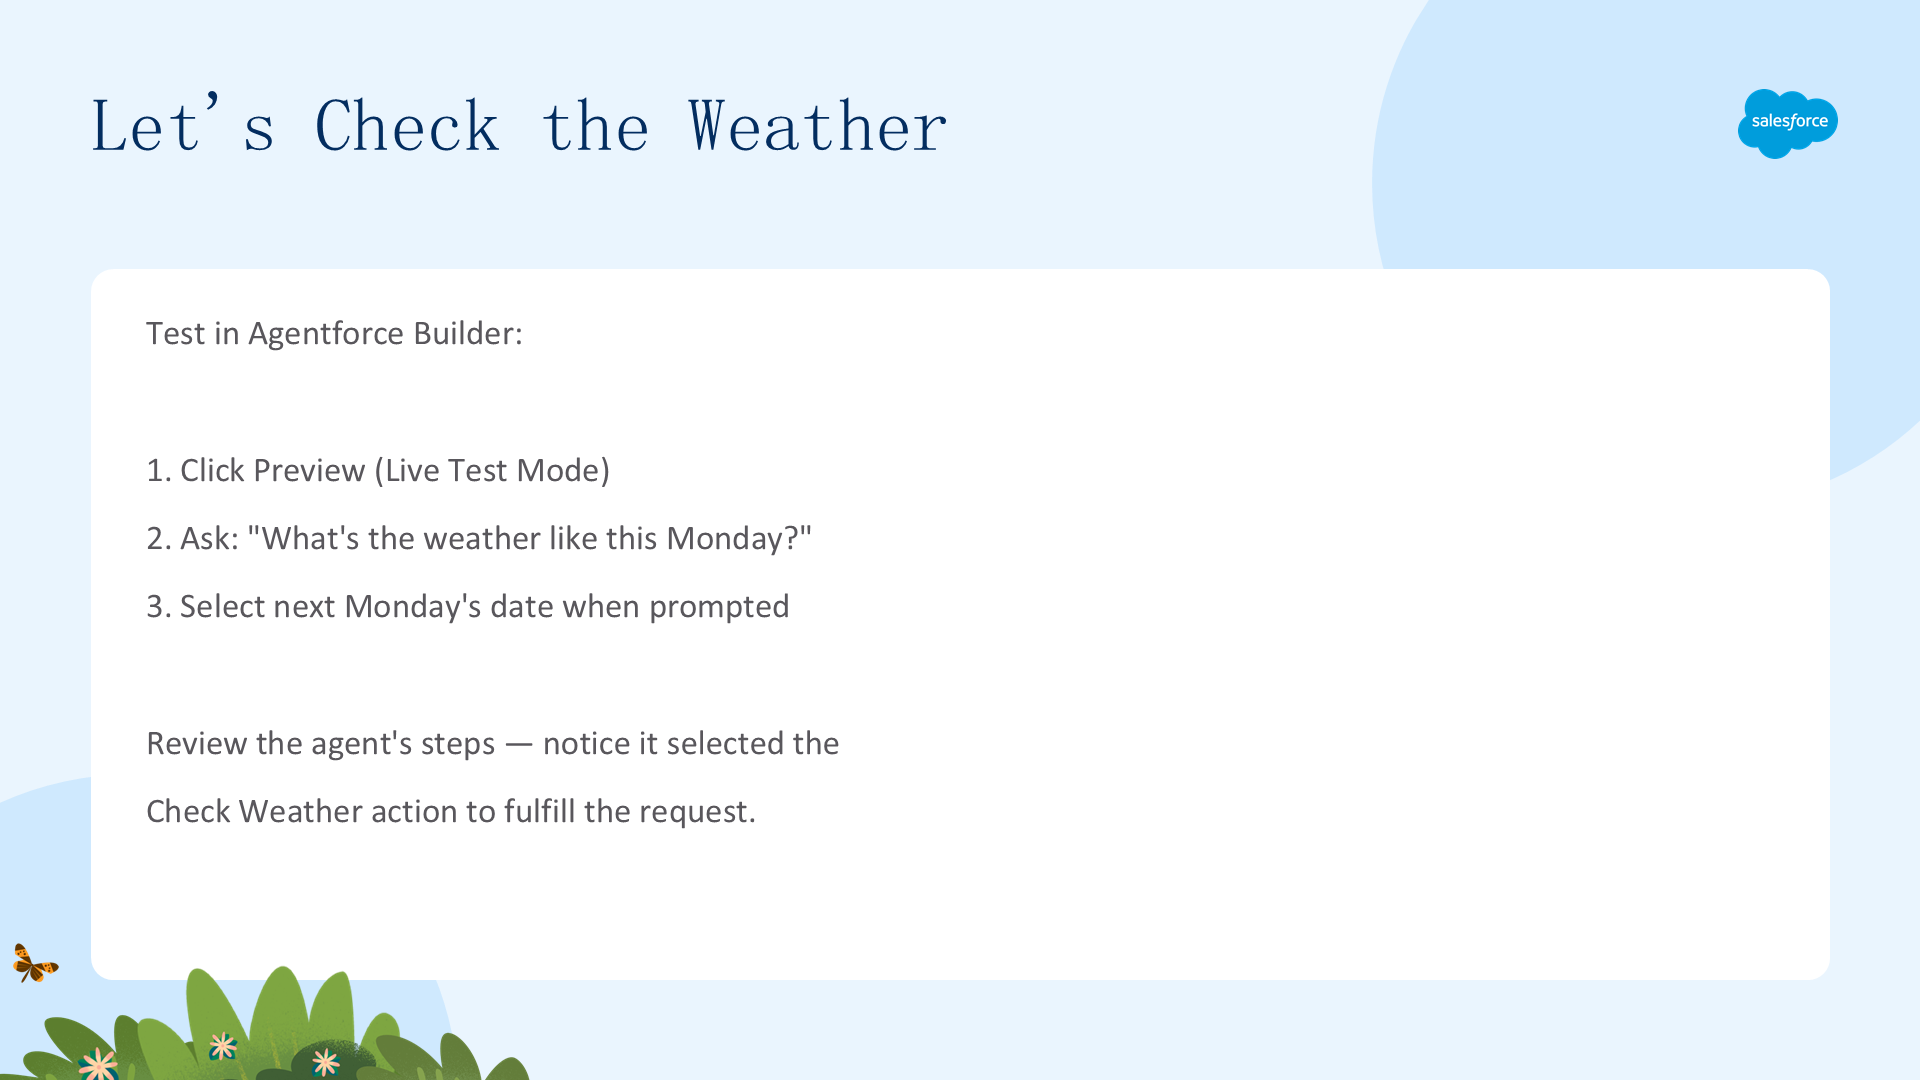
现在来测试。在 Agentforce Builder 中:
- 点击 Preview,确保处于 Live Test Mode。
- 在输入框输入
What's the weather like this Monday?并回车。agent 可能会询问确切日期并让你选择——选择下周一的日期并提交。
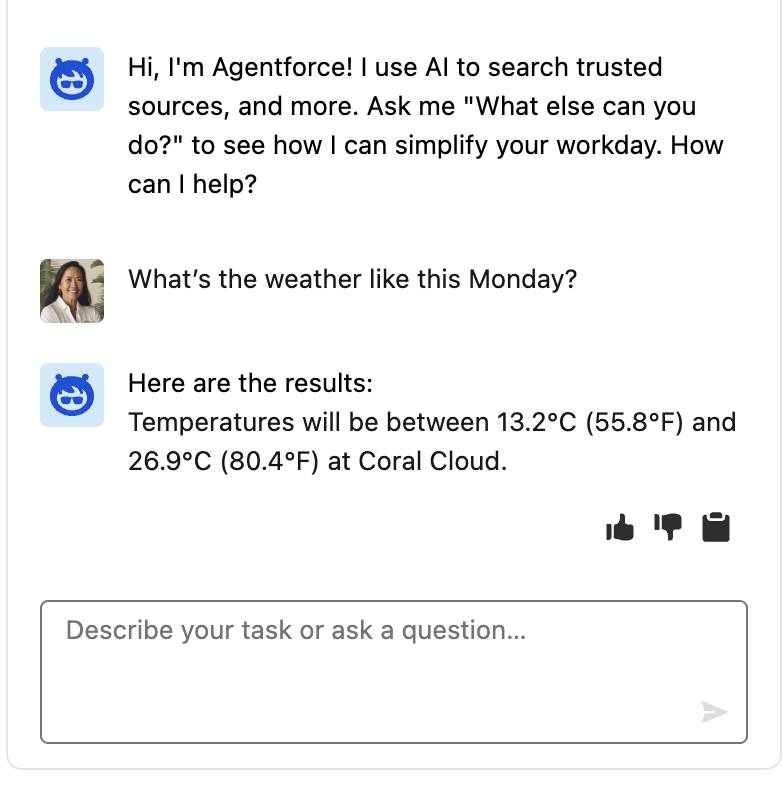
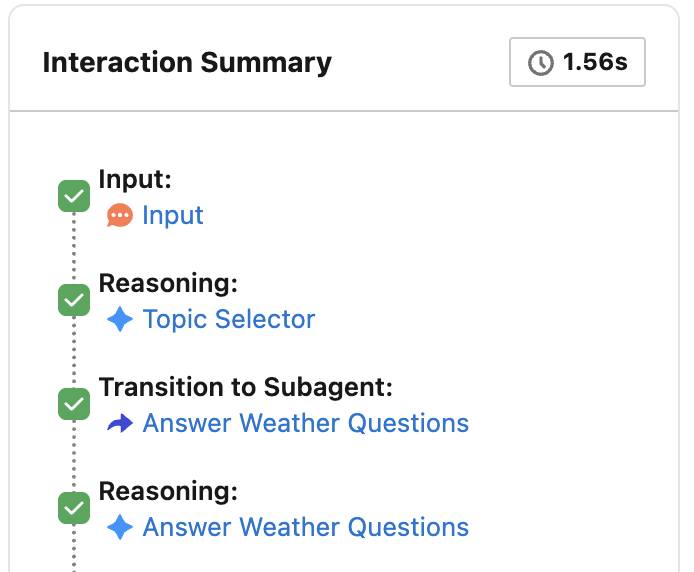
agent 返回 Coral Cloud 的温度。然后查看 agent 采取的步骤:它进行了推理,转换到 Answer Weather Questions 子 agent,并选择了 Check Weather 操作来完成请求。
做得好!你已经迈出一大步——把 org 中现有的全部 Apex 功能交付给 AI agent 使用。