一、启用 Agentforce 并审查默认 Subagents 与 Actions
欢迎来到 Quick Start: Create Employee Agents in Agentforce。Agentforce for employees 允许您为团队构建多个 Agent 来处理常见任务——查看福利、搜索内部库、查询记录,甚至可以在 Slack 中使用。本项目将带您完成完整流程:启用环境、创建 Agent、配置权限集、并使用 Agent 完成真实任务。
启用 Agentforce 并浏览 Asset Library
🔹 注册并启用
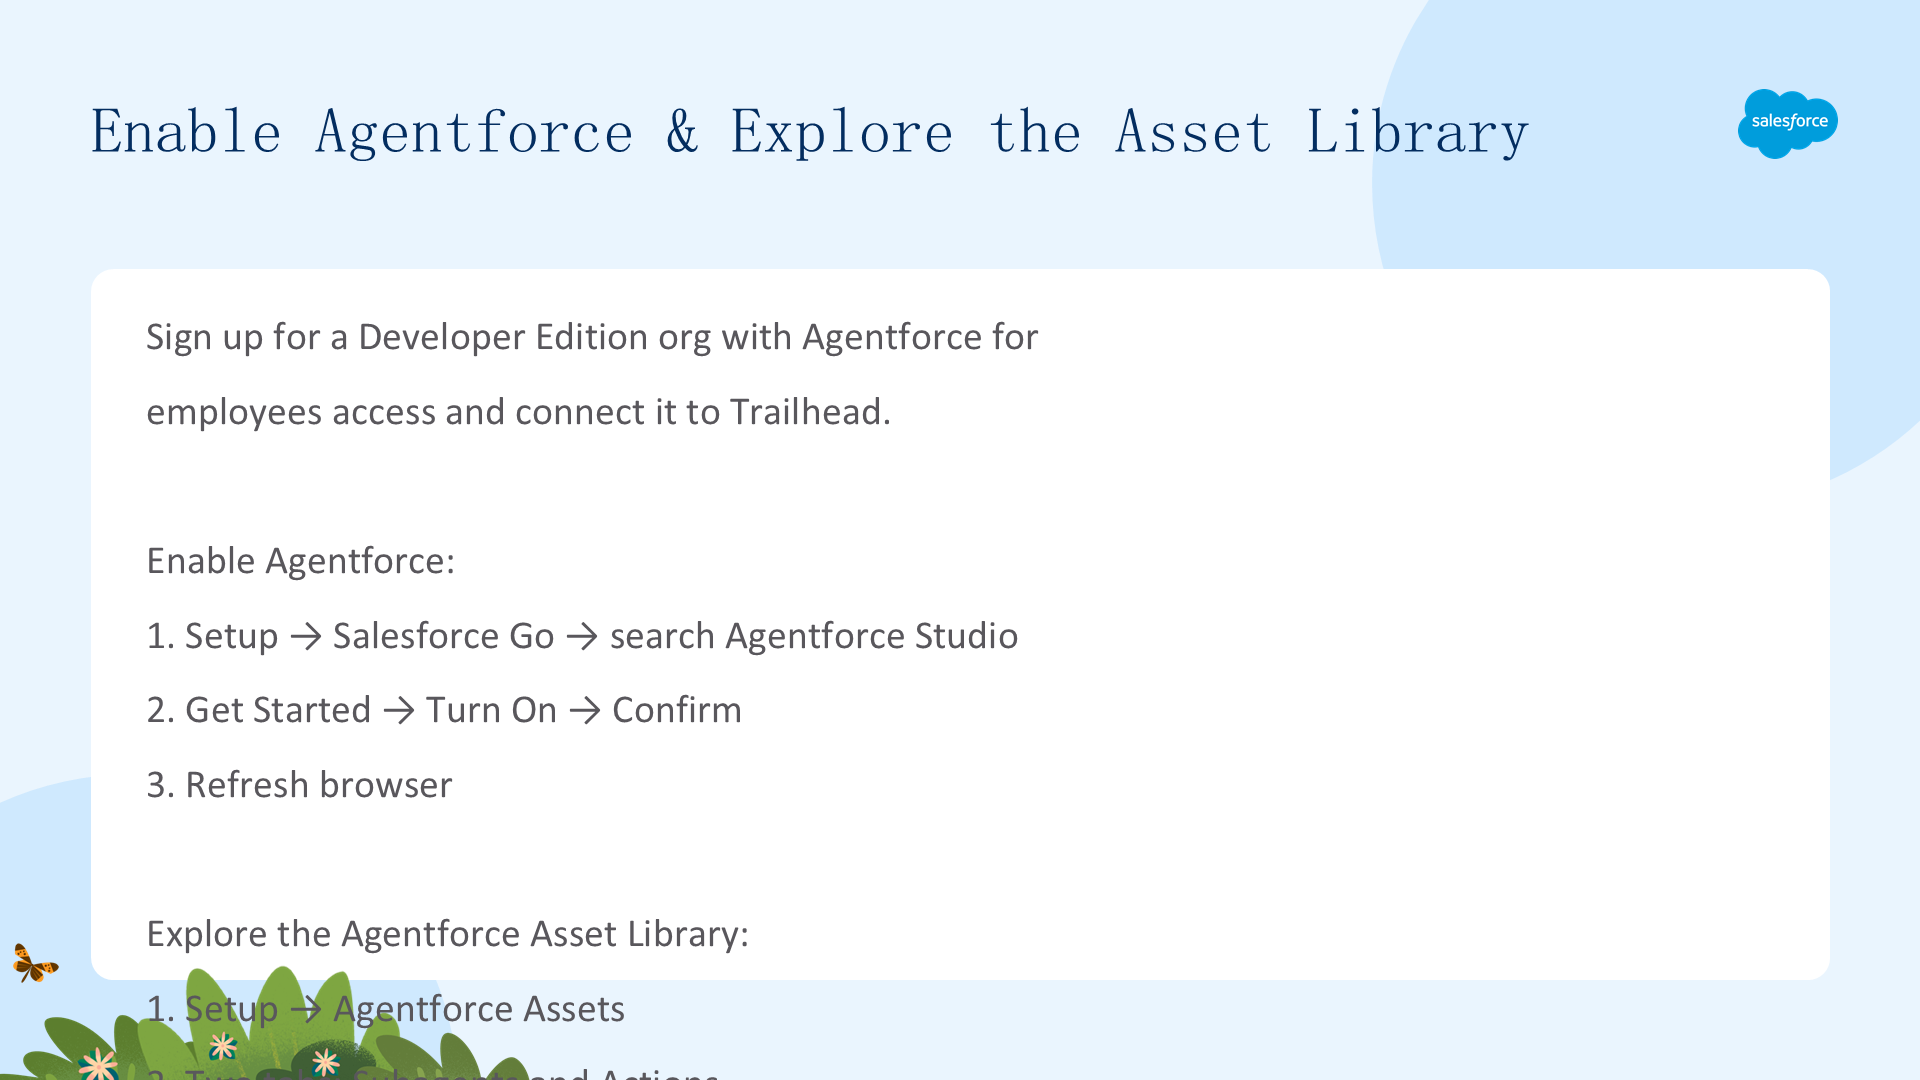
- 注册免费的 Developer Edition org with Agentforce for employees
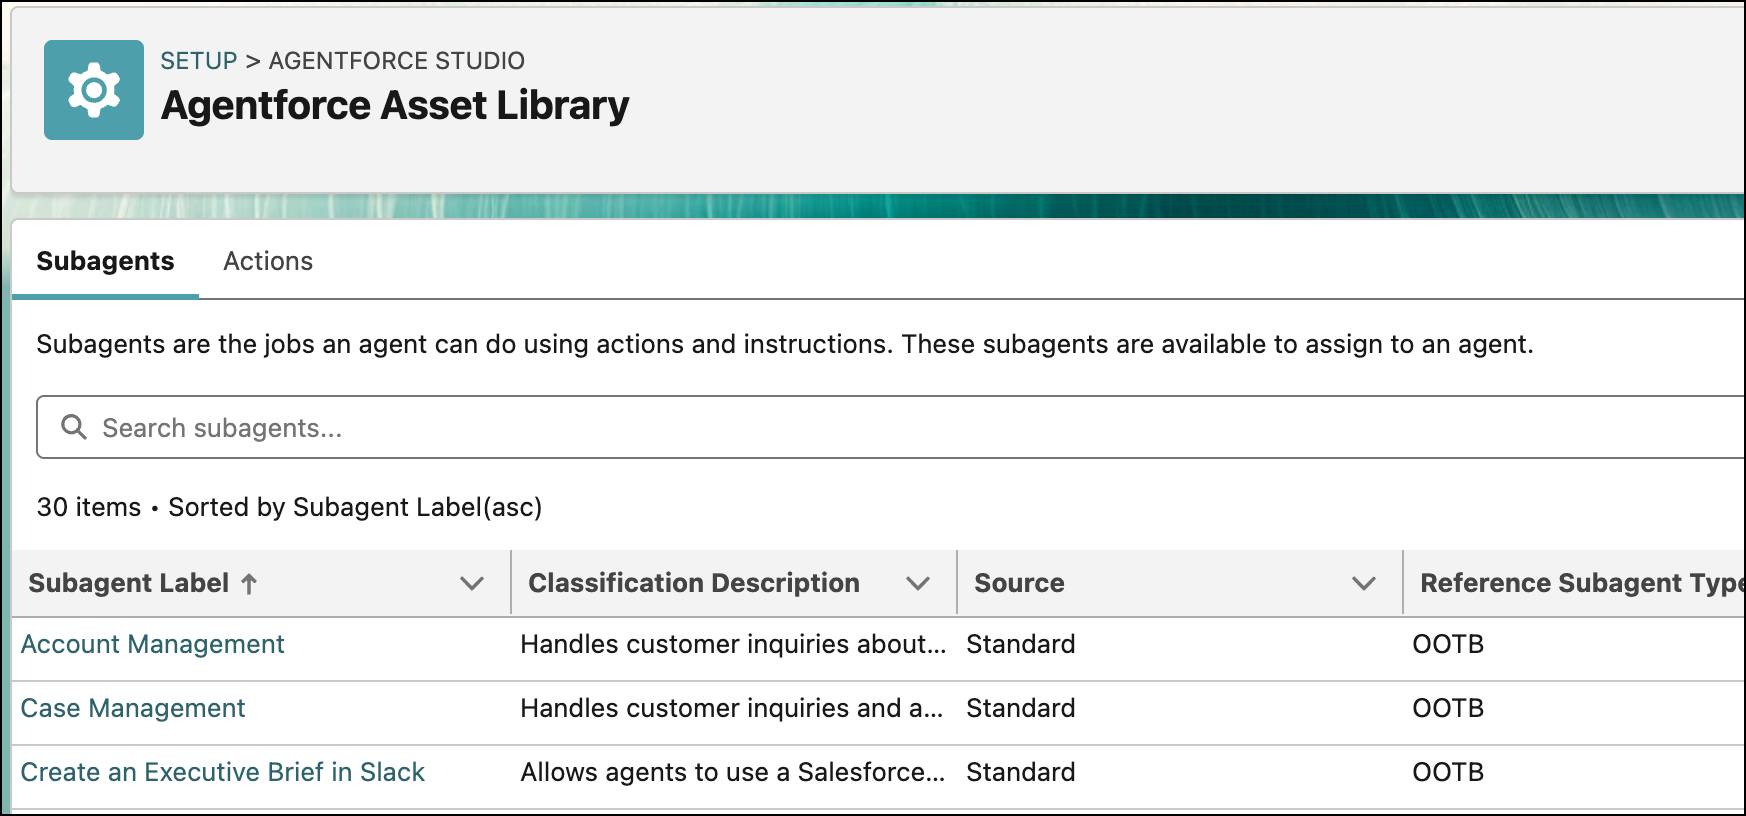
- Setup → Salesforce Go → 搜索 Agentforce Studio → Get Started → Turn On → Confirm → 刷新浏览器
🔹 浏览 Agentforce Asset Library
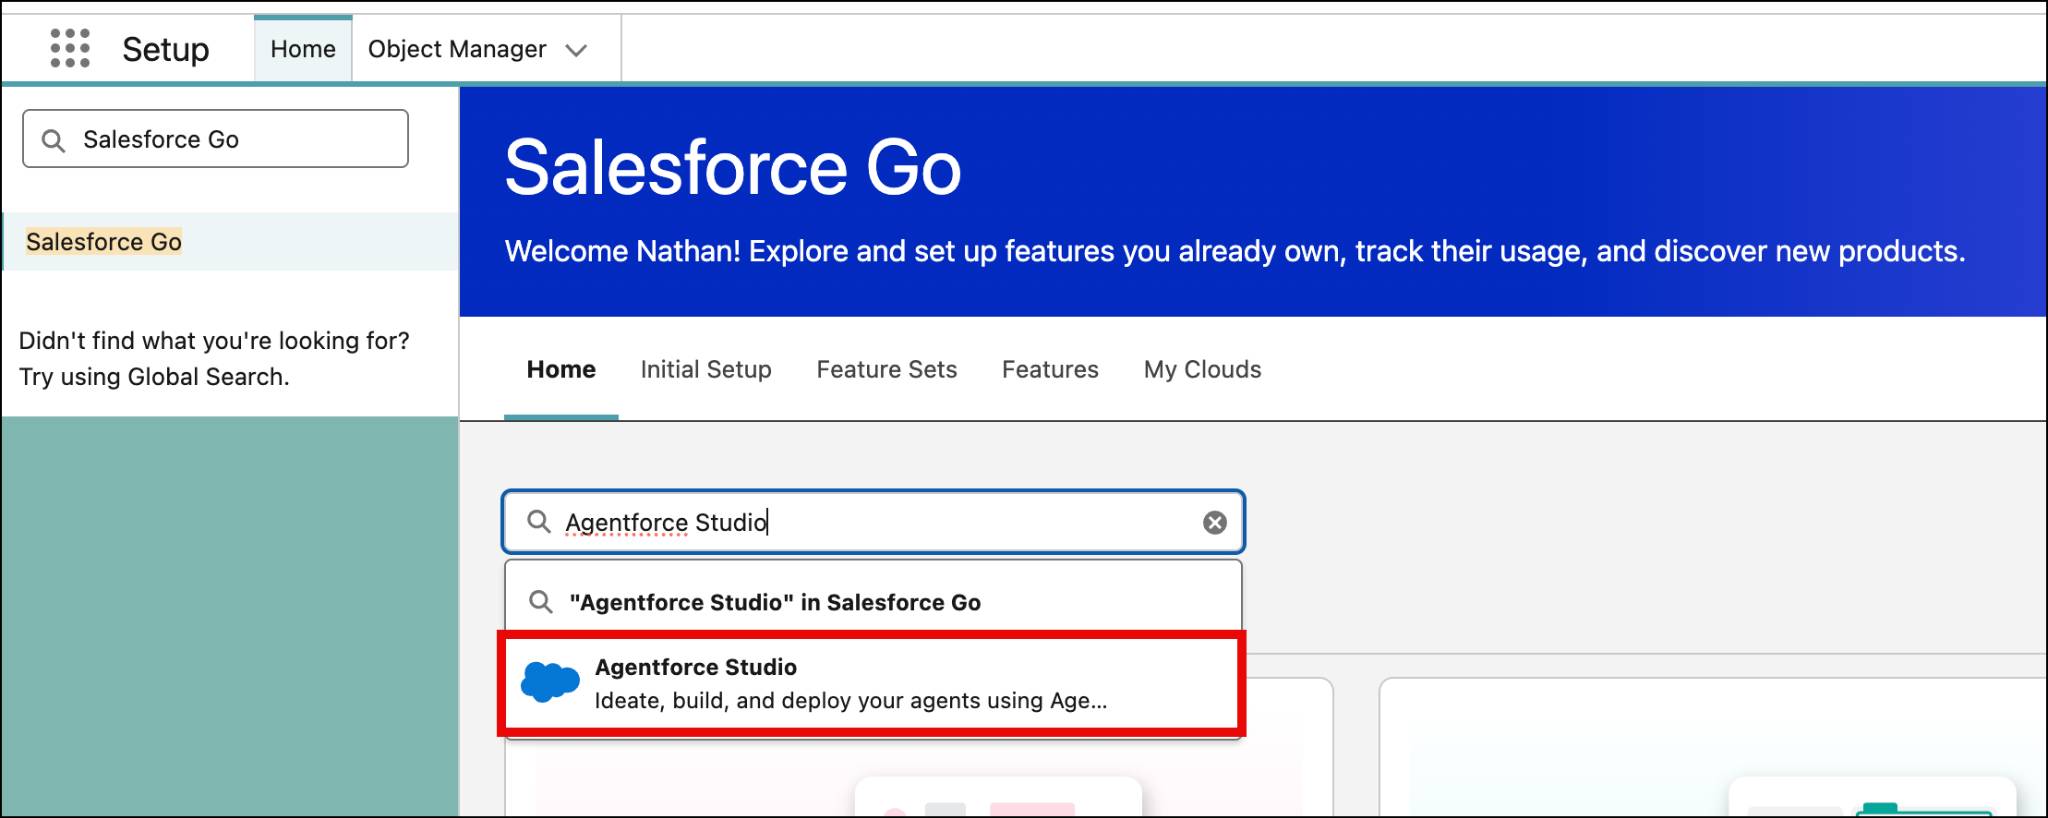
在创建 Agent 之前,先审查可用的子代理和操作:
- Setup → Agentforce Assets → 两个选项卡:Subagents 和 Actions
- 点击 General CRM → 查看 Subagent Configuration(分类描述、范围、指令)以及该 Subagent 的所有关联 Actions
- 对其他感兴趣的 Subagent 重复此操作
关键洞察:在创建 Agent 之前审查 Subagents——您可能会发现不需要的操作,或发现缺少需要添加的操作。Subagents 可以进行版本管理和自定义。
二、创建 Employee Agent
创建并自定义 General Agent
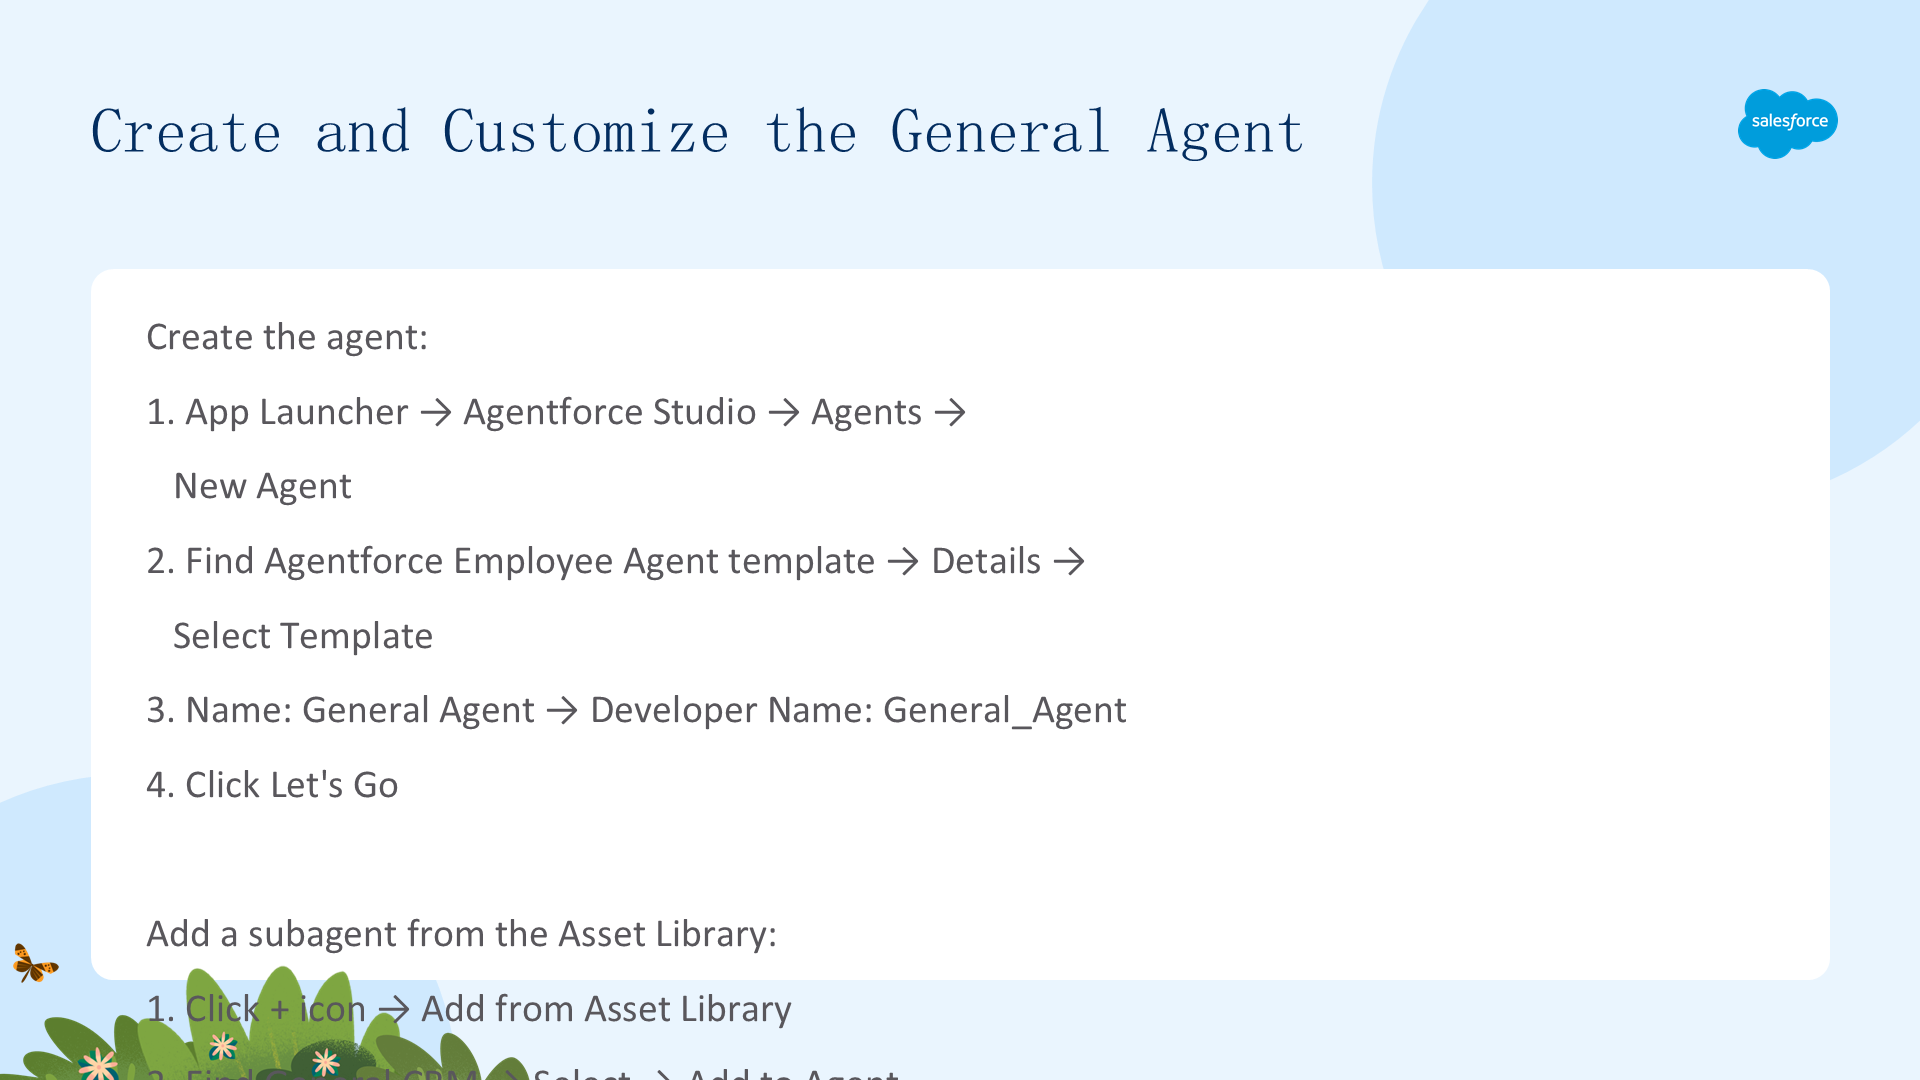
- App Launcher → Agentforce Studio → Agents → New Agent
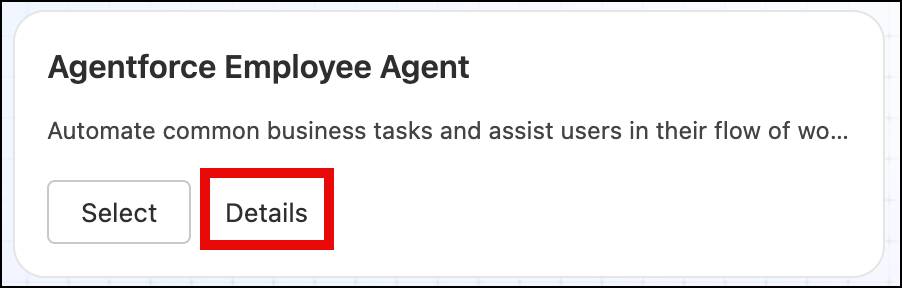
- 找到 Agentforce Employee Agent 模板 → Details → Select Template
- Name: General Agent → Developer Name:
General_Agent→ Let's Go
🔹 从 Asset Library 添加 Subagent 和 Action
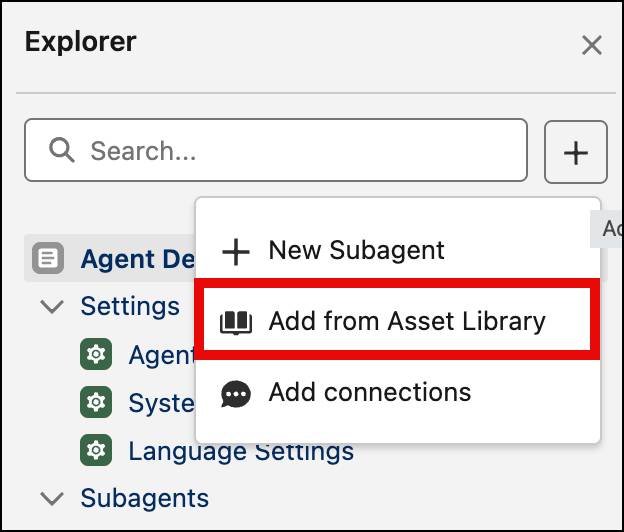
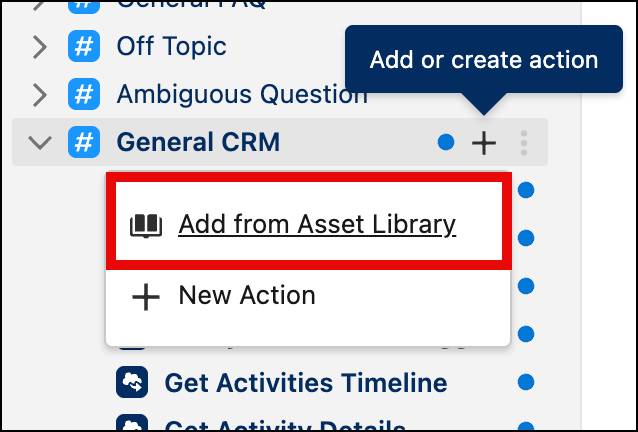
- 点击 + → Add from Asset Library → 找到 General CRM → Select → Add to Agent
- 展开 General CRM(点击右箭头)查看其 Actions
- 悬停在 General CRM 上 → + → Add from Asset Library → 找到 Summarize Record → Add to Agent
🔹 删除不兼容的 Subagent
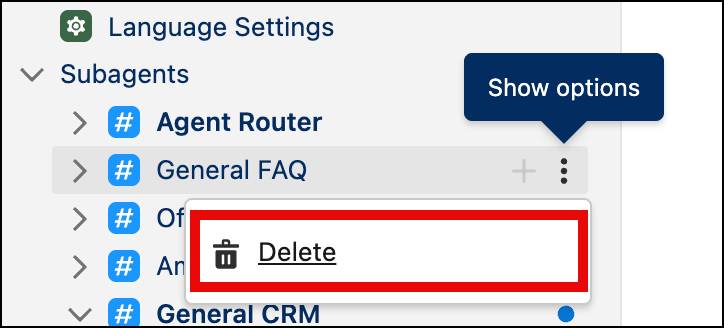
- General FAQ 需要 Data 360(本环境未启用)→ 悬停 → 三点菜单 → Delete → Yes, Delete
- 点击 Save
现在 Agent 拥有 General CRM + Summarize Record,不兼容的 General FAQ 已移除。
预览、提交与激活
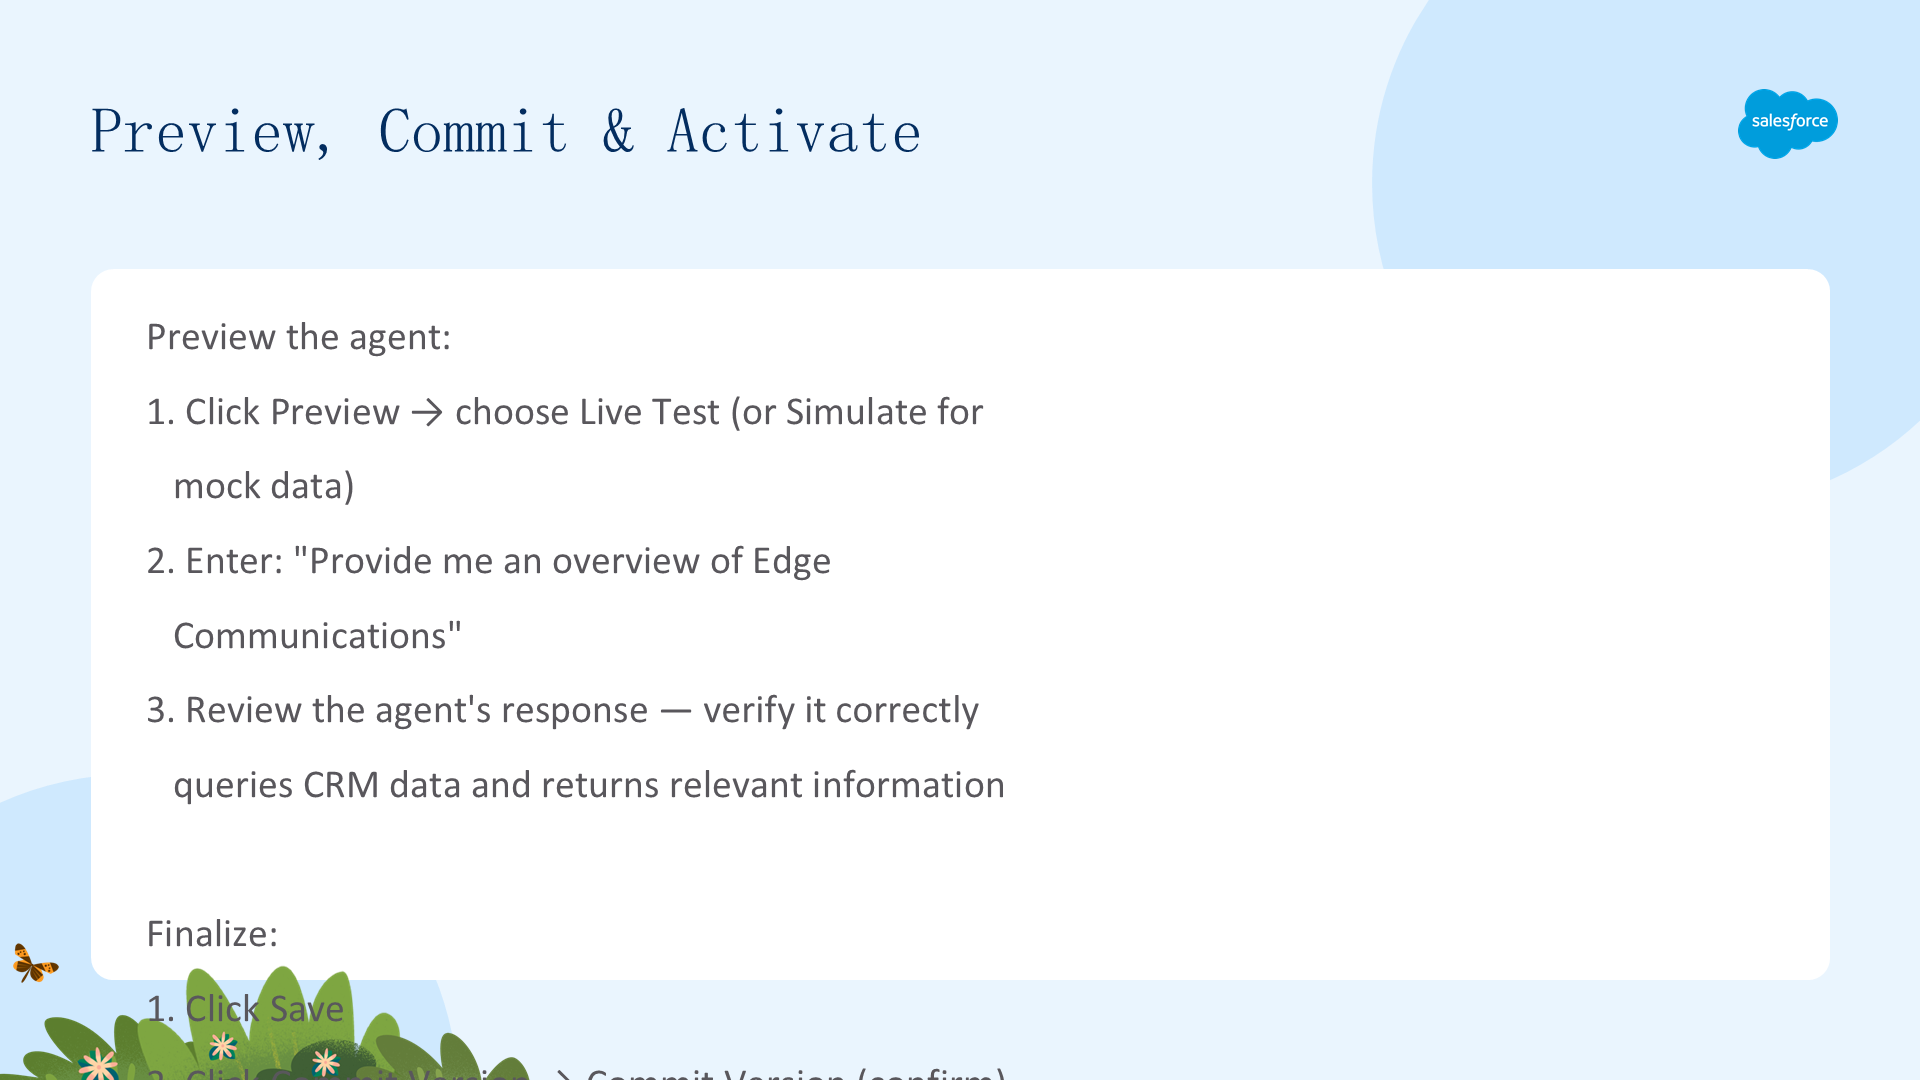
- 点击 Preview → 选择 Live Test(或 Simulate 使用模拟数据)
- 输入:
Provide me an overview of Edge Communications - 验证 Agent 正确查询 CRM 数据并返回相关信息
- 点击 Save → Commit Version → 再次 Commit Version 确认(创建版本快照作为回滚点)
- 点击 Activate → 再次 Activate 确认 → Agent 现已上线!
三、授权访问并使用 Agent
即使 Agent 已激活,没有显式授权,系统管理员也无法使用创建的 Agent。Agentforce for employees 提供精细的权限控制——通过权限集或配置文件决定谁能访问哪个 Agent。
通过权限集授予访问权限
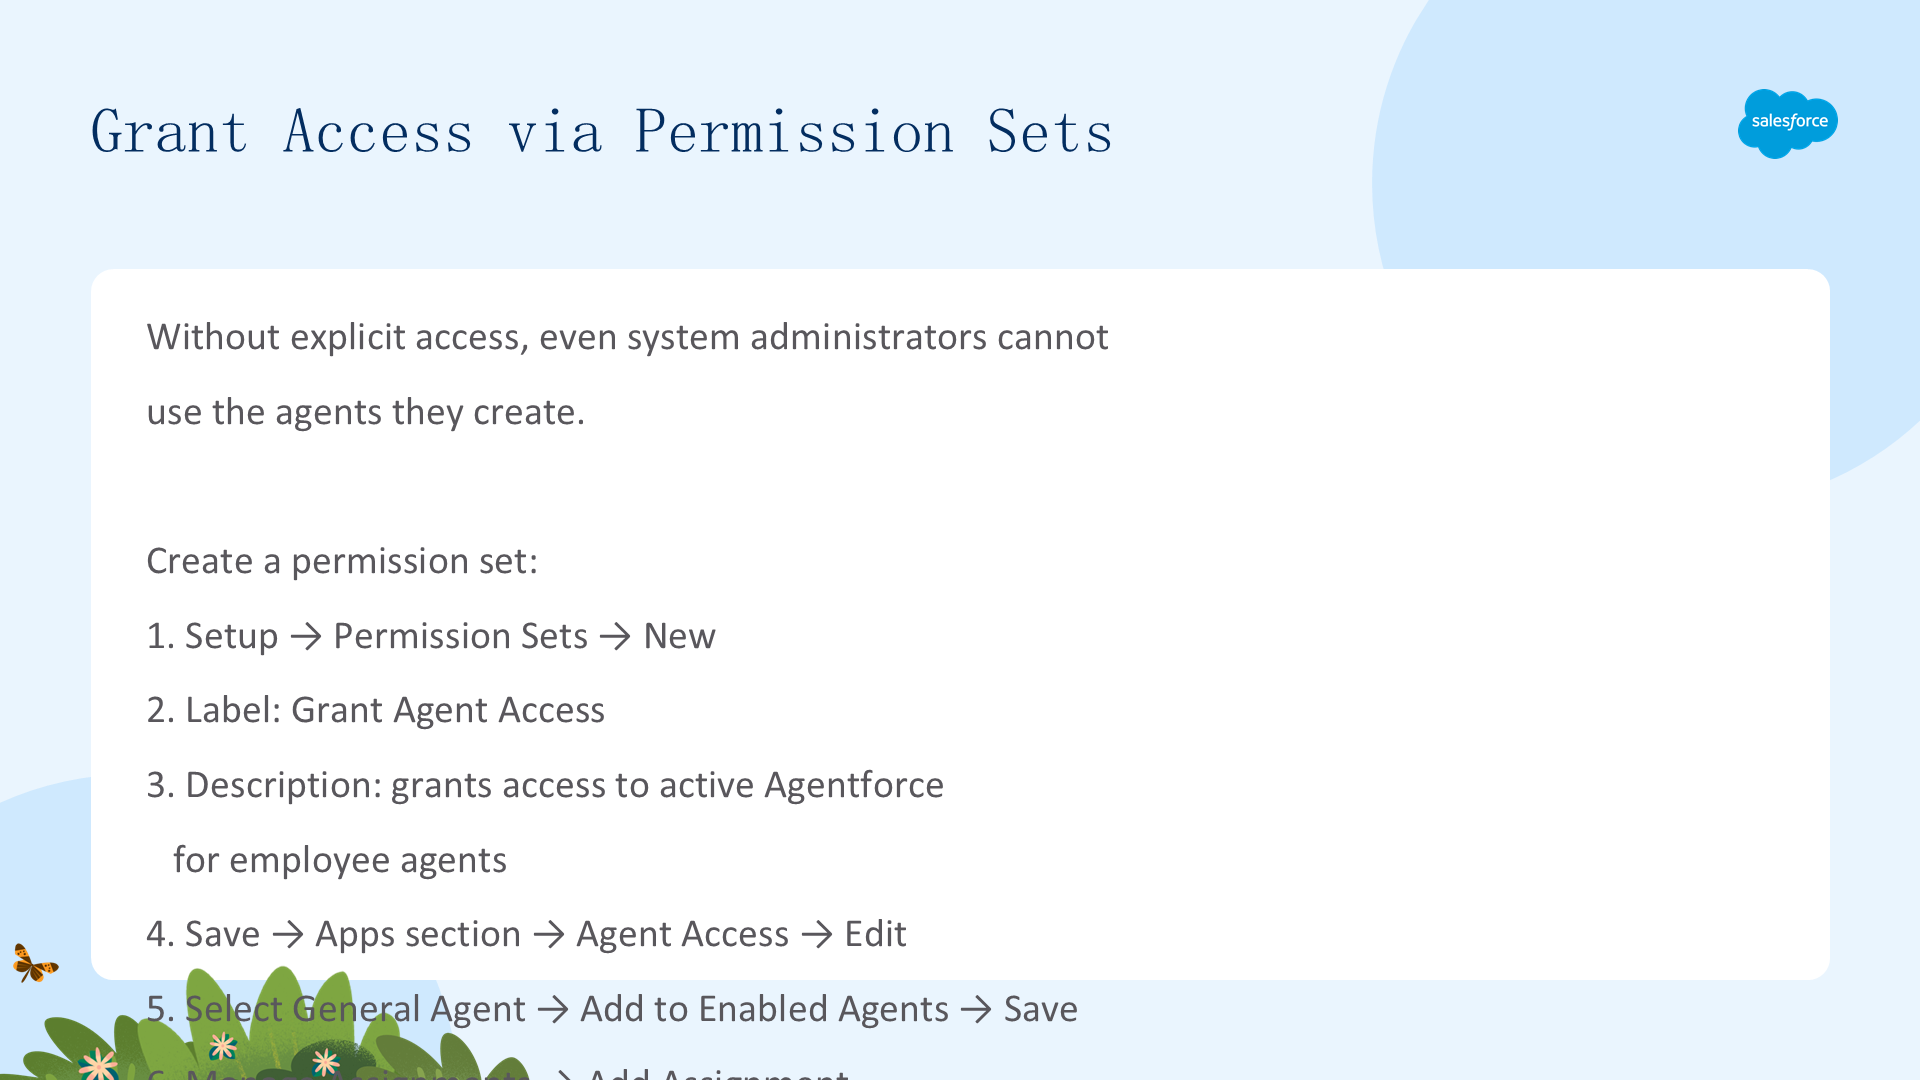
- Setup → Permission Sets → New → Label: Grant Agent Access → Save
- Apps 区域 → Agent Access → Edit → 选择 General Agent → Add to Enabled Agents → Save
- Manage Assignments → Add Assignment → 选择您的用户名 → Next → Assign → Done
现在您已获得使用 General Agent 的权限。核心原则:无显式授权 = Agent 对用户不可见。
使用 Agent 完成真实任务
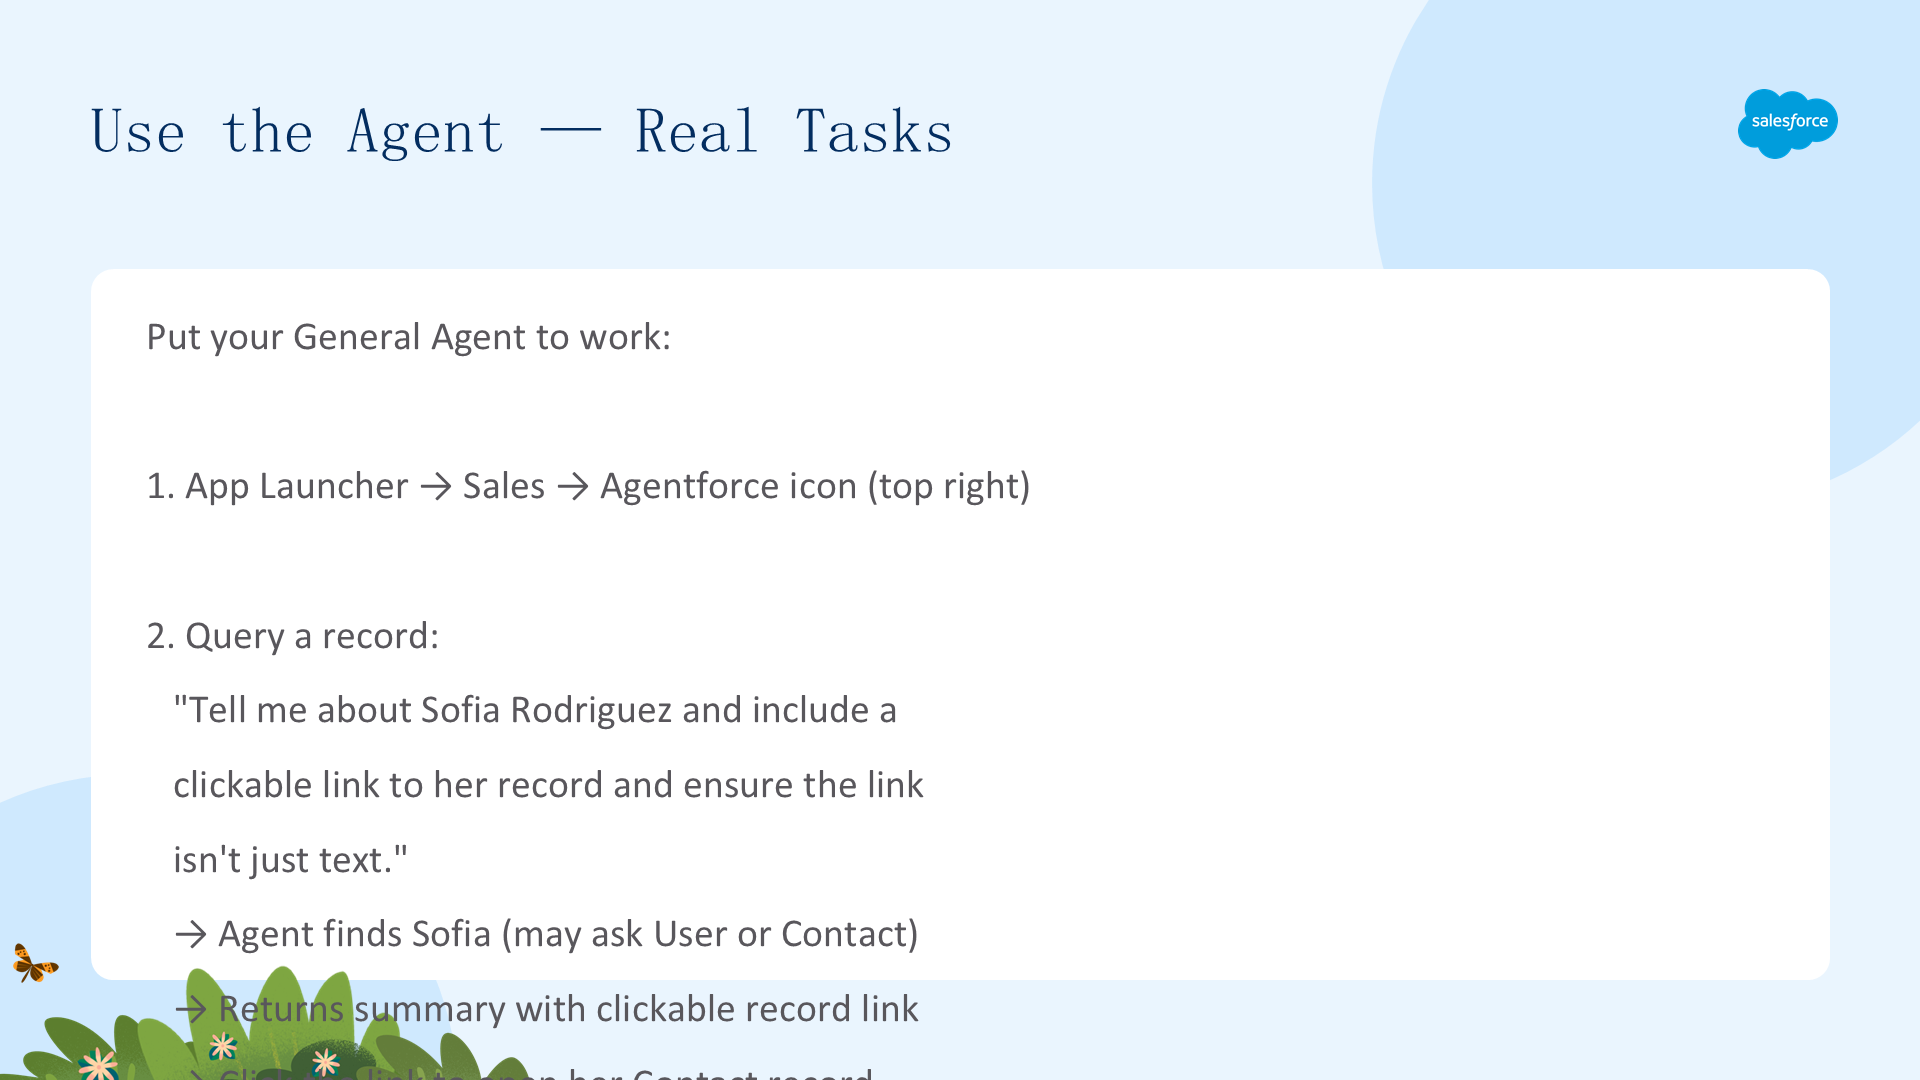
🔹 任务 1:查询记录
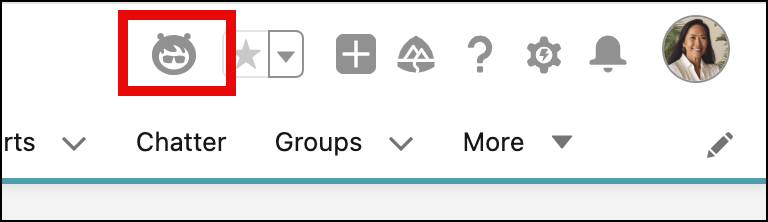
App Launcher → Sales → 点击右上角 Agentforce 图标 → 输入:
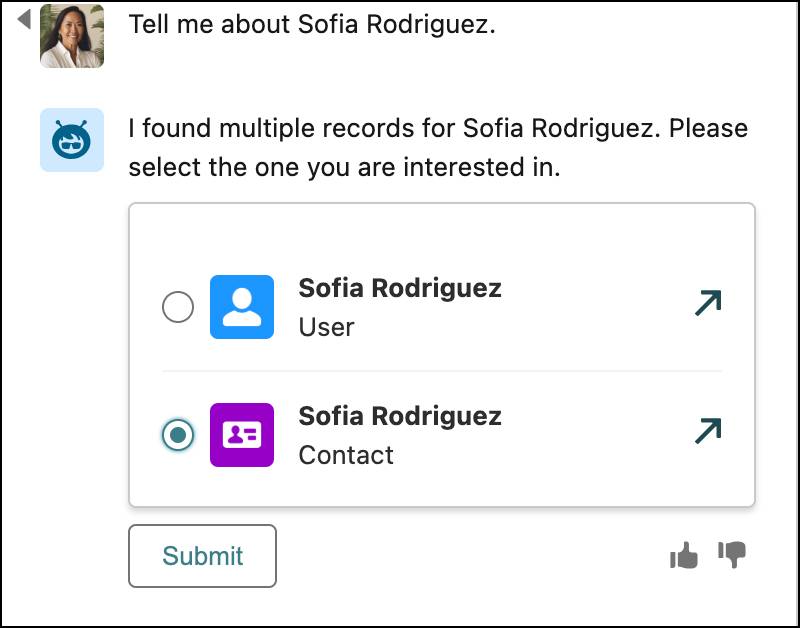
Tell me about Sofia Rodriguez and include a clickable link to her record and ensure the link isn't just text.
Agent 找到 Sofia(可能会询问是 User 还是 Contact),返回带可点击链接的摘要,点击可打开 Contact 记录。
🔹 任务 2:生成邮件
Generate an email inviting Sofia on a Biking Expedition in two weeks, use Biking Expedition Adventure! as the subject line and do not ask for additional details.
Agent 起草邮件 → 点击 Send Email → 修改(如需)→ Send → 在 Sofia 的 Activity 选项卡验证邮件已发送。
💡 排错提示:如果 Agent 没有返回预期结果,检查其 Subagents 和 Actions。可能需要添加更多 Subagents、修改现有配置、添加 Actions 或创建自定义 Actions。
🔗 Slack 部署:Agent 也可以在 Slack 中使用(需额外设置)。General Slack Subagent 提供 Slack 专用操作:创建/更新画布、查找用户、搜索 Slack、发送私信。完成 Connect Your Agentforce Org with Slack 徽章进行设置。
文章来源:Trailhead - Quick Start: Create Employee Agents in Agentforce